
One-page Sketch #2

You can download and print this sketch by clicking on the one-page sketches link found under the "printable sketches" tab on the right sidebar.
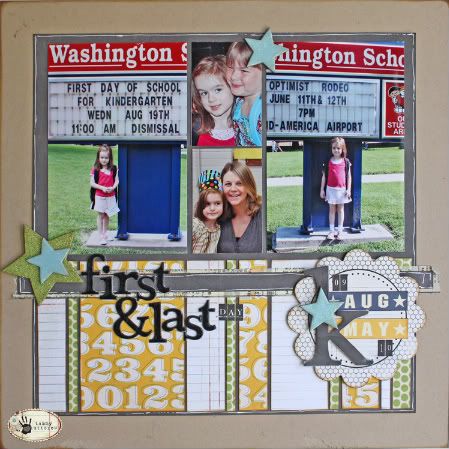
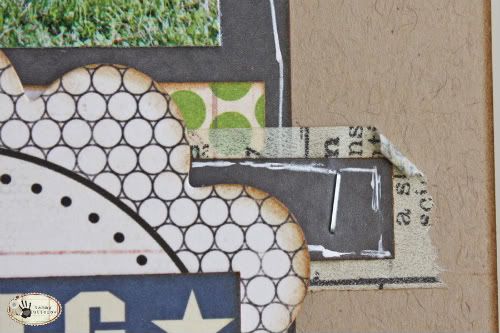
"First & Last" by Tammy Tutterow
Supplies: Cardstock: Bazzill Basics; Patterned paper: BasicGrey Basics and Studio Calico; Sticker: BasicGrey Basics, American Crafts Thickers, and Making Memories; Tape: Tim Holtz Idea-ology Tissue Tape; Pen: Ranger Ink; Ink: Tim Holtz Distress Ink, Vintage Photo; Adhesive: Therm O Web Memory Runner XL; chipboard: unknown
Because the photos I really wanted to use with this sketch worked better vertically, I decided to turn the sketch so that my two main photos could be vertical. I moved the title in line with the long border strip and kept most of the elements in basically the same place as on the sketch.
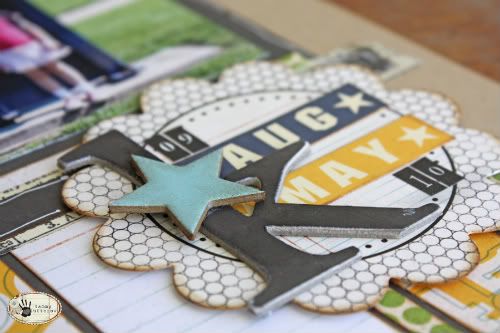
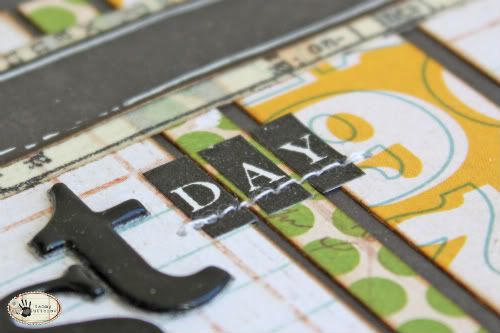
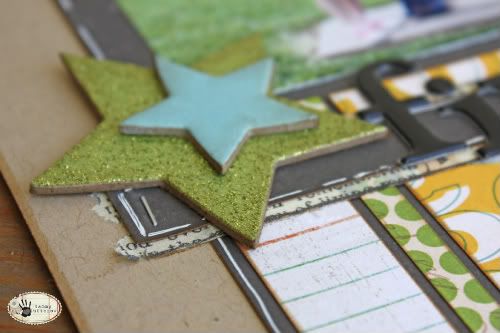
Here's a look at some of the details:
• • • • • • • • • • • • • • • • • • • • • • • • • • • • • • • • • • • • • • • • • • • • •
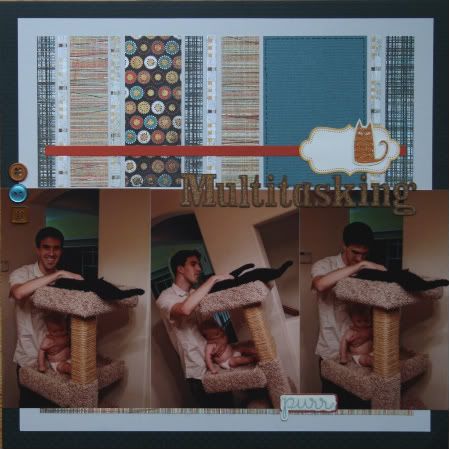
"Multitasking" by Noey Hunt
Products used: Background paper: Bazzill (black dotted swiss paper); Patterned paper: Basic Grey; Journaling blocks: October Afternoon; Embellishments: ki memories (cat and "purr"); Letters: Making Memories (cork)
Variation 1: I find that I take many of my photos in a vertical format instead of horizontal. Therefore I started by rotating Allison's sketch for my use.
Variation 2: I had already printed these photos in 4x6 size and I wanted to make them work with this sketch. By expanding the photo row across the page I was able to fit my photos. However, this broke up the square feeling of the sketch. I reintroduced structure by adding another layer - the gray background square.
Variation 3: Since I rotated the sketch and had a long title, I had to relocate it. There was empty space along the tops of my photos so I was able to connect the patterned paper and photo rows by aligning my title over both.
Variation 4: I skipped the journaling because I felt these photos made a strong statement on their own. No explanation necessary!
• • • • • • • • • • • • • • • • • • • • • • • • • • • • • • • • • • • • • • • • • • • • •
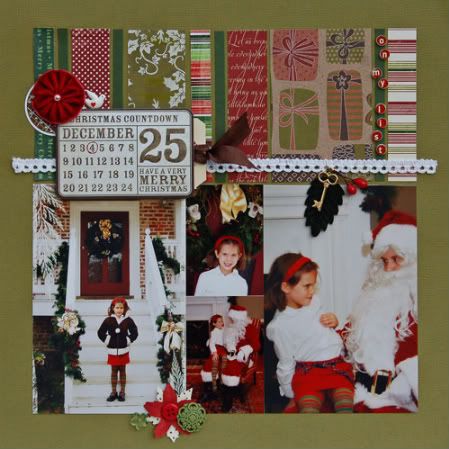
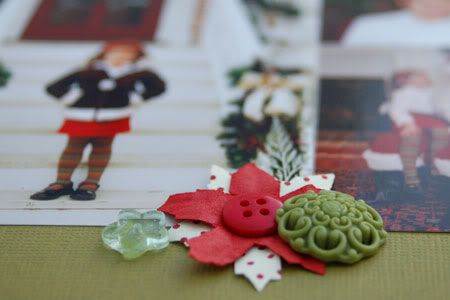
"On My List" by Suzanna Lee
Supplies - Cardstock: Coredinations; Patterned paper: Websters, JilliBean, BoBunny, and Making Memories; Brad; Maya Road; Die Cut: My Minds Eye; Flower: Making Memories; Journal Spot: JilliBean; Alpha stickers: Cosmo Cricket; Sticker: Martha Stewart; Ribbon and button: American
Crafts; Glass Bead: Oriental Trading; Other: key, mistletoe, Pop Dots
Variations:
• Due to the direction of my pictures, I rotated the sketch.
• I kept the embellishment clutters where they were mapped out to be but rather than three consistent clusters of the same thing, I diversified.
• I also left the journal spot where it was too but have hidden journaling on the tag under the Christmas Countdown calendar.
• Because I didn't want to cover the fun JilliBean presents paper, I moved my title.
• I used a fun digital element by putting an overlay on the left hand side 4x6 picture.
• • • • • • • • • • • • • • • • • • • • • • • • • • • • • • • • • • • • • • • • • • • • •
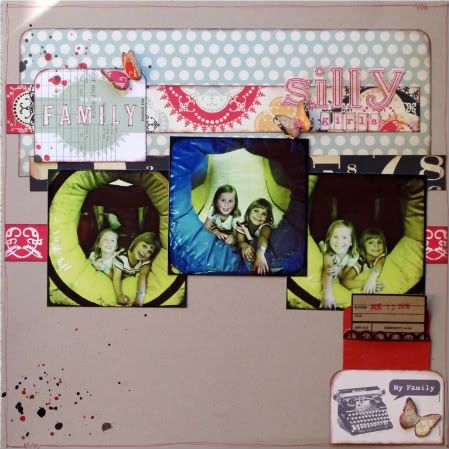
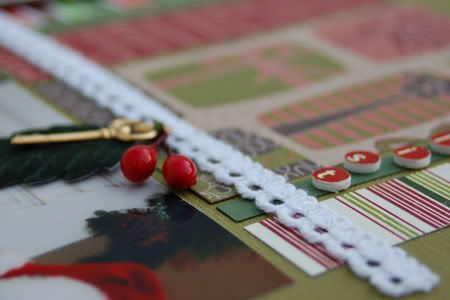
"Silly Girls" by Christy Arthur
Products - Cardstock: Bazzill; Patterned paper: Cosmo Cricket Circa 1934; Library card and envelope: Maya Road; Mists: Studio Calico; Punch: Martha Stewart (butterfly) and Creative Memories (corner rounder); Alphabets: October Afternoon (Mini Market Stickers) and Jenni Bowlin (Red Trim Alphabet); Ink: Colorbox (chestnut roan); Tool: Tim Holtz Tiny Attacher; Pen: American Crafts
• I rotated the one page sketch 90 degrees so the main title and elements are on top.
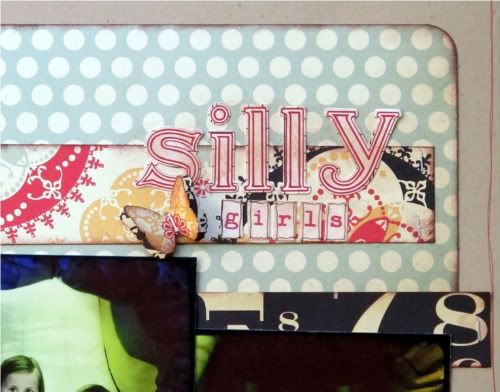
• I added the polka dot paper for the main background and then added a few accent borders to add more color.
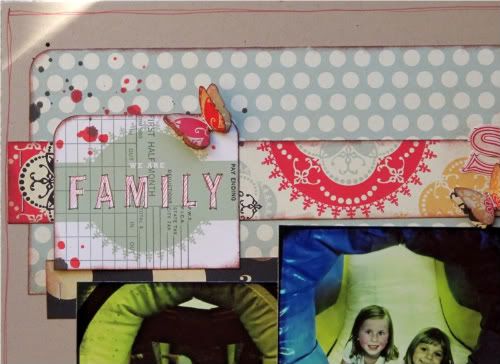
• I took the Kraft envelope and masked it off to mist the scallop border brown as an accent color. Then I misted the rest of the envelope red.
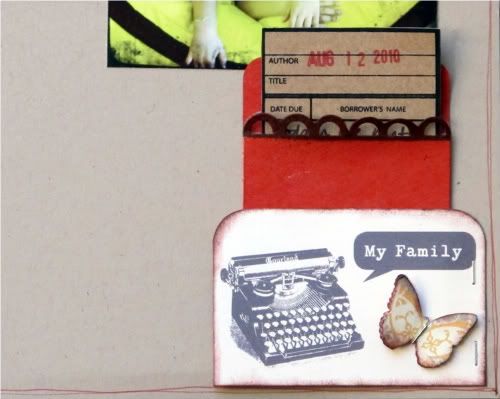
I added a few additional elements (layered butterflies, some family elements and a few drops of mist) to add some detail to the layout.
• To finish off the layout, I drew a red border around the outside of the cardstock.
• • • • • • • • • • • • • • • • • • • • • • • • • • • • • • • • • • • • • • • • • • • • •
American Crafts giveaway winner
The beautiful American Crafts "Love" collection goes to:
Melissa said...
What a great give-away! I really like this sketch and the example layouts. Lots of inspiration in one post!
Congrats Melissa! You can email me at allison@scrapbookgeneration.com with your shipping information and this awesome group of products will be on it's way to you.
We've still got more great giveaways coming up this week from My Mind's Eye so you've still got more chances to win some fun products.
••••••••••••••••••••••••••••••••••••••
21 comments:
O wow, this sketch also looks amazing when flipped!
Thanks for the inspiration!
So many great ideas and details for oen sketch.
Another great group of layouts for this fab sketch :O)
Fantastic!
These pages are fantastic! Great inspiration!
Congratulations to the winner, enjoy your prize.
These layouts are so neat, especially like how they turned them around. Love the picture of first/last day of school idea, you can see how much she grew, love it. Great job ladies.
love the multitasking layout--how true is that......congrats to the winner.....Great layouts today! ksh
Wow, another FANTASTIC round of layouts...such creative inspiration!
Wowza .... I LOVE the flipped sketch ...great work ladies!
great variation!
Congrats Melissa!
It works great being flipped. I love multitasking. How cute! And the first and last day photo shows how much she grew. That will be an idea for me when my little one starts school. :)
What great layouts to see the sketch flipped. I like how Tammy's daughter was wearing the same outfit so you could see how much she's grown. And what a great idea to take a picture of the school signs with the dates.
I loved the flipped versions of the sketch. It's so cool to see how different it looks.
These layouts 'flipped' me out!!
Great takes on the sketch. The multitasking made me LOL!
What great layouts!
Wow! More fresh looks at the sketch. THanks.
i love seeing all the different variations on using the sketch.
Oh I love how you all flipped the sketch. Brilliant ladies!!
I just love seeing the variations. Thanks for the explanations!
I am loving the different variations from this sketch. Awesome job ladies!
Post a Comment