Showing posts with label Megan Bickers. Show all posts

Wednesday, May 23, 2012

One-page Week, Part 3

•••••••••••••••••••••••

You can download and print this sketch by clicking on the one-page sketches link found under the "printable sketches" tab on the right sidebar. 


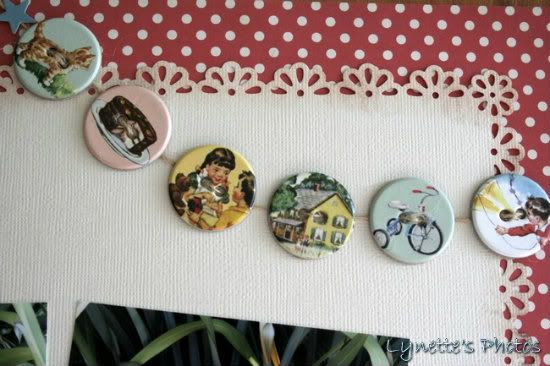
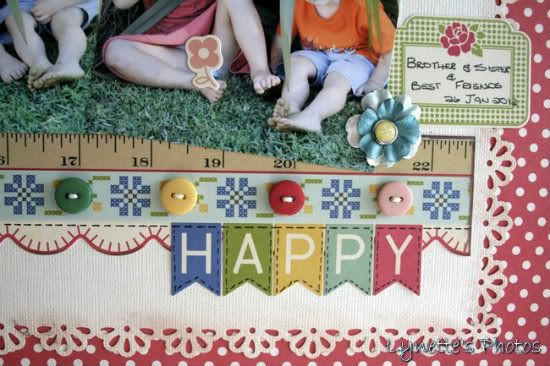
"Happy" by Lynette Jacobs 
Supply list - Cardstock: Bazzill; Printed papers: Cosmo Cricket, October Afternoon; Stickers: October Afternoon: Chipboard buttons: October Afternoon; Buttons: Basic Grey; Flowers: Prima; Brads: My Minds Eye

Variation #1: I die cut the Bazzill and pasted it over the dotty paper.

Variation #2: I made the banner from chipboard buttons.


Variation #3: I substituted the butterflies for flowers.

Variation #4: I made the flags the title.


Variation #5: I used two 4x4 photos.

  • • • • • • • • • • • • • • • • • • • • • • • • • • • • • •


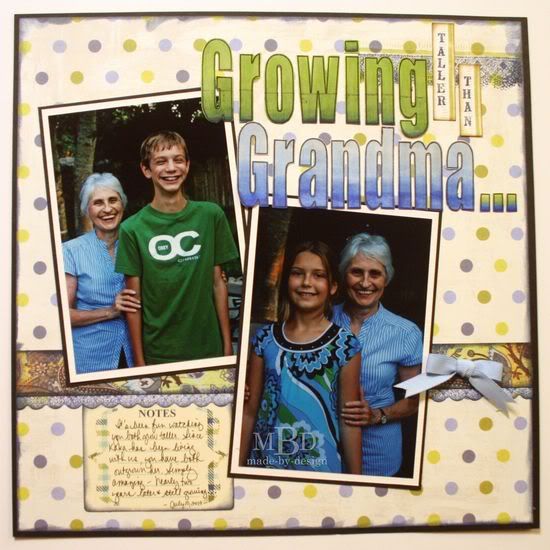
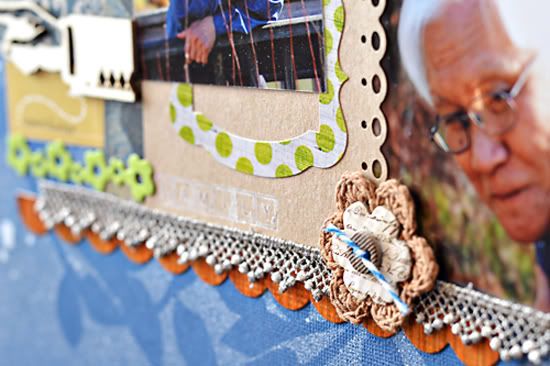
"Growing Taller Than Grandma." by Megan Bickers 
Supplies Used - Cardstock: Georgia Pacific (White), Bazzill (Cream), Maple Press (Black); Patterned Paper: Basic Grey (Skate Shoppe: Indy Grab), My Mind's Eye (Wild Asparagus Blue/Green Polka Dot; Front Porch); Inks: Tsukineko (Memento: Tuxedo Black), Ranger (Distress Inkpad: Shabby Shutters, Walnut Stain, Chipped Sapphire); Stamps: Maya Road (Measure Twice Singleton), The Girls Paperie (Paper Girl), Jenni Bowlin (Lace Border), Technique Tuesday (Big Timber Alphabet), Hampton Art (Tiny Wooden Alphabet); Tools: Ranger (Foam Blending Tool); Markers: EK Success (Zig Writer: Black), Copic (B21, B24, B29, YG03, YG63, YG67, W3); Embellishments: Close To My Heart (Ribbon: Heavenly Blue), October Afternoon (Journaling Card: Detours)

Variation #1: I used larger photos by adding two 4x6" photos plus cream and black mats. This helped my photos stand out more on the page.

Variation #2: I matted my background pattern paper on a black cardstock and extended my pattern paper border to the edges along the bottom of the photos.

Variation #3: Instead of making the banner and pendant, I used a ribbon bow and stamped some lace and a ruler edge along the top of my layout.

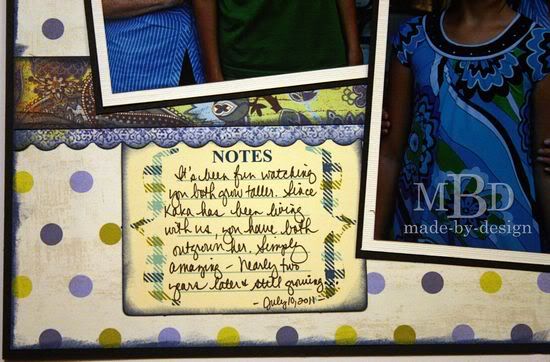
Variation #4: I added my journaling on a journaling card and moved it to the bottom left of my layout. The title was stamped and I colored the main letters with Copic markers to match.


 ••••••••••••••••••

Thursday, May 10, 2012

Two-page Week, Part 4

••••••••••••••
Two-page Sketch #28


You can download and print this sketch by clicking on the two-page sketches link found under the "printable sketches" tab on the right sidebar.


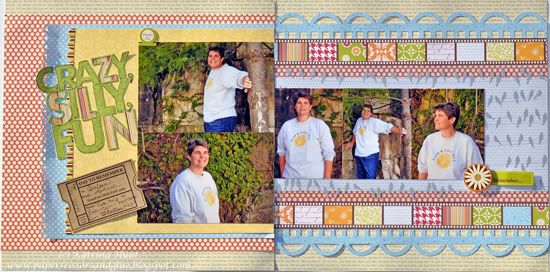
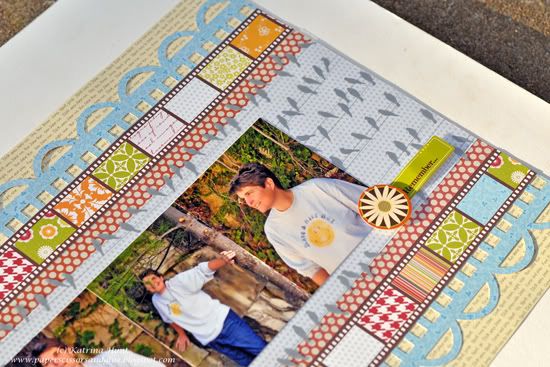
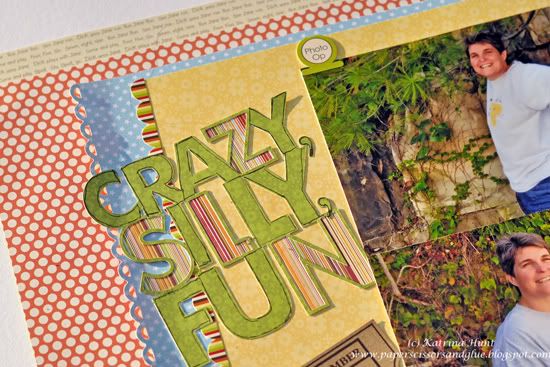
"Crazy Silly Fun" by Katrina Hunt 
Supplies - Patterned Paper: Jillibean Soup (Pasta Fagoli, Chicken Noodle, Dutch Mustard, Blossom Soup, Old World Cabbage Stew); Stickers: Jillibean Soup (Old World Cabbage Stew and Chicken Noodle Soup); Transparency: Hambly Studio; Adhesives: Scotch, Martha Stewart and Scrapbook Adhesives; Ticket: Maya Road; Pen: Zig Micron; Title: Cut with Silhouette Cameo

Variation 1 - Left out a few of the pictures.

Variation 2 - Changed the stars to borders and made the border at the top and bottom of the right hand page.


Variation 3 - Added layers on both sides.

Variation 4 - Moved title up and journaling down.


  • • • • • • • • • • • • • • • • • • • • • • • • • • • • • •


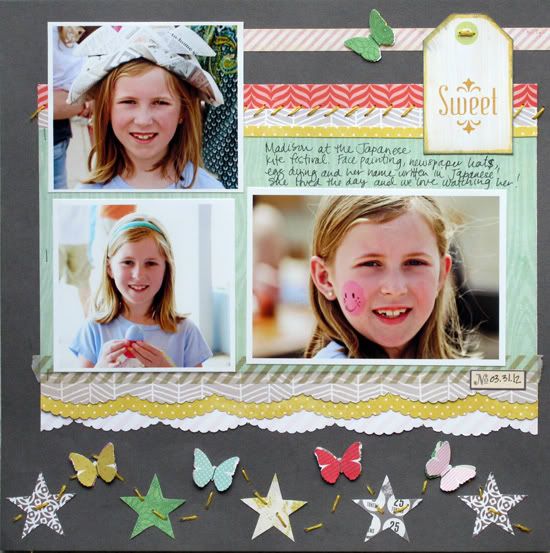
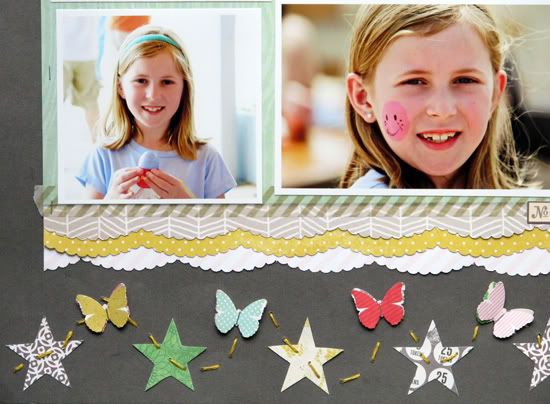
"Sweet" by Christy Arthur 
Supply List -Patterned Paper: Crate Paper (Story Teller Tomorrow and Journey, Pretty Party Streamers, Confetti, Papercloth and Tag Cuts, Random Accent Cuts), My Minds Eye (Miss Caroline Dilly Dally Celebrate Token, Dolled up day Butterflies, Love Me Banners, On the Bright Side Yellow Chevron), Studio Calico (Abroad First Class, Classic Calico Dot One); Embellishments: Love my Tape (Gold Airmail), Crate Paper (Pretty Party Border Stickers), Studio Calico (Lemonade Mister Huey), Martha Stewart (Classic Butterfly and Scallop Punches)

Variation #1: I used the right side of the two page sketch to make my one page layout.

Variation #2: I moved the star border to the very bottom of the page. I then added some butterflies in with the stars and made it a curve instead of a straight border.


Variation #3: I used three photos for my layout.

Variation #4: I layered some additional paper under my patterned paper background.


  • • • • • • • • • • • • • • • • • • • • • • • • • • • • • •


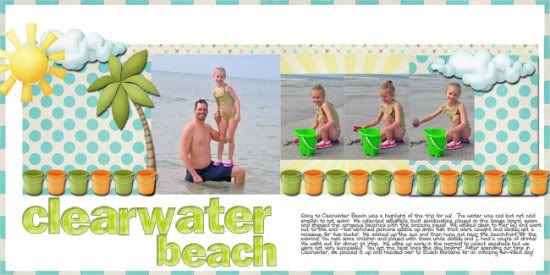
"Clearwater Beach" by Jill Sarginson 
Supplies Used - Paper: Kristin Aagard's Tropical Paradise digital kit, Pond Play digital kit; Alpha: As You Wish Designs: Green Polka Dot; Font: DJB W; Cardstock: Bazzill Basics; Tools: Creative Memories circle cutting system; Other: Floss

Variations:

• I used one large photo on the left hand side vs. two 4x6 photos.

• I did not use the three smaller photos on the right hand side of the layout.

• I filled up the bottom area of the layout with journaling/title.

  • • • • • • • • • • • • • • • • • • • • • • • • • • • • • •


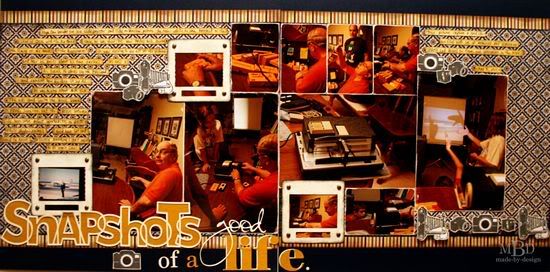
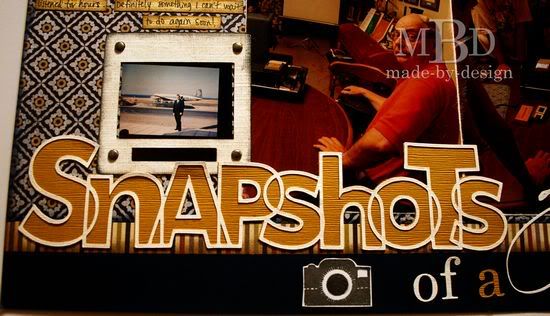
“Snapshots of a Good Life” by Megan Bickers 
Supplies Used—Cardstock: DCWV (Solid Indigo), Bazzill (Cream, Yellow); Patterned Paper: Basic Grey (Granola: Jute), Bo Bunny Press (Pumpkin/Butter rum Linen), Sweetwater (Autumn Sweet); Inks: Marvy Uchida (Black), Ranger (Distress Inkpad: Pumice Stone, Walnut Stain, Chipped Sapphire), ColorBox (Fluid Chalk Ink: Charcoal); Stamps: My Mind’s Eye (Lost & Found: Union Square “Perfect”), Maya Road (Vintage Camera Singleton), Martha Stewart (World Travel), Hampton Art (DSR Camera); Tools: Ranger (Foam Blending Tool); Markers: EK Success (Zig Writer: Black); Embellishments: Making Memories (Pewter Brads); Adhesives: American Crafts (This To That: Foam Squares), Ranger (Glossy Accents); Other: Silhouette Cameo, CK Becky font (“good”), Elephant font (“life”), Georgia font (“of a”). Die Cut Shapes: Loni Stevens (Snapshots), SnapDragon Snippets LLC (Photo Slide Frame)

Variation #1: I varied the size of my photos a bit from what was pictured in the sketch. I turned my two 4x6” photos vertically on the left hand page, and used several larger 4x6” photos on the right hand page. I also printed my smaller photos as small wallets (2 x 3 ½”).

Variation #2: I increased the width of my main pattern paper to accommodate my photo sizes. I also added a stripe at the top and bottom for a border.

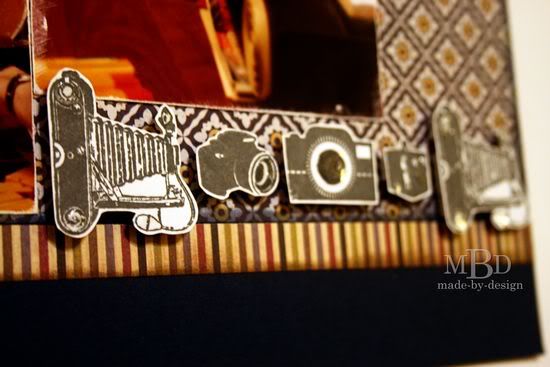
Variation #3: I added rows of stamped cameras for accent in place of the stars shown on the sketch.


The cameras were embellished with Glossy Accents. The photo slides were die cut from my Silhouette and frame several smaller photos. I added brads to the slides for dimension.


Variation #4: I added my journaling on small strips of the yellow pattern paper. The title was moved to the bottom of the layout and was created with die cut words and fonts cut from my Silhouette Cameo.
•••••••••••••••
Tuesday, April 24, 2012

One-page Week, Part 2

••••••••••••••••
One-page Sketch #21


You can download and print this sketch by clicking on the one-page sketches link found under the "printable sketches" tab on the right sidebar. 


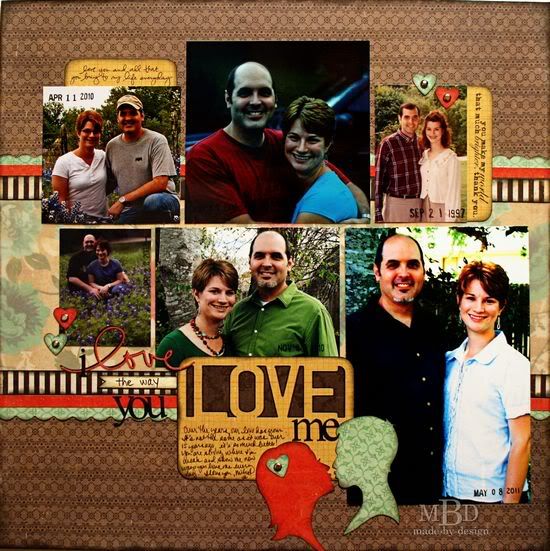
“I Love the Way You Love Me” by Megan Bickers 
Supplies Used - Cardstock: Maple Press (Black), Georgia Pacific (White), Close To My Heart (Plain Vellum); Patterned Paper: Crate Paper (Portrait Collection: Honeymoon, Traditions, Something Blue, Vintage Lace); Inks: Marvy Uchida (Black), Ranger (Distress Inkpad: Antique Linen), Tsukineko (StazOn: Black); Stamps: Technique Tuesday (Love Ali, Simply You), Office Date Stamp; Tools: Ranger (Foam Blending Tool), EK Success (Small Heart Punch), Fiskars (Scalloped Sentiment Border Punch), WeR Memory Keepers (Corner Chomper: ¼”); Markers: EK Success (Zig Writer: Black); Embellishments: Making Memories (Silver Brads); Other: Silhouette Cameo, Die Cut Shapes: (Kara Dudley: Handwritings Love, Loni Stevens: Love 4x6 Life Card, Rivka Wilkins: Kissing Couple, Times New Roman font)

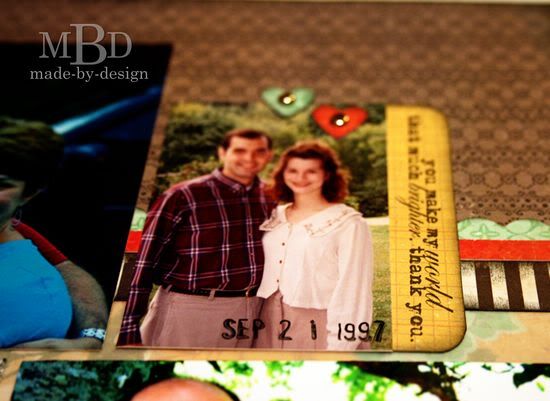
Variation #1: I varied the size of my photos from what was listed in the sketch. I used one 4x6” photo, and trimmed my other photos down to various sizes. Each of the photos has the date stamped on it with StazOn ink.


Variation #2: I used similar papers as shown in the sketch, but added some plain vellum over the main pattern to tone it down a bit. I also punched a scallop border on some of the papers to soften the edges.

Variation #3: I added several punched and die cut shapes for accents. The small hearts were punched, and the kissing couple was die cut with my Silhouette machine. I also stamped some sayings to include around the layout.


Variation #4: I added my journaling on the title card. The title was fully die cut from my Silhouette and the words “the way” were handwritten on cardstock.

  • • • • • • • • • • • • • • • • • • • • • • • • • • • • • •


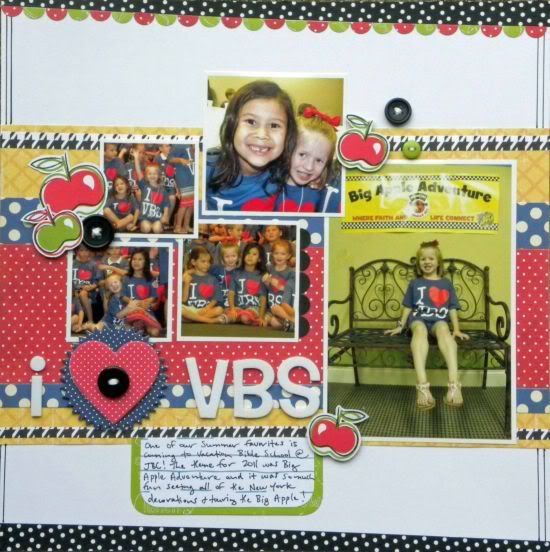
"I {Heart} VBS" by Ashley Horton 
Supply List - Cardstock: Die Cuts With a View; Patterned Paper: Creative Imaginations, October Afternoon, My Mind's Eye, The Paper Studio; Punch: Marvy; Chipboard Embellishments: Martha Stewart; Thickers: American Crafts; Buttons: Michael's; Embroidery Floss: Janlynn; Tape: EK Success; Pen: Sharpie

Variation #1 - I added apples and buttons in place of the heart embellishments on the sketch.

Variation #2 - At the top and bottom of the page, I added some Smash tape and a punched circle border at the top also.

Variation #3 - I drew a couple of lines down the side of my page, to "close in" the layout.

  • • • • • • • • • • • • • • • • • • • • • • • • • • • • • •


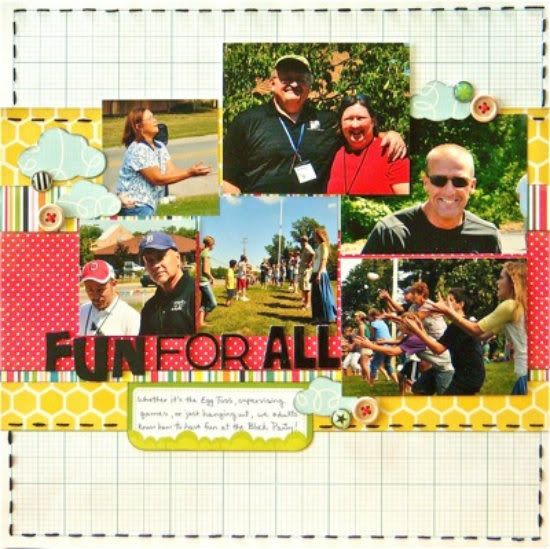
“Fun for All” by Sue Althouse 
Supplies - Patterned Paper: Echo Park (Country Drive, Happy Days); Alphabet: American Crafts; Inks, Mists: Creative Memories Black Chalking Ink; Tools: Fiskars Cloud Punches, Creative Memories corner rounder; Stickers: Echo Park (Summer Days); Brads: Echo Park (Happy Days); Ribbon/Twine: DMC black floss, We R Memory Keepers red floss; Buttons: American Crafts (Elements wood buttons) 

Six photos on a one-page layout! Here's how it all came together: 

Variation #1 - Replaced the 4x6 vertical photo with two 4x3 photos.

Variation #2 - Used slightly larger sizes for the remaining four photos.

Variation #3 - Used raised adhesive to mount some of the photos.

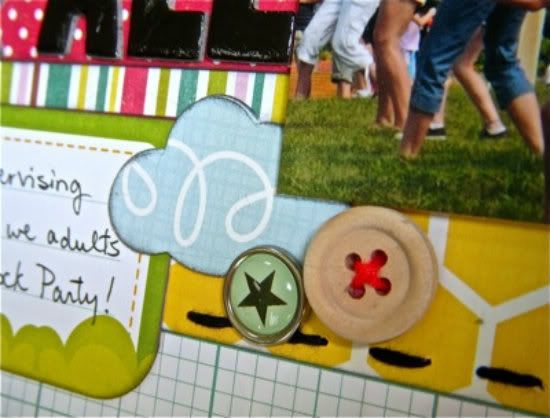
Variation #4 - Inked the edges of the patterned paper.


Variation #5 - Substituted clouds, buttons and brads for the hearts.

Variation #6 - Hand-stitched around the page border. 
•••••••••••••••••••••••

Friday, April 20, 2012

Add-on Week, Part 5

••••••••••••••••
Add-on Sketch #16

You can download and print this sketch by clicking on the add-on sketches link found under the "printable sketches" tab on the right sidebar.


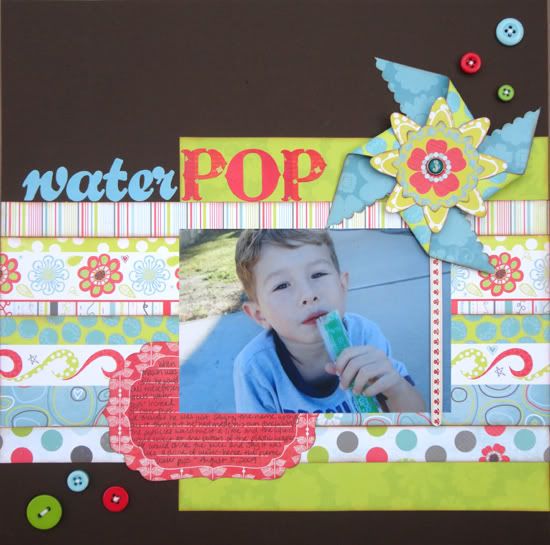
“Water Pop” by Andrea Friebus
Supply list - Cardstock: American Crafts; patterned paper: Bo Bunny; letter stickers: Creative Imaginations; die cuts: Bo Bunny; ink: Clearsnap; buttons and brad: My Mind’s Eye; chipboard: Little Yellow Bicycle; embroidery floss: DMC

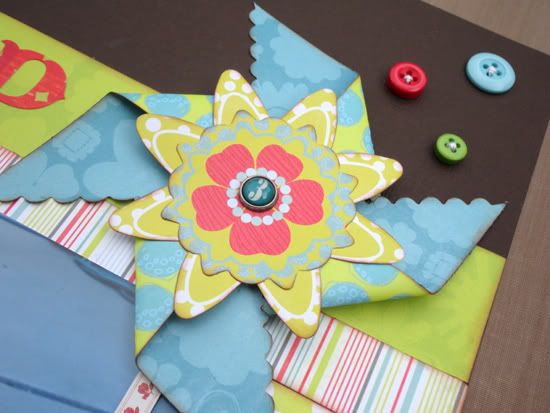
Variation #1 - I made one pinwheel from a 4 inch square of patterned paper. I cut into the square with decorative scissors so the edges would be scalloped.


Variation #2 - I topped the pinwheel with two die cut flowers and a brad and added a chipboard border for the post.

  • • • • • • • • • • • • • • • • • • • • • • • • • • • • • •


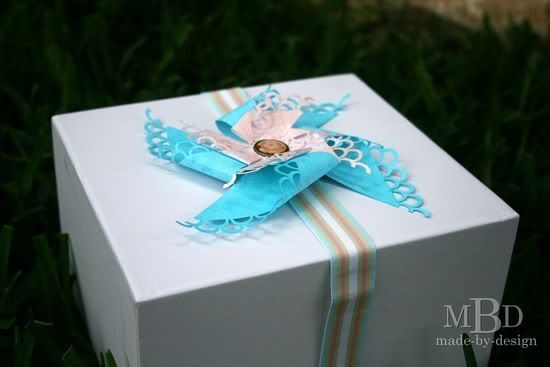
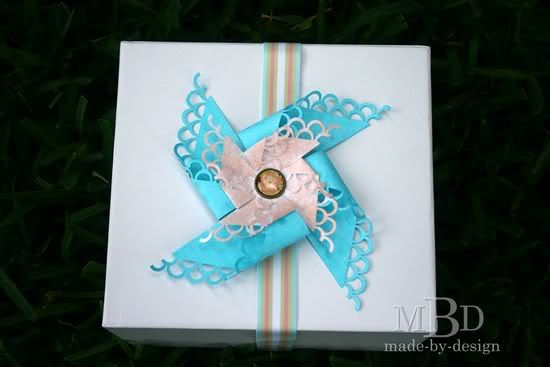
“Pinwheel Present” by Megan Bickers
Supplies Used—Cardstock: Georgia Pacific (White); Inks: Ranger (Distress Inkpad: Tattered Rose), Tattered Angels (Glimmer Mist: Turquoise Blue); Embellishments: Bo Bunny (Brad: Olivia), Michaels (Ribbon: Textured Trios); Tools: Martha Stewart (Corner & Border Punch: Double Loop).

Variation #1: I varied the size of my squares, using a 3 ¼” and 5” size.

Variation #2: I punched the edges of the two squares before making them into the pinwheel shape.


Variation #3: Instead of adding a toothpick to them, I layered the pinwheels and added them to the top of a present.
••••••••••••••••••••

Thursday, March 29, 2012

One-page Week, Part 4

••••••••••••••
One-page Sketch #19

You can download and print this sketch by clicking on the one-page sketches link found under the "printable sketches" tab on the right sidebar.


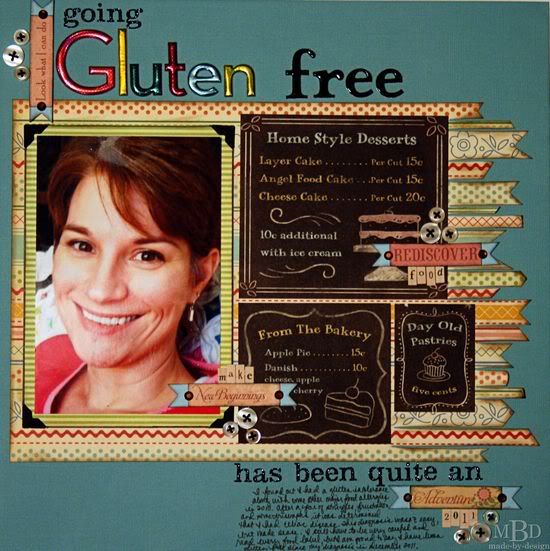
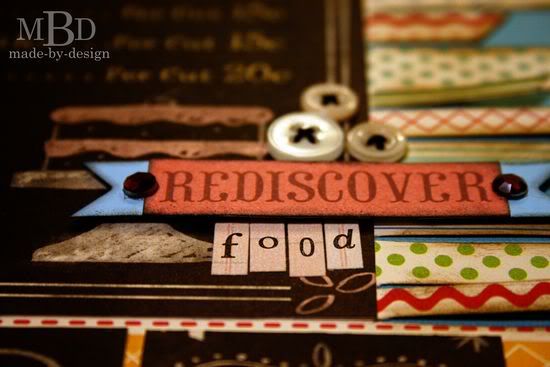
"Going Gluten Free" by Megan Bickers
Supplies Used - Cardstock: Paper Studio (Blue); Patterned Paper: October Afternoon (5 & Dime: Wax Bottles; Modern Homemaker: Percolator, Flour Sack); Inks: Marvy Uchida (Black), Ranger (Distress Inkpad: Walnut Stain); Stickers: K & Company (Bungalow Word Swatch Book), Making Memories (Just Chillin'; Puffy Alpha; Mini Shimmer Alpha: Black School House; Tiny Alpha: Pink Ledger), American Crafts (Puffy Letter Thickers: Honey); Tools: Ranger (Foam Blending Tool); Markers: American Craft (Precision Pen: Black); Embellishments: Unknown (Cream Buttons), Mark Richards (Crystal Stickers: Brown), Martha Stewart (Ribbon Tags: Blue Sky), 3L (Photo Corners: Black), Coats & Clark (Crochet Thread: Black); Adhesive: 3M (Foam Tape)

Variation #1: I turned the sketch on its side with the flag ends facing to the right.

Variation #2: I used a single piece of striped pattern paper to create my "ribbons". I cut slivers of paper out between each section to give some space between the stripes and trimmed the ends into flag shapes.

Variation #3: I used a vertical photo instead of a horizontal one.

Variation #4: I added my journaling underneath my photo and the second portion of my extended title.

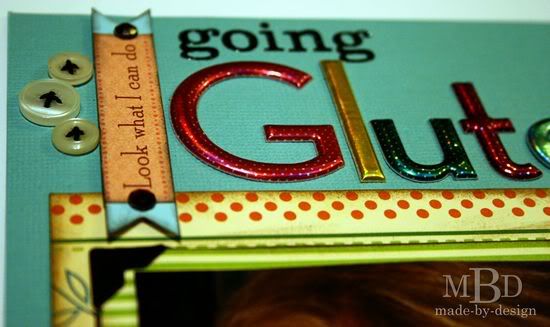
Here's a closer look at some of the details:


  • • • • • • • • • • • • • • • • • • • • • • • • • • • • • •


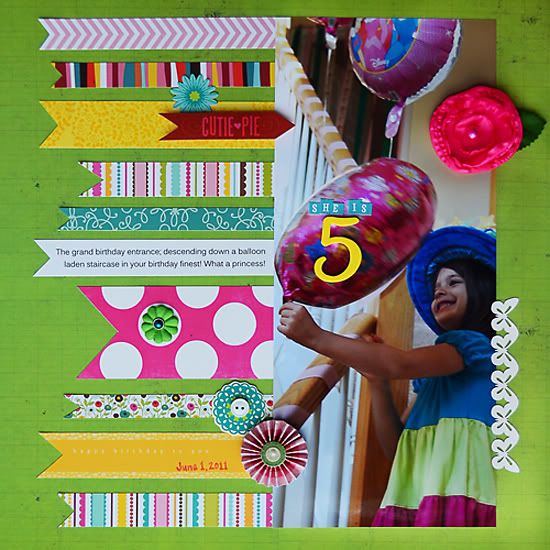
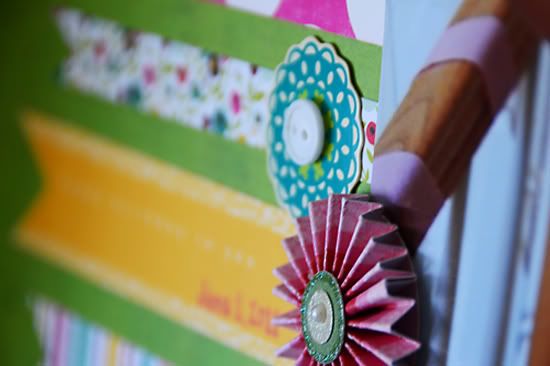
"She Is 5" by Suzanna Lee
Supply List - Patterned paper: Bella Boulevard, Around the Block, Lilli Bee; Number and letter stickers: American Crafts, Cosmo Cricket; Stickers: Crate Paper; Die Cuts: K & Co, Cosmo Cricket: Flowers: Maya Road, Petaloo; Brad: My Minds Eye; Border: Reminisce

Variation 1: I rotated the sketch 90 degrees to the right and then everything went wonky from there! LOL!!

Variation 2: I used a 12x6 picture that I trimmed down. The size of my picture changed the dimensions of the flags to keep things proportional. I didn't like the bits of flag poking out on the other side of the picture so they remained to one side only.


Variation 3: Again because of picture size, I didn't have room for the journaling where the sketch called for it. I made one of the flags into a journaling spot instead.

Variation 4: The layout needed a bit of "grounding" without the bits on the right hand side of the picture so I used the backside of an old Reminisce border.

Variation 5: Title placement is different. That big ol' pink balloon is a bit of an eye sore as is but the perfect place to put a title!

  • • • • • • • • • • • • • • • • • • • • • • • • • • • • • •


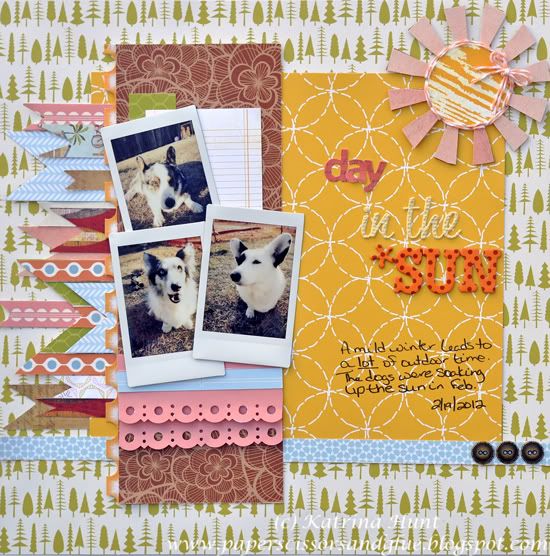
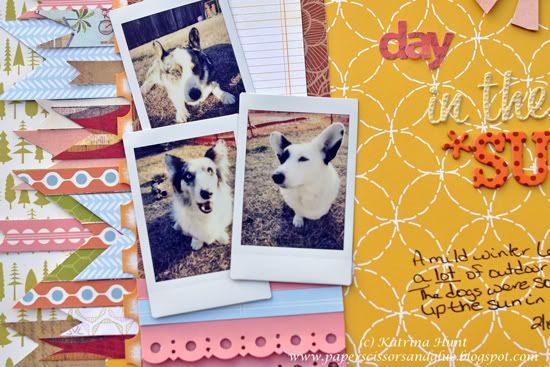
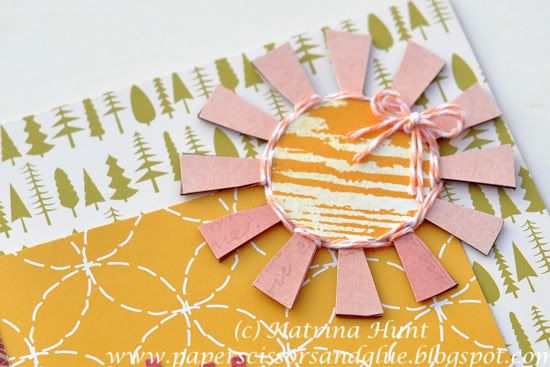
"Day in the Sun" by Katrina Hunt
Supplies - Patterned Paper: American Crafts (Fox Park Forest, Brilliance, Gee Whiz), My Mind’s Eye (Catch a Wave, Beach Huts), Sassafras (Line Up), Studio Calico (London Calling); Buttons: My Mind’s Eye; Mini Alphas: Sassafras; Vinyl and Chipboard Letters: American Crafts; Twine: The Twinery Baker’s Twine (Cantaloupe); Chipboard Sun: Basically Bare; Adhesives: Scotch, Fabri-Tac and Scrapbook Adhesives; Tools: Martha Stewart Border Punch

Variation 1 - Rotated sketch.

Variation 2 - Changed 4 x 6 picture to three smaller pictures.


Variation 3 - Added a few extra layers everywhere, including the banner area.

Variation 4 - If you look, my title and journaling are basically in the same place if you rotate the sketch 90 degrees to the left.

 ••••••••••••••••

Friday, March 23, 2012

Add-on Week, Part 5

••••••••••••••••
Add-on Sketch #15


You can download and print this sketch by clicking on the add-on sketches link found under the "printable sketches" tab on the right sidebar.


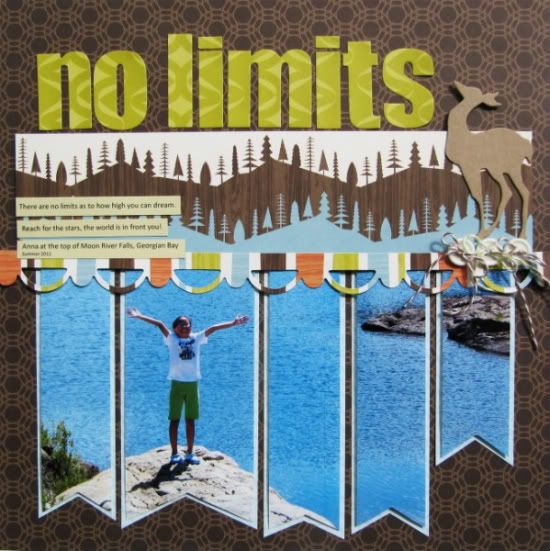
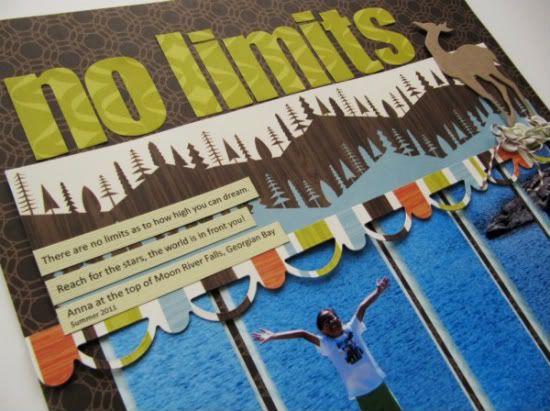
"No Limits" by Virginia Nebel
Supply list - Patterned paper: American Crafts; Embellishments: Twinery Twine; Diecuts: Lifeystyles Crafts, Sizzix; Buttons: unknown

Variation #1 - I love the banners! I created a banner spanning a panoramic photo and made it the focal point of my page.


  • • • • • • • • • • • • • • • • • • • • • • • • • • • • • •


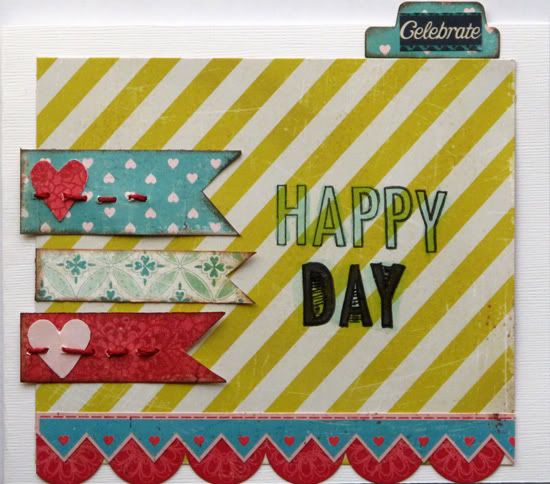
"Happy Day" card by Christy Arthur
Supply List - Cardstock: Bazzill; Patterned Paper: Crate Paper (Paper Heart Delicate, Delivery, Love Letter); Embellishments: Crate Paper (Paper Heart Border Stickers, Farmhouse Alpha Labels); Tools: Jenni Bowlin Punch (Tab), Studio Calico Hero Arts (Alphabet Stamp), Bazzill In Stitch Floss; Mist: Studio Calico (Mister Huey Dewey)

Variation #1: The flags on my card are all going the same direction.

Variation #2: I did not add the stick to the flags.

  • • • • • • • • • • • • • • • • • • • • • • • • • • • • • •


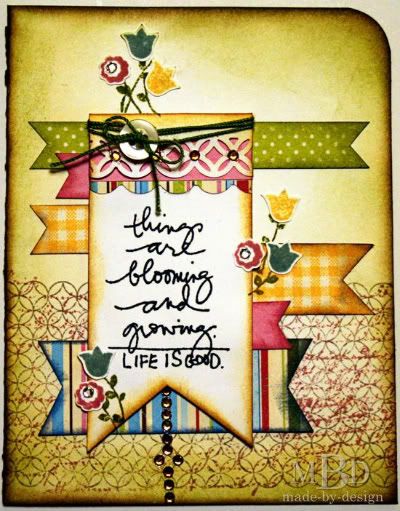
“Blooming and Growing" card by Megan Bickers
Supplies Used — Cardstock: Georgia Pacific (White); Patterned Paper: Making Memories (Just Chillin’ Girl: Green Dot), Bo Bunny (Yellow Gingham), My Mind’s Eye (Magnolia: Starburst Pink/Stripe); Inks: Ranger Distress Inkpads (Scattered Straw, Victorian Velvet, Peeled Paint, Iced Spruce, Brushed Corduroy and Pumice Stone), Marvy Uchida (Black); Stamps: Technique Tuesday (Ali Edwards: Beauty of Spring), Label Tulip (Infinity), 7 Gypsies (Nottinghill); Tools: Ranger (Foam Blending Tool), Fiskars Border Punch (Scalloped Sentiment), Martha Stewart Border Punch (Modern Garland), We R Memory Keepers (Corner Chomper: ½” Rounder); Markers: Copic (E37 Sepia); Adhesive: Ranger (Matte Accents), 3M (Foam Tape); Other: The Paper Studio (Clear Gemstones), Green Crochet Thread, White Button.


Variation #1: Instead of creating lots of separate flags, I created a large banner type flag with my sentiment and added some small flag shaped pieces behind it.

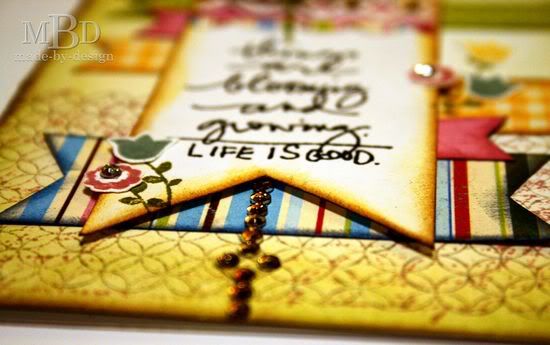
Variation #2: I created the “stick” for my flag using gemstones colored brown with a copic marker.


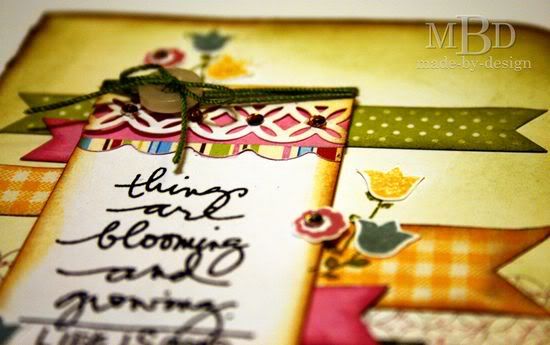
Variation #3: Instead of adding small accents on my separate banners, I stamped some tiny flowers and stems and clustered them in three areas on my card, overlapping my main sentiment banner.


Other things to note: I also stamped a distressed background. To create the top of my large banner, I punched the top of the banner with a border punch, wrapped thread around it, and then folded it over with some other papers underneath.
••••••••••••••••

Thursday, February 23, 2012

One-page Week, Part 4

•••••••••••••••••
One-page Sketch #18


You can download and print this sketch by clicking on the one-page sketches link found under the "printable sketches" tab on the right sidebar.


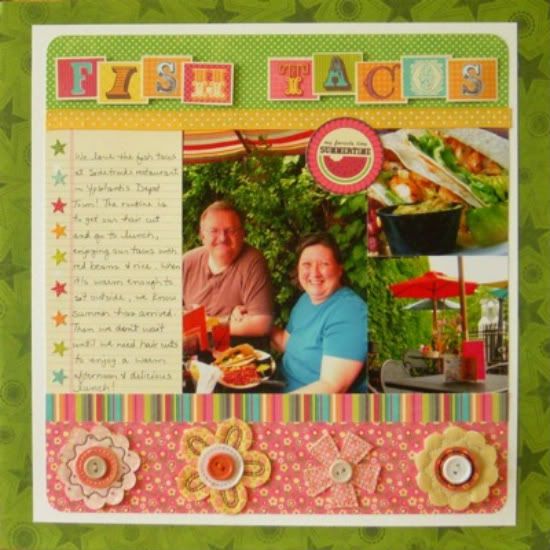
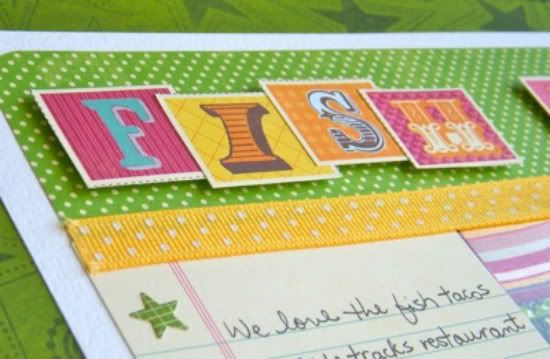
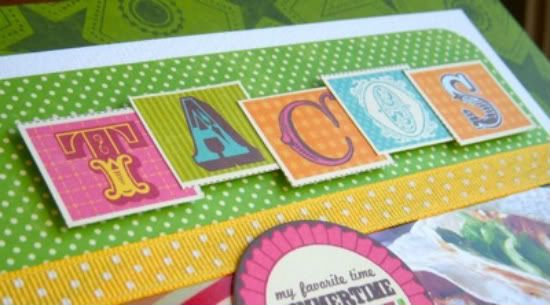
“Fish Tacos” by Sue Althouse
Supplies - Cardstock: Bazzill; Patterned Paper: Bo Bunny, Jillibean Soup (Sweet & Sour, Watermelon Gazpacho); Title Letters, Journaling Card, Star Stickers: Jillibean Soup; Flowers: Basic Grey; Other: yellow ribbon

I can hardly wait for warmer weather and outdoor lunches at one of our favorite local places!

Variation #1 - Added more patterned paper strips in place of the big heart.

Variation #2 - Mounted all the page elements on white cardstock, trimmed and matted that onto a patterned paper background.


Variation #3 - Substituted flowers and stars for the heart embellishments.

  • • • • • • • • • • • • • • • • • • • • • • • • • • • • • •


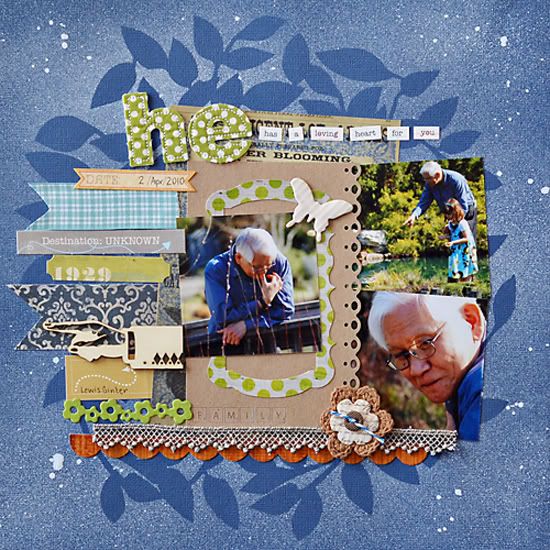
"He" by Suzanna Lee
Supply List - Cardstock: Bazzill Basics; Paper Layer and Stickers: Glitz; Mask and Quilted Word: Prima; Mist: Studio Calico; Labels: My Minds Eye, Authentique, Ormolu, Kaiser Craft; Lace: Maya Road; Punch: EK Success; Wood shape: Pink Paislee; Crochet flower: Kaiser Craft; Twine: The Twinery; Button: My Minds Eye

Variation #1: No heart but a misted a circle as the background instead.

Variation #2: Instead of the 4x6 picture, I used a piece of 4x6 craft cardstock with a smaller picture and some embellishments to adorn it.

Variation #3: I can't journal in the quantity that that journal block called for so I minimized it and altered it's purpose by using a bunch of banner like pieces instead.

Variation #4: No stripey strips here either!! I used a coordination sticker border and a strip of lace instead of the stitching.


  • • • • • • • • • • • • • • • • • • • • • • • • • • • • • •


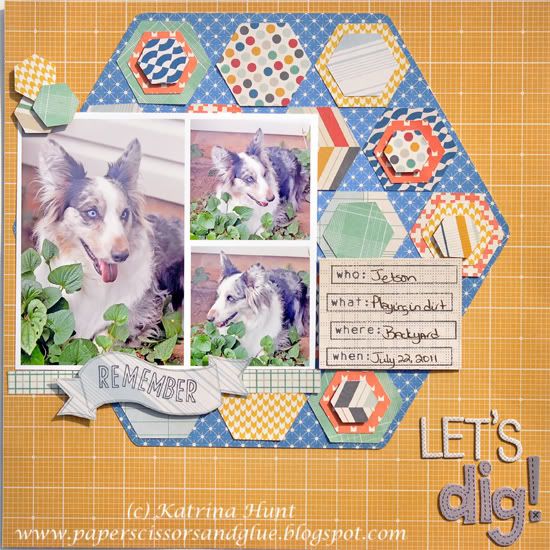
"Let’s Dig" by Katrina Hunt
Supplies - Patterned Paper: American Crafts (Chap Collection); Stamps: Unity Stamp Co. (S.M.A.K Jan. and Feb. 2012); Adhesives: Scotch, GlueArts and Scrapbook Adhesives; Tools: Silhouette Cameo with Silhouette files

Variation 1 - Made hexagon, instead of the heart

Variation 2 - Added additional hexagons for dimension.

Variation 3 - Moved picture to the far left, which cause the journaling to be moved also.

Variation 4 - Moved title down to right hand corner

  • • • • • • • • • • • • • • • • • • • • • • • • • • • • • •


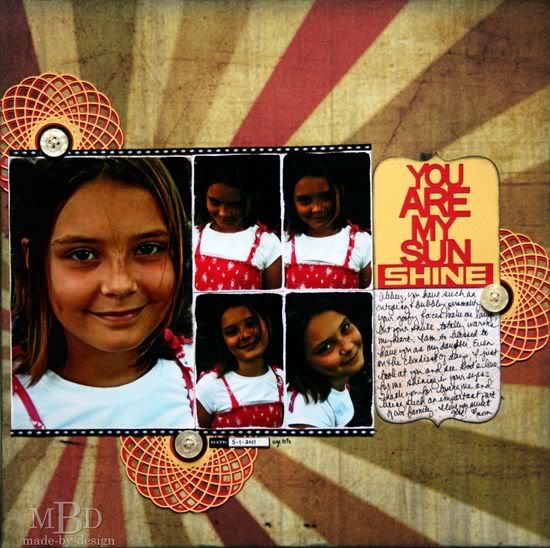
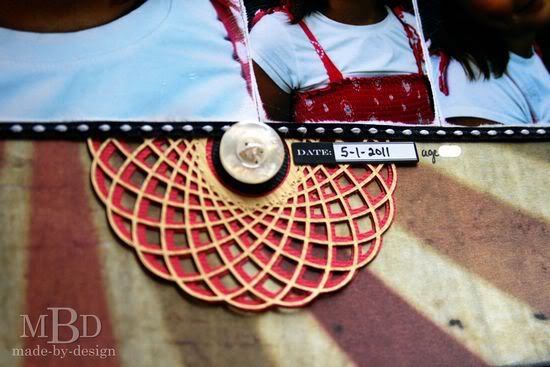
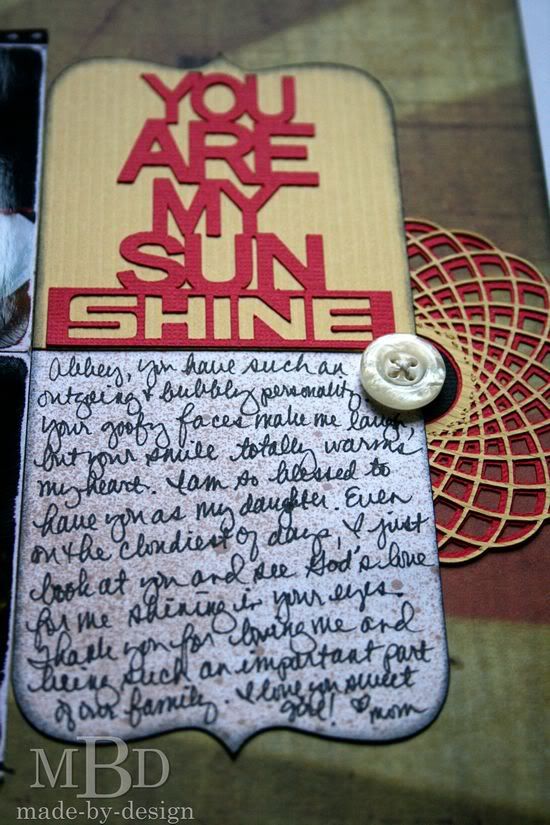
"You Are My Sunshine" by Megan Bickers
Supplies Used - Cardstock: Georgia Pacific (White), Bazzill (Pink, Yellow, Black); Patterned Paper: Tim Holtz Idea-ology (Retro Grunge); Inks: Marvy Uchida (Black), October Afternoon (Art Box Sprinklers: Brown Bag); Stickers: 7 Gypsies (Mini Label Stickers: Date); Tools: EK Success (3/4" Circle Punch); Silhouette America (Cameo: You are My Sunshine, Tag, Doily), Ranger (Foam Blending Tool), Basic Grey (Paper Files); Markers: American Craft (Precision Pen: Black); Other: Autumn Leaves (Buttons), May Arts (Black Ribbon), White Crochet Thread; Adhesive: Ranger (Matte Accents), Therm-O-Web (Zots).

Variation #1: I used a printed "sun ray" pattern paper for my background instead of a cut out shape.

Variation #2: I added my title to the top of my journaling block instead of putting it at the top of the layout.

Variation #3: I added a few more photos than what was shown in the sketch and varied their sizes a bit.


Variation #4: I added ribbon to the top and bottom of the photos to help ground them.

Variation #5: I flipped the journaling block from the left side of the layout to the right.

 ••••••••••••••••