Showing posts with label Katrina Hunt. Show all posts

Thursday, May 24, 2012

One-page Week, Part 4

•••••••••••••••••••••••

You can download and print this sketch by clicking on the one-page sketches link found under the "printable sketches" tab on the right sidebar. 
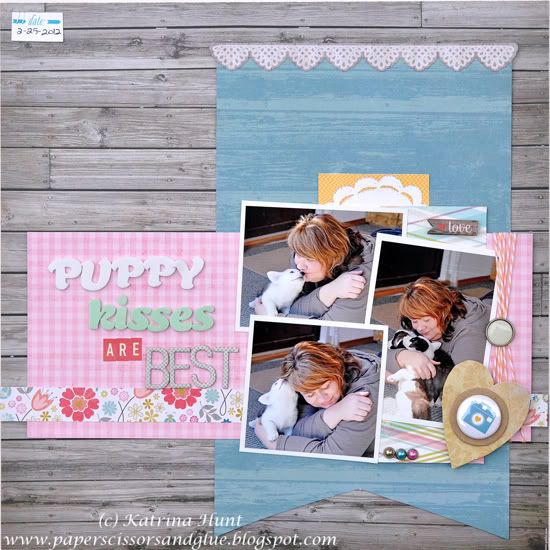

"Puppy Kisses Are Best" by Katrina Hunt 
Supplies - Patterned Paper: My Mind’s Eye (Dolled Up Collection); Die Cuts and Stickers: My Mind’s Eye (Dolled Up Collection); Cardboard and Chipboard: Basically Bare; Flair: A Flair for Buttons Etsy shop; Adhesives: Scotch, Fabri-Tac and Scrapbook Adhesives; Tags: Elle’s Studio; Twine: The Twinery; Brads: My Mind’s Eye (Dolled Up); Lettering for Title: American Crafts and October Afternoon

Variation 1 - Moved the pictures over.
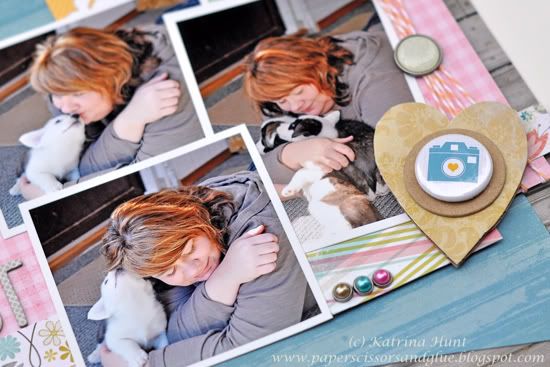

Variation 2 - Made one big banner piece and extended it up further.

Variation 3 - No journaling, I inserted my title where the journaling should have been.
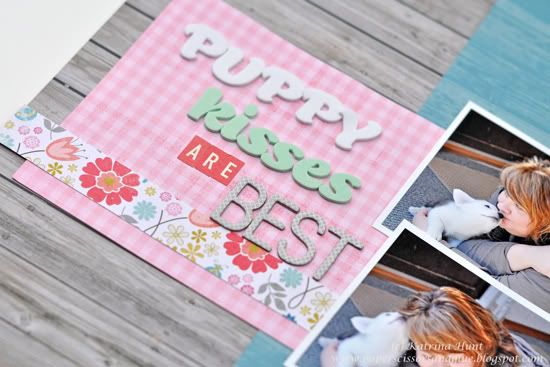

Variation 4 - Added a bigger layer and an additional layer going up the one banner piece.

  • • • • • • • • • • • • • • • • • • • • • • • • • • • • • •
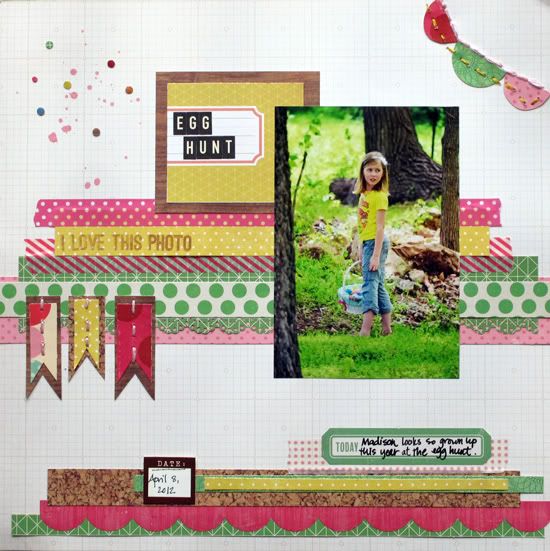

"Egg Hunt" by Christy Arthur 
Supply List - Patterned Paper: Crate Paper (Paper Heart Delivery, Pretty Party Streamers, Story Teller Archives, Journey, Peppermint Ski Lodge), Studio Calico (Classic Calico Folio, Autumn Press Frolic), October Afternoon (Sidewalks Marbles); Embellishments: Crate Paper (Pretty Party Border Stickers, Story Teller Phrase Stickers), Studio Calico (Mister Huey Piglet, Stamps), October Afternoon (Mini Market Stickers Black and Cream), Love my tapes (White Dots on Pink), Martha Stewart (Doily Punch), Elle's Studio (Lil' Snippets Date)

Variation #1: I used one photo instead of the two shown in the sketch.

Variation #2: I flipped the locations of the photo and the banner, leaving the garland and title in the same place as the sketch.
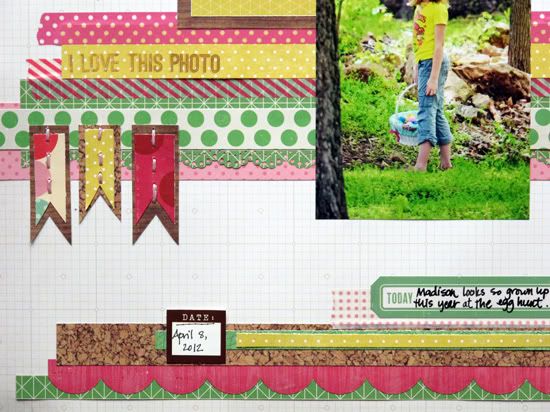

Variation #3: I stacked two banners on top of each other and stitched them down the middle.

Variation #4: I added some additional strips of paper and tape behind the photo and along the lower part of the layout.

Variation #5: I added some drops of mist and little pieces of confetti in the top, left corner of the layout.

  • • • • • • • • • • • • • • • • • • • • • • • • • • • • • •


"Berry Good" by Ashley Horton 
Supply List - Patterned Paper, Ruffled Paper, and Thickers: American Crafts; Spray Mist: Smooch Spritz and October Afternoon; 6x6 Template: The Crafter's Workshop; Baker's Twine: The Twinery; Brads: Bazzill; Flag: Bella Blvd.; Wood Flourishes: Kaisercraft; Punch: Marvy; Other: Buttons and Staples

Variation #1 - My photos are sized to 3.5x5, instead of 3x4.

Variation #2 - I added a large die cut flower, in place of the half banner at the top right hand side of the page.

Variation #3 - My title is located further to the top of the page, since my photos are a little larger than the size on the sketch.

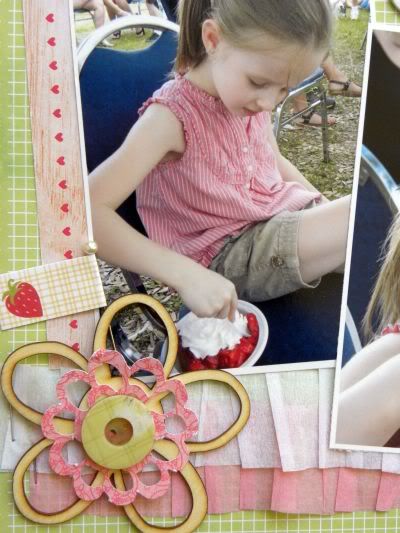
Variation #4 - I used ruffled paper across my page for the border strips and added a fussy cut jar embellishment next to the journaling area.
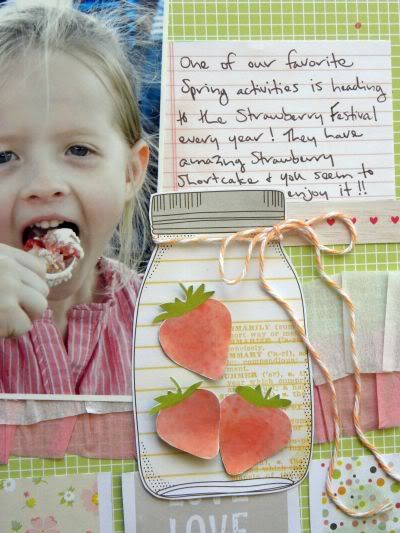

Variation #5 - I added an embellishment cluster to the bottom corner of the photo on the left hand side of the page.
 ••••••••••••••••••••••

Thursday, May 10, 2012

Two-page Week, Part 4

••••••••••••••
Two-page Sketch #28


You can download and print this sketch by clicking on the two-page sketches link found under the "printable sketches" tab on the right sidebar.


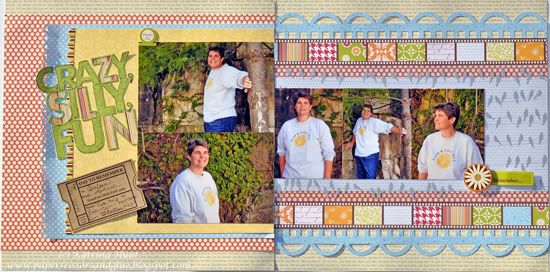
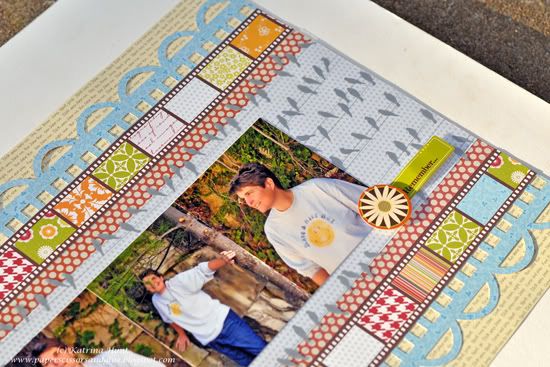
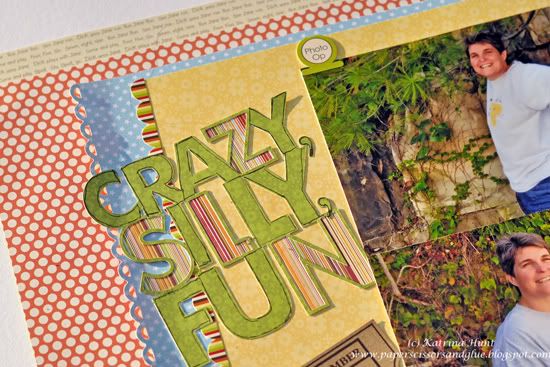
"Crazy Silly Fun" by Katrina Hunt 
Supplies - Patterned Paper: Jillibean Soup (Pasta Fagoli, Chicken Noodle, Dutch Mustard, Blossom Soup, Old World Cabbage Stew); Stickers: Jillibean Soup (Old World Cabbage Stew and Chicken Noodle Soup); Transparency: Hambly Studio; Adhesives: Scotch, Martha Stewart and Scrapbook Adhesives; Ticket: Maya Road; Pen: Zig Micron; Title: Cut with Silhouette Cameo

Variation 1 - Left out a few of the pictures.

Variation 2 - Changed the stars to borders and made the border at the top and bottom of the right hand page.


Variation 3 - Added layers on both sides.

Variation 4 - Moved title up and journaling down.


  • • • • • • • • • • • • • • • • • • • • • • • • • • • • • •


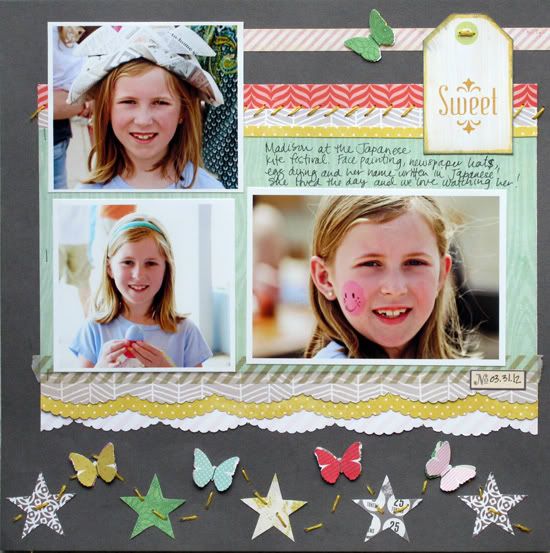
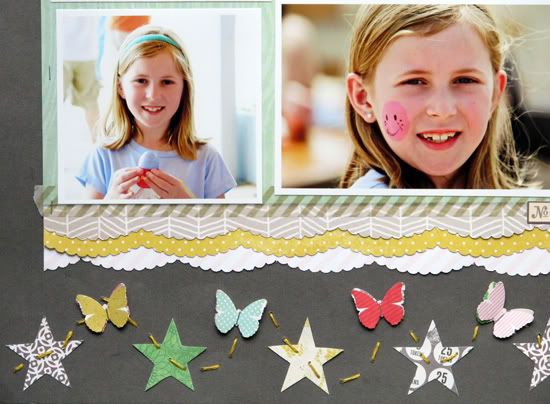
"Sweet" by Christy Arthur 
Supply List -Patterned Paper: Crate Paper (Story Teller Tomorrow and Journey, Pretty Party Streamers, Confetti, Papercloth and Tag Cuts, Random Accent Cuts), My Minds Eye (Miss Caroline Dilly Dally Celebrate Token, Dolled up day Butterflies, Love Me Banners, On the Bright Side Yellow Chevron), Studio Calico (Abroad First Class, Classic Calico Dot One); Embellishments: Love my Tape (Gold Airmail), Crate Paper (Pretty Party Border Stickers), Studio Calico (Lemonade Mister Huey), Martha Stewart (Classic Butterfly and Scallop Punches)

Variation #1: I used the right side of the two page sketch to make my one page layout.

Variation #2: I moved the star border to the very bottom of the page. I then added some butterflies in with the stars and made it a curve instead of a straight border.


Variation #3: I used three photos for my layout.

Variation #4: I layered some additional paper under my patterned paper background.


  • • • • • • • • • • • • • • • • • • • • • • • • • • • • • •


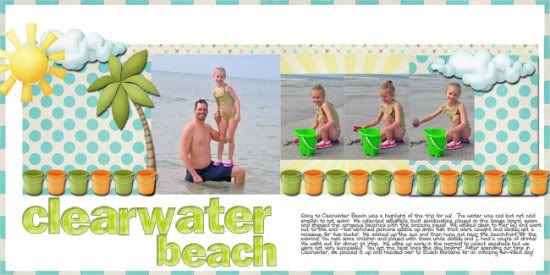
"Clearwater Beach" by Jill Sarginson 
Supplies Used - Paper: Kristin Aagard's Tropical Paradise digital kit, Pond Play digital kit; Alpha: As You Wish Designs: Green Polka Dot; Font: DJB W; Cardstock: Bazzill Basics; Tools: Creative Memories circle cutting system; Other: Floss

Variations:

• I used one large photo on the left hand side vs. two 4x6 photos.

• I did not use the three smaller photos on the right hand side of the layout.

• I filled up the bottom area of the layout with journaling/title.

  • • • • • • • • • • • • • • • • • • • • • • • • • • • • • •


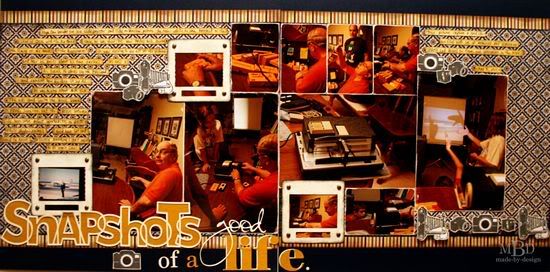
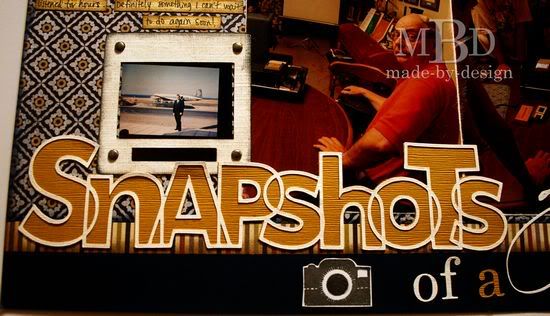
“Snapshots of a Good Life” by Megan Bickers 
Supplies UsedCardstock: DCWV (Solid Indigo), Bazzill (Cream, Yellow); Patterned Paper: Basic Grey (Granola: Jute), Bo Bunny Press (Pumpkin/Butter rum Linen), Sweetwater (Autumn Sweet); Inks: Marvy Uchida (Black), Ranger (Distress Inkpad: Pumice Stone, Walnut Stain, Chipped Sapphire), ColorBox (Fluid Chalk Ink: Charcoal); Stamps: My Mind’s Eye (Lost & Found: Union Square “Perfect”), Maya Road (Vintage Camera Singleton), Martha Stewart (World Travel), Hampton Art (DSR Camera); Tools: Ranger (Foam Blending Tool); Markers: EK Success (Zig Writer: Black); Embellishments: Making Memories (Pewter Brads); Adhesives: American Crafts (This To That: Foam Squares), Ranger (Glossy Accents); Other: Silhouette Cameo, CK Becky font (“good”), Elephant font (“life”), Georgia font (“of a”). Die Cut Shapes: Loni Stevens (Snapshots), SnapDragon Snippets LLC (Photo Slide Frame)

Variation #1: I varied the size of my photos a bit from what was pictured in the sketch. I turned my two 4x6” photos vertically on the left hand page, and used several larger 4x6” photos on the right hand page. I also printed my smaller photos as small wallets (2 x 3 ½”).

Variation #2: I increased the width of my main pattern paper to accommodate my photo sizes. I also added a stripe at the top and bottom for a border.

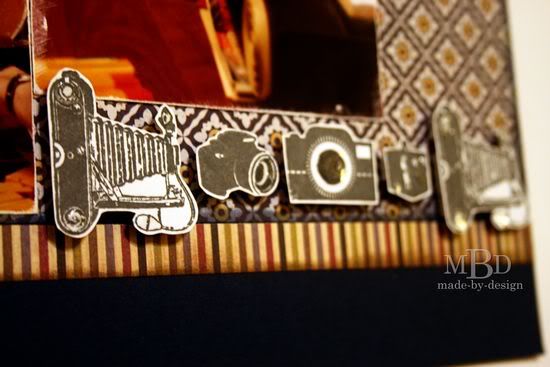
Variation #3: I added rows of stamped cameras for accent in place of the stars shown on the sketch.


The cameras were embellished with Glossy Accents. The photo slides were die cut from my Silhouette and frame several smaller photos. I added brads to the slides for dimension.


Variation #4: I added my journaling on small strips of the yellow pattern paper. The title was moved to the bottom of the layout and was created with die cut words and fonts cut from my Silhouette Cameo.
•••••••••••••••

Friday, May 4, 2012

Card Week, Part 5 - Nikki Sivils, Scrapbooker Product Challenge

•••••••••••••••••••
Card Sketch #19

You can download and print this sketch by clicking on the card sketches link found under the "printable sketches" tab on the right sidebar.

Today is the first of our Nikki Sivils, Scrapbooker Product Challenge!

In case you missed the product challenge details, Nikki Sivils provided a collection kit to each member of our Creative Team. Each had the choice between the four newest collections - Noah, Audrey, Exit Here, and Messages. Together with the May sketches we will show you how using the same products and even the same sketches can produce so many different results.

They are also featuring our sketches this month on the Nikki Sivils, Scrapbooker blog! You'll definitely want to go check out how their talented team used the sketches from our two newest books!

Since it is Card Week, all of the projects posted today for the product challenge are based on the May card sketch. 

Noah Collection


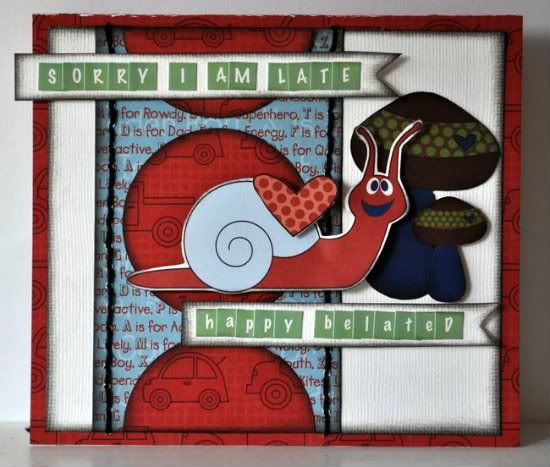
"Sorry I am Late" by Jill Sarginson 
Supplies Used - Patterned Paper: Nikki Sivils (Noah paper pack); Alpha: Nikki Sivils (Noah paper pack); Ink: Vibrance; Cardstock: Bazzill Basics; Tools: Creative Memories circle cutting system; Other: Floss

Variations:

• I used a title and a subtitle on my card.

• My embellishment cluster is larger than the sketch suggests.

  • • • • • • • • • • • • • • • • • • • • • • • • • • • • • •


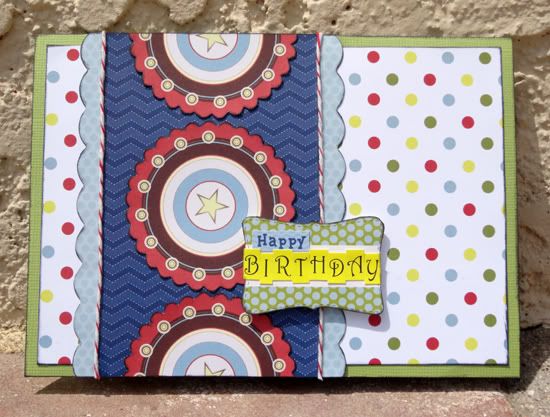
“Happy Birthday” by Andrea Friebus 
Supply listPatterned paper, die cuts, stickers: Nikki Sivils (Noah collection); cardstock: American Crafts; ink: Clearsnap; other: baker’s twine

Variation #1- I added a piece of polka dot patterned paper to the cardstock for some color and interest.

Variation #2- Instead of stitching on the rectangle, I glued down baker’s twine and added the scalloped die cut borders.

  • • • • • • • • • • • • • • • • • • • • • • • • • • • • • •

 Audrey Collection


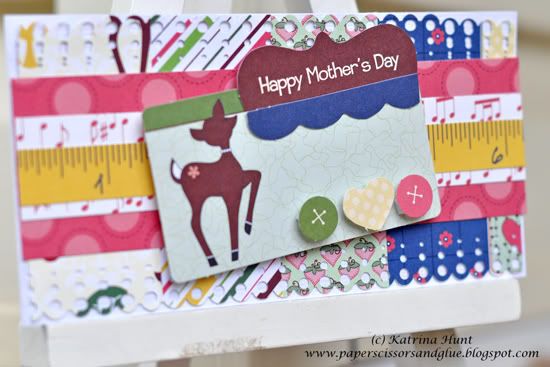
"Mother’s Day Card" by Katrina Hunt 
Supplies - Patterned Paper: Nikki Sivils Scrapbooker (Audrey Collection); Cardstock: American Crafts; Punch: EK Success; Adhesives: Scotch and Scrapbook Adhesives

Variation 1 - Made smaller.

Variation 2 - Left off circles.

Variation 3 - Added a layer and border punched.


  • • • • • • • • • • • • • • • • • • • • • • • • • • • • • •

 Exit Here Collection


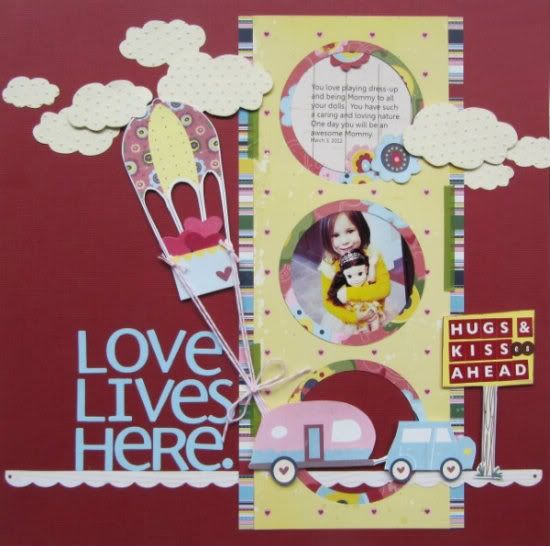
"Love Lives Here" by Virginia Nebel 
Supply list - Cardstock: Bazzill; Patterned paper: Nikki Sivils; Embellishments: The Twinery; Diecuts: Die-namics, LifeStyle Crafts, Recolleciton washi tape

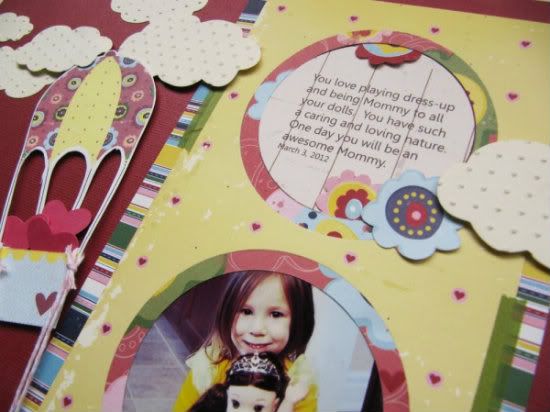
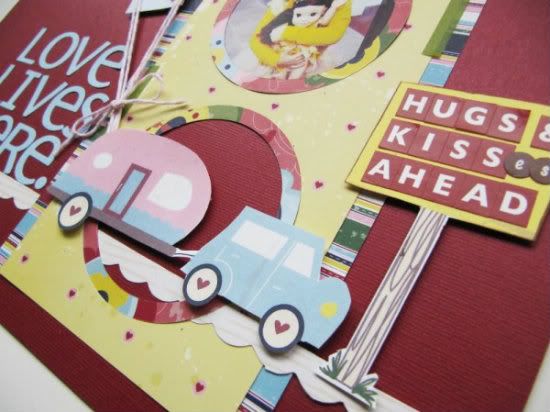
Variation #1 - I turned the card sketch into a 12 x 12 layout and used the circles as my inspiration. Extending the sketch vertically and imagining three full vertical circles, the shape of a stop-light came to mind. I played up the stop light theme by creating a road and travelling camper pulling an air-balloon full of hearts. Using the Nikki Sivils alphabet stickers on the road sign, you can customize any message according to your photos.

Here's a closer look at the details:


  • • • • • • • • • • • • • • • • • • • • • • • • • • • • • •

Messages Collection


"You're Just My Type" by Lynette Jacobs 
Supply list - Cardstock: Bazzill; Printed papers and embellishments: Nikki Sivils (Messages); Other: We'R Memory Keepers twine

Variation #1: I glued twine to the edges of the vertical strip.

Variation #2: I raised the circle with foam squares.

Variation #3: I punched tiny hearts and added it to the sentiment and the bottom half circle.

  • • • • • • • • • • • • • • • • • • • • • • • • • • • • • •


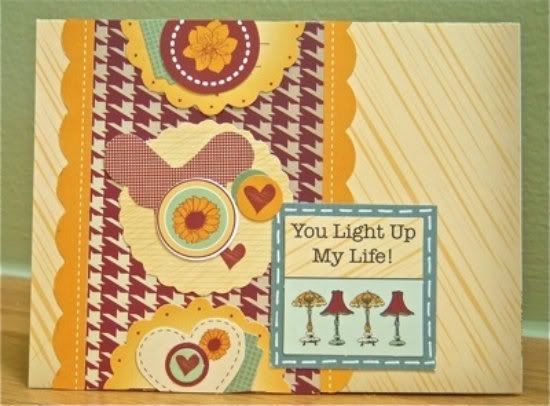
“You Light Up My Life” by Sue Althouse 
Supplies - Patterned paper and embellishments: Nikki Sivils, Scrapbooker (Messages collection); White pen: Uni-ball Signo

The circles on the die cut punch-out sheet were the perfect size for this card! I couldn't resist adding more layers from that sheet.

Variation #1 - Added border strips to each side of the paper strip.

Variation #2 - Added layers of embellishments to the circles.

Variation #3 - Changed the message shape to a square.

Variation #4 - Layered the message on more patterned paper and drew a faux stitched border around it.

  • • • • • • • • • • • • • • • • • • • • • • • • • • • • • •

 Giveaway Time!

 Today we've got a giveaway for an Exit Here Collection Pack from Nikki Sivils, Scrapbooker...


 and a copy of our newest two-page book, Sketches for Scrapbooking, Travel Sketches.


 To be eligible, leave a comment on this post answering this question:

Which Nikki Sivils collection is your favorite?

We'll randomly select a winner and announce it on Monday so be sure to check back and see if you won!
••••••••••••••••••••••••••

Tuesday, May 1, 2012

Card Week, Part 2

•••••••••••••••••••
Card Sketch #19

You can download and print this sketch by clicking on the card sketches link found under the "printable sketches" tab on the right sidebar.


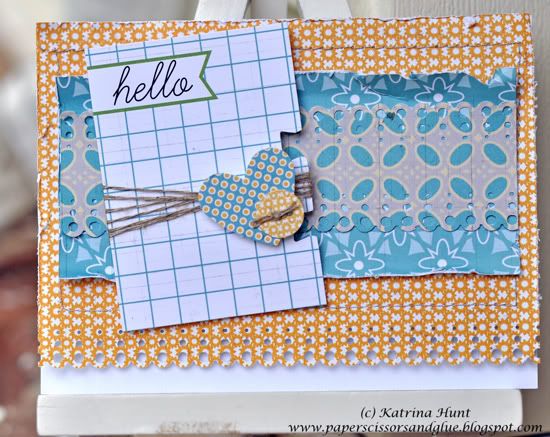
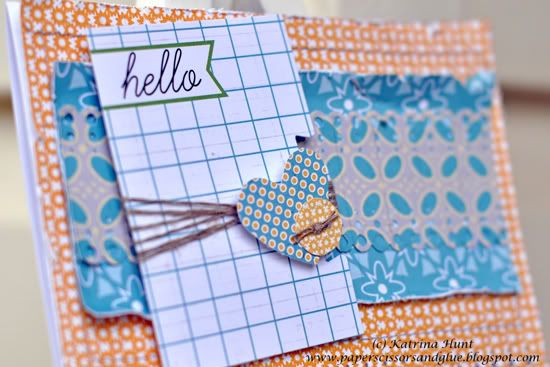
"Hello Card" by Katrina Hunt 
Supplies - Patterned Paper: LilyBee Design (Buttercup Collection); Die Cuts: LilyBee Design (Buttercup Collection); Cardstock: American Crafts; Punch: EK Success; Adhesives: Scotch, Fabri-Tac and Scrapbook Adhesives; Sewing Machine

Variation 1 - Changed direction.

Variation 2 - Left off circles and opted for just a couple of strips.

Variation 3 - Used index card as my message and added a few die cuts to it.


Variation 4 - Added a background layer.


  • • • • • • • • • • • • • • • • • • • • • • • • • • • • • •


"You Make Me Smile" card by Melissa Bell 
Supplies - Patterned Paper: We R Memory Keepers; Ink: Colorbox Fluid Chalk Ink; Circle Cutter: Creative Memories; Other: Pop dots

Variation #1 - Instead of doing stitching down the vertical strip I just used lined patterned paper.

Variation #2 - Since my message was scalloped I decided to omit the flower.

Variation #3 - I used 2.5" circles instead of the 2" circles

  • • • • • • • • • • • • • • • • • • • • • • • • • • • • • •


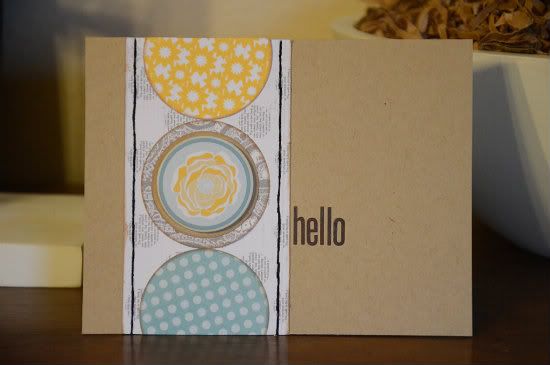
"Hello" card by Allison Davis
Supplies - Cardstock: Bazzill; Patterned paper: Lily Bee Design; Flower sticker: Lily Bee Design; Alphabet stickers: Lily Bee Design

Variation #1 - I used smaller circles and I used a smaller strip behind the circles.

Variation #2 - Instead of having my message on the rectangle, I just placed mine directly onto the card.
••••••••••••••••••

Thursday, April 26, 2012

One-page Week, Part 4

••••••••••••••••
One-page Sketch #21


You can download and print this sketch by clicking on the one-page sketches link found under the "printable sketches" tab on the right sidebar. 


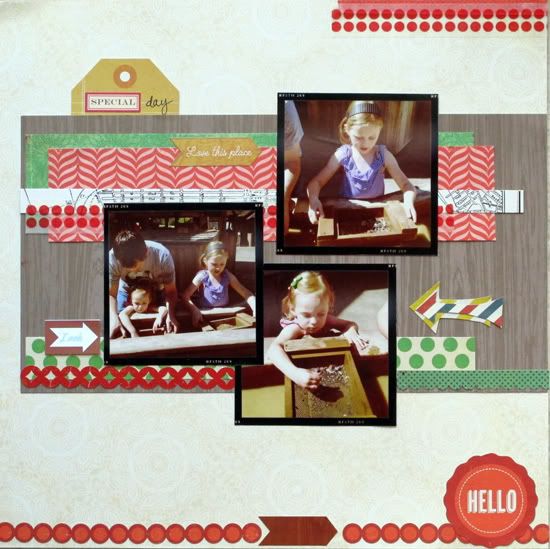
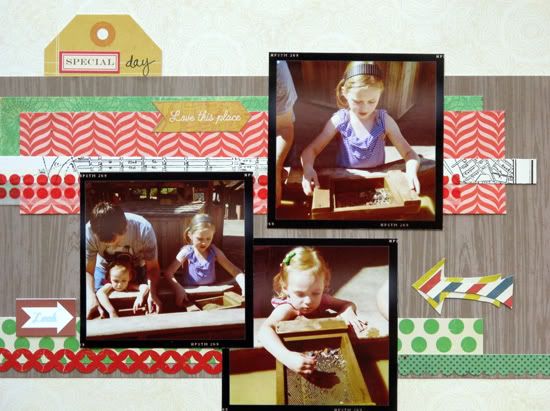
"Special Day" by Christy Arthur 
Supply List - Patterned Paper: Crate Paper (Story Teller Archives, Document, Journey, Tomorrow, Yesterday, Trademark, Tag Cuts, Pretty Party Cake Stand, Streamers); Embellishments: Target (Red Washi Tape), Crate Paper (Story Teller Border and Phrase Stickers), Bananafishstudio (Everyday Clips), October Afternoon (Farmhouse Word Stickers)

Variation #1: I used arrows as accents instead of the hearts in the sketch.

Variation #2: I didn't extend my accent paper strips all the way across the layout. I cut them off a little bit shorter than is shown in the sketch.


Variation #3: I added a border at the top and bottom of the layout, along with some additional accents.


Variation #4: I only used three photos in my layout.

  • • • • • • • • • • • • • • • • • • • • • • • • • • • • • •


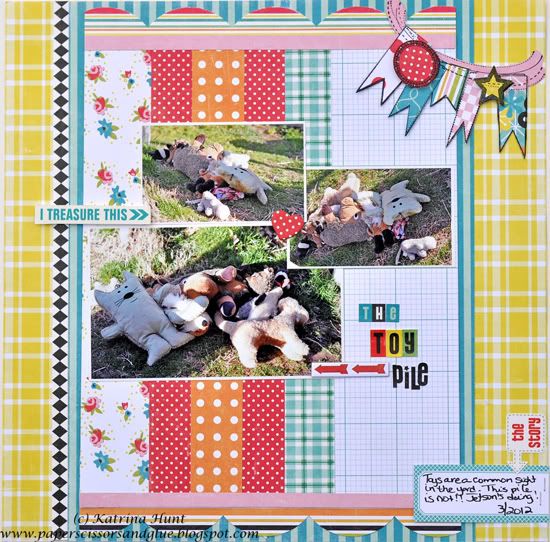
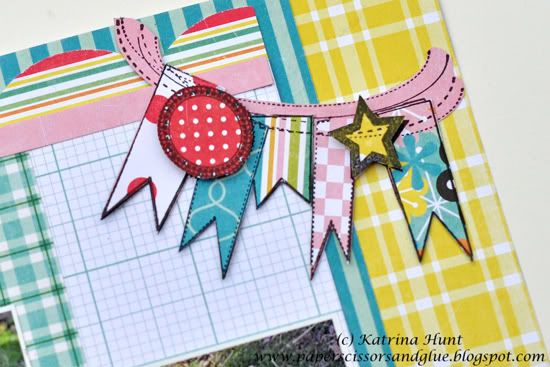
"The Toy Pile" by Katrina Hunt 
Supplies - Patterned Paper: Echo Park (Happy Days); Stickers: Echo Park (Happy Days); Chipboard: Echo Park (Happy Days) Adhesives: Scotch, Fabri Tac and Scrapbook Adhesives; Stamps: Unity Stamp Co. (KOTM March 2012); Punch: EK Success; Pen: Zig Micron

Variation 1 - Rotated page orientation.

Variation 2 - Changed picture sizes and used less pictures.

Variation 3 - Added the banner in the top corner.


Variation 4 - Added a punched border strip at the top and bottom of the striped section.

Variation 5 - Moved journaling to the bottom of the page in the corner.

  • • • • • • • • • • • • • • • • • • • • • • • • • • • • • •


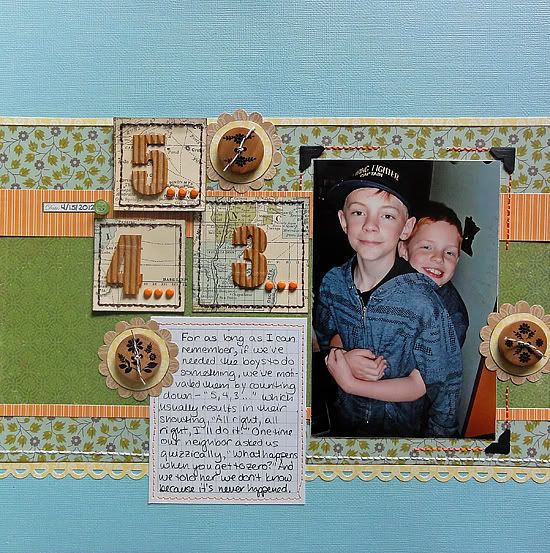
"5...4...3..." by Jennifer Larson 
Supplies - Cardstock: Bazzill; Patterned paper: Echo Park, October Afternoon, Crate Paper, Jillibean Soup, Pebbles; Corrugated Alpha: Jillibean Soup; Embroidery floss: DMC; Journaling Spot: Ruzzell and Hazel; Pen: Zig; Punches: EK Success, Fiskars; Buttons: Basic Grey; Ink: Jenni Bowlin; Other: Brads, photo corners

Variation #1 – I only had one photo, so I converted some of the squares to patterned paper to house the title.


Variation #2 – I changed the hearts to punched circles since hearts didn't fit my story.

Variation #3 – I eyeballed the paper strip measurements and added a few strips on patterned paper to the top and bottom of the paper block.
•••••••••••••••••••••

Friday, April 6, 2012

Card Week, Part 5

•••••••••••••••••
Card Sketch #18


You can download and print this sketch by clicking on the card sketches link found under the "printable sketches" tab on the right sidebar.


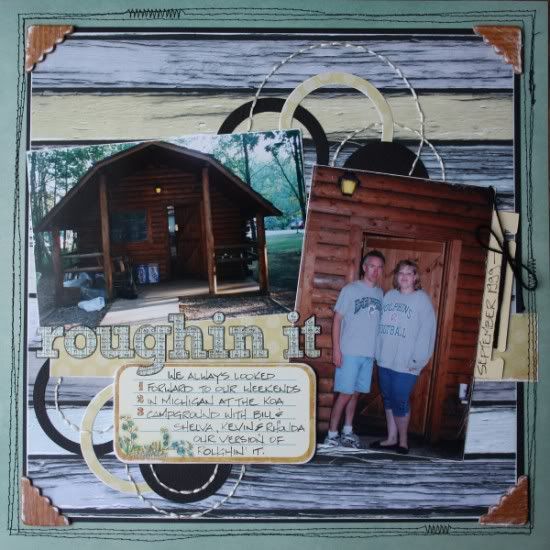
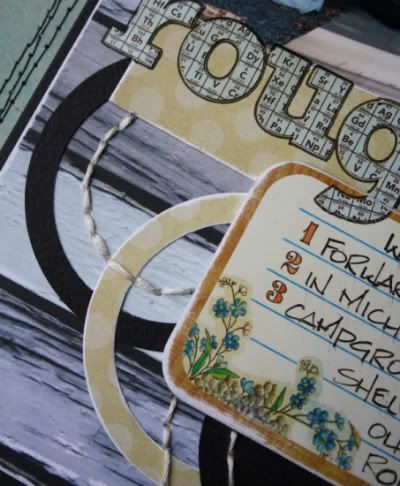
"Roughin It" by Janette Kincaid
Supplies - Cardstock: Bazzill; Patterned paper: My Mind’s Eye, We R Memory Keepers; Alphabet stickers: Jillibean Soup; Chipboard Embellishments: My Mind’s Eye; Ink: Ranger Distress Ink; Embroidery floss: DMC; Black Thread: Gutermann, Aunt Lydia’s Crochet Thread; Journal Pen: Zig; Adhesive: Glue Arts, Helmar; Circle Punches: Marvy

This sketch was an easy transition after doing the flags in last week’s sketch. The notched banners are almost the same just on a larger scale (and of course there’s no flag pole!)

Variation #1 – I used the card sketch to create a one-page layout.

Variation #2 – I took inspiration from the vertical strips in the sketch and placed my paneled patterned paper horizontally.

Variation #3 – I replaced the message rectangle with my title and journaling.

Variation #4 – Rather than adding straight lines, my stitching repeats the cardstock and patterned paper circle embellishments.


  • • • • • • • • • • • • • • • • • • • • • • • • • • • • • •


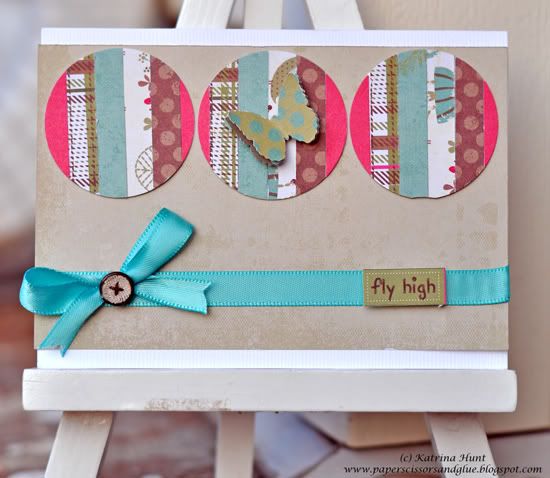
"Fly High card" by Katrina Hunt
Supplies - Patterned Paper: Little Yellow Bicycle (Paradise); Cardstock: American Crafts; Buttons: Nikki Sivils, Scrapbooker; Adhesives: Scotch and Fabri Tac; Ribbon: Hobby Lobby; Punches: EK Success, Martha Stewart

Variation 1 - Rotated card orientation.

Variation 2 - No strips of paper running up and down on width of card. I cut strips, adhered to card stock and then punch circled out.

Variation 3 - Added a bow and button.

Variation 4 - Message is very small.

  • • • • • • • • • • • • • • • • • • • • • • • • • • • • • •


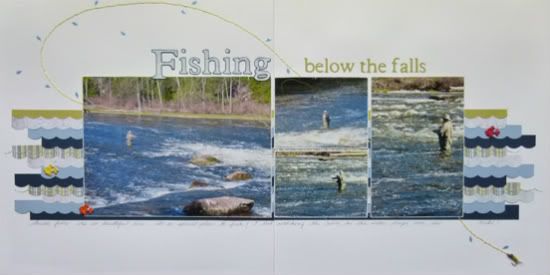
"Fishing Below the Falls" by Michele Edwards
Supplies - Cardstock: American Crafts, Bazzill; Patterned paper: Scrapbook Walls; Fish brads: unknown; Embellishments: fly was made by my husband; Alphabets: Cricut (Plantin Schoolbook); Floss: DMC

Spring has sprung, and that means that the trout fishing season will soon be here! We love our visits to Sauble Falls. My husband spends hours fishing, while I watch, both him and the river. I'm always amazed when I see the trout leaping up the falls! I can never get a photo of THAT though, lol!

Variations

1. Instead of a card, I turned the sketch on its side to create a background for my two-page layout.

2. I made the strips wider, and punched a scalloped edge to further the water theme.


3. I stitched a scalloped wave pattern through some of the waves, and continued the stitching into the photographs.
•••••••••••••••••••••••••••••