
••••••••••••••
Add-on Sketch #13

You can download and print this sketch by clicking on the add-on sketches link found under the "printable sketches" tab on the right sidebar.
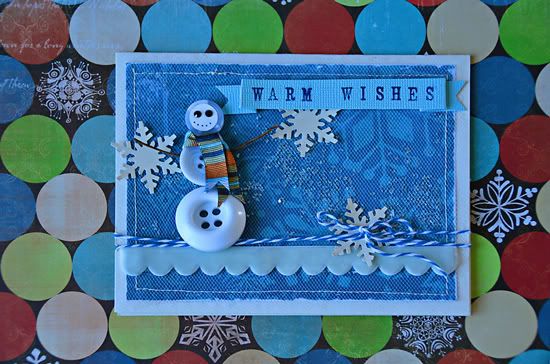
"Warm Wishes" by Suzanna Lee
Supply List - Cardstock: Bazzill Basics; Patterned paper: BoBunny; Ink: Clearsnap; Punch: Martha Stewart; Twine: The Twinery; Buttons: Blumenthal; Ribbon: American Crafts, Creative Imaginations; Bling: Jolees; Stamp: Provo Craft; Glitter: Melissa Frances; Misc: tulle, floral wire (arms)
Variation #1: Rather than cut circles, I used buttons. There are three parts of the snowman's body instead of two.
Variation #2: No hat on this dude! Too much work for such a little head and not enough room on the card.
Variation #3: No buttons. The holes were distracting with anything else. For that very same reason, I had to cut a tiny circle to put on the top button/head for the bling eyes and pen dotted smile.
The card is "interactive" in that there is glitter behind the tulle. I wanted to create a snow effect for the background. Kind of like the shaker boxes I used to make.
• • • • • • • • • • • • • • • • • • • • • • • • • • • • • •
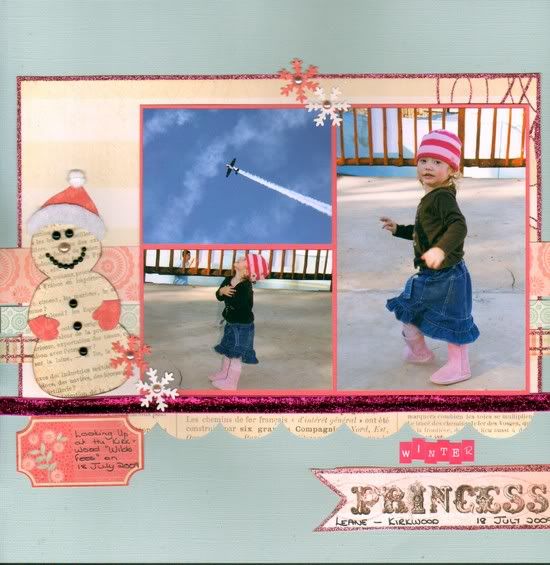
"Winter Princess" by Lynette Jacobs
Supply list - Cardstock: Bazzill; Printed Paper: MME (Lost and Found, Market Street); Ribbon: My Mind's Eye (Lost and Found, Market Street); Pearls: Kaiser scrapbook; Letter stickers: My Little Shoebox; Punches: Martha Stewart; Other: White felt and white pom pom ribbon.
Variation #1: I did a paper piercing, cutting the body of the snowman from one piece of paper and the mittens and hat from pink paper.
Variation #2: I added glitter to the body of the snowman and then inked the edges.

Variation #3: I used black pearls for the mouth, eyes and buttons and a pink pearl for the nose.
Variation #4: I cut the trim of the hat from felt and added a pom pom cut from pom pom trim to the point of the hat.
• • • • • • • • • • • • • • • • • • • • • • • • • • • • • •
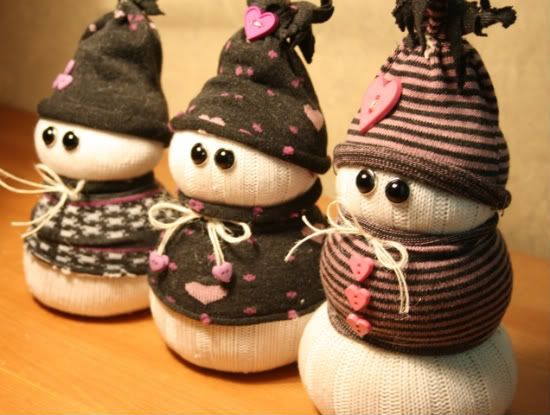
“Sock Snowmen” by Carolyn Wolff
Supply List - Socks: Walmart; Buttons: unknown; Twine: Maya Road; Brads: American Crafts; Stuffing: Rice
Variation #1 – I went way out of the box. The snowman add-on just screamed something 3D to me. I had been browsing Pinterest and found a little tutorial on how to make a sock snowman.
Variation #2 – Instead of creating the body with paper, I followed the directions for the tutorial and made it from a sock.
Variation #3 – For my snowman, I made a toque instead of a top hat.

I tied some twine around the top of the hat and then used my scissors to create a fringe. It reminds me of the hats my kids used to wear when they were younger.
Variation #4 – I used brads for the eyes and eliminated the nose and mouth and arms. I added buttons to the hats and sweaters and used twine for the scarf.
••••••••••••••••••••••••••••
6 comments:
I love these snowmen, the buttons and printed paper ideas are so fun and came out great ladies!!!!!
Carolyn these are the cutest snowmen ever, I collect snowmen and want these for my collection. How creative and fun they are. Could you share the link you found them at. Would love to try and do this.
Thanks ladies for sharing, I love it all.
Love the creative materials everyone used! You should be selling those sock snowmen on Etsy!
How cute!! I love the sock snowmen! Very creative and inspiring.
What an awesome use of the Snowman!! Suzanna, I love that you used buttons for your snowman and his scarf is great!! Lynette, the text paper for your snowman is adorable and I love the pink accents! Carolyn, these sock snowmen are super-amazing!! What a cute idea...you really rocked these!!
It is amazing how creative and innovative you ladies are! Carolyn your snowmen knocked my socks off! LOL!
these are too darn adorable!!!!! Love them
Post a Comment