
The design of this sketch works well for many different sizes of cards. You could use it for a smaller square keeping the same proportions, a wider card by stretching everything, or a taller card by stretching everything upwards. Today, the two cards show a few ways to use this sketch with a different size card.
Card Sketch #5

You can download and print this sketch by clicking on the card sketches link found under the "printable sketches" tab on the right sidebar.
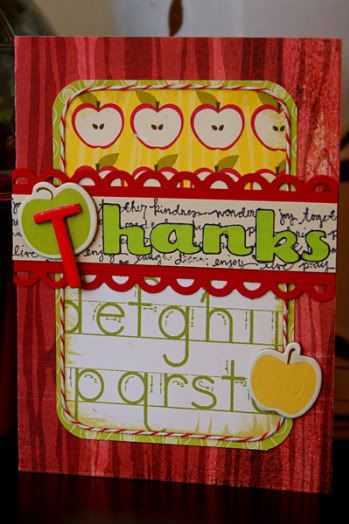
"Thanks" card by Suzanna Lee
Supplies - Cardstock: Bazzill; Patterned paper: Reminisce, Studio Calico, and Basic Grey; Chipboard: KI Memories and Martha Stewart (letter T); Letter stickers: American Crafts; Twine: unknown; Punch: Fiskars; Stamp: Heidi Grace; Ink: VersaMark
Variations:
#1 - Size. I try to avoid paying the extra postage on square cards, so standard size it is!
#2 - Difficult to tell but I inked around the edge of the inner rectangle. Doing so gave a little more "pop" to the patterned papers.

#3 - Rather than a striped patterned paper running all the way across, I stamped on cardstock. Making the letters stand out on such a busy background was difficult, in fact, I struggled with it. But eventually I found the right look by tracing the outline with black pen. I also used a wider strip than is called for in the sketch. Funny side note; those green American Craft letter stickers happen to be apple scented scratch and sniff!! An added dimension to the card, scent!
#4 - Per the embellishment ideas, I used an embellishment, the apple, in place of the flourish. I also added the first letter of my message to that.
#5 - An extra embellishment to create balance with the visual triangle; green and yellow apple and the apples of the top piece of patterned paper.
#6 - Rather than stitching around the skinniest piece of background showing, I added the twine and lined it up with my innermost patterned papers.
• • • • • • • • • • • • • • • • • • • • • • • • • • • • • • • • • • • • • • • • • • • • •
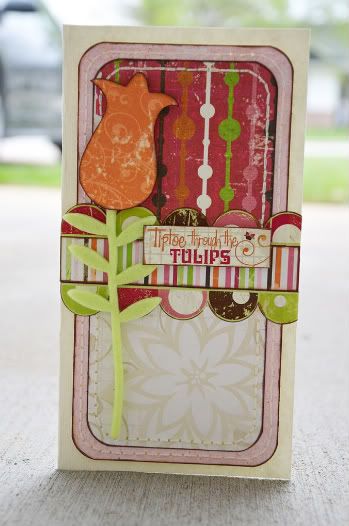
"Tiptoe Through the Tulips" card by Allison Davis
Supplies - Cardstock: Bazzill; Patterned paper: BoBunny; Stickers: BoBunny; Felt stem: Fancy Pants
Variation #1 - I stretched the sketch to make a taller card. For some reason I'm always drawn to tall card designs and thought this sketch would work well with a taller size. All I had to do was adjust the sizes of the papers to my card by keeping the same proportions as the sketch.
Variation #2 - Instead of using a flourish, I took advantage of the taller size and added a tall tulip in place of it to support the "Tiptoe through the tulips" sticker.
• • • • • • • • • • • • • • • • • • • • • • • • • • • • • • • • • • • • • • • • • • • • •
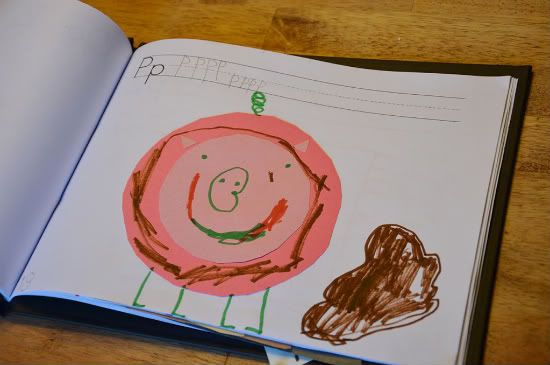
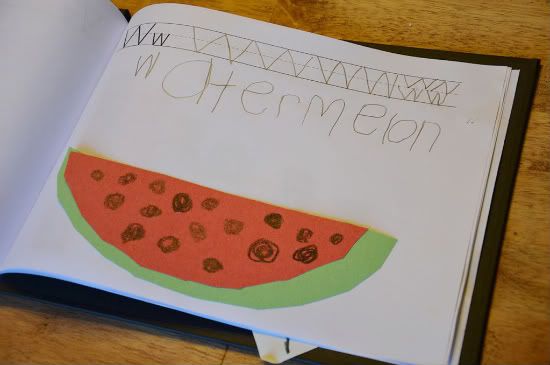
Drew's ABC Book using the Unibind PhotoBook Creator
When Drew came home from the last day of school before Christmas break he had a present in his backpack. He told me it was for me and his daddy and we weren't allowed to open it until Christmas. When Christmas morning arrived Drew was so excited to have us open his present from school. I was thrilled to find a cute ABC book that he had made. It was adorable and the best present I had ever received. I was so proud of him and what he had learned at school and the progress he had made.
The downfall was that the book was falling apart. This was a book I wanted to keep forever and I could see that it was going to be in pieces if we didn't find another way to preserve it. This is were my PhotoBook Creator saved the day! Using the PhotoBook Creator I was able to bind the pages of his adorable ABC book in a hard cover.
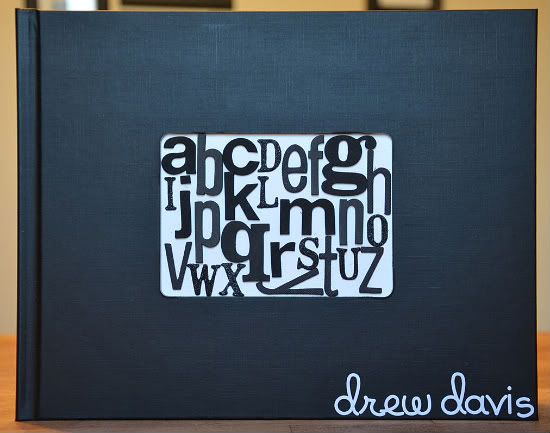
The spine of the hard cover has resin in it that when placed on the PhotoBook Creator heats up and binds to the pages you inserted. When it cools those babies aren't coming out. Well, unless you want them to. If you want to remove pages or add more you just put it back on the machine and remove or add what you want. Seriously, the easiest machine in the world to use and you are left with an awesome, professional looking book. Drew thinks it's so cool that he has his own "real" (as he calls it) book.
Here's a look at some of the inside pages of Drew's book.
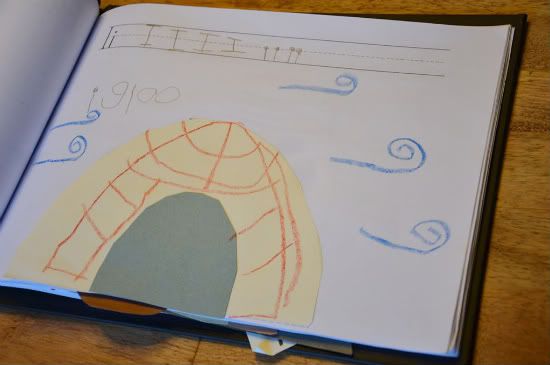
I'm one of those sentimental saps that whats to keep every piece of my kid's school and art work. Now instead of those pieces stashed away in a closet, I can preserve them into hard cover books that will last for a very long time and can be displayed on a bookshelf.
••••••••••••••••••••••••••••••••••••
••••••••••••••••••••••••••••••••••••
7 comments:
Great cards everyone!
Allison I LOVE this idea! My DD is not in school yet but I KNOW I will be a "sap" just like yoU! I love it!
I'm one of those saps, this is an awesome idea!
Love the cards too. What sizes did they come out to be?
Great card sketch this week. That is a great idea for the book. Love it! :)
Oh I love how both you and Suzanne stretched the cards! It's funny how something so small could really change the look. Love it!
That is the coolest book idea! I might have to look into one of those!
Love that tulip card!! Gorgeous examples! And I love Drew's book! Great idea!
How much is the photobook creator at SG? I know I've seen it in the store, but now that I see how it works, I want one! Also, do you have to use a certain kind of paper, or can you use anything?
Thank you everyone!
Erica, mine is 4 x 7 1/2. :)
Kristina, it is $99 and for the month of April you can get 20% off. You can use anything: transparency, canvas, pictures, any kind of paper, etc. Unibind also makes double sided photo paper so you can print on both sides for the books. Very cool machine and products! :)
Post a Comment