
If you ever run into a sketch with more pictures than you want to use, there are always ways to adjust it to fit a smaller number of photos. One easy way it to replace a picture or two (or even three) with more embellishments like the two layouts we are sharing today.
Two-page Sketch #11

You can download and print this sketch by clicking on the two-page sketches link found under the "printable sketches" tab on the right sidebar.
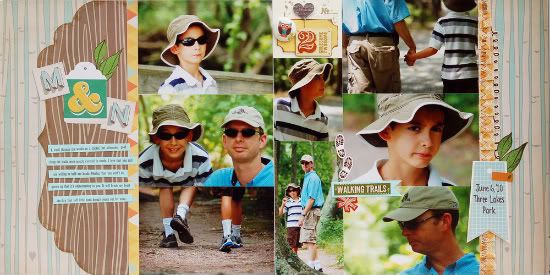
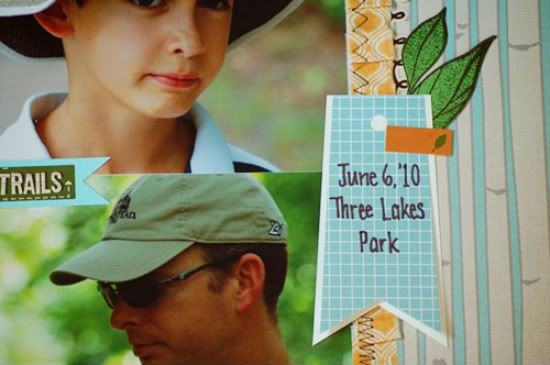
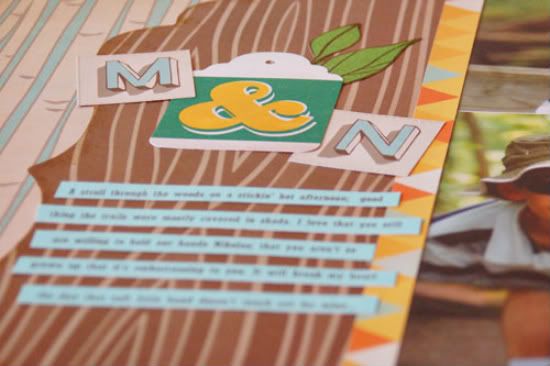
"M & N" by Suzanna Lee
Supplies - Cardstock: Bazzill; Patterned paper, Fabrip, Notions, Die Cut: Studio Calico; Chipboard: K&Co; Stickers: KI Memories, AC, K&Co, and Echo Park; Stamps: We R Memory Keepers, KaiserCraft; Button: Purple Pumpkin; Ink: Ranger, ColorBox; Pin: Jillibean Soup
Variations:
I omitted one of the pictures in favor of an additional embellishment cluster.

I journaled in my journaling block but used it more as a subtitle space.
I wanted a little bit more journaling so I used journal strips on the left, under the title.
I also added some stickers amongst the seams of the picture block on the left. I had pre-printed these pictures individually and in trimming them to fit, there were a few teeny gaps. Conveniently covered up with the stickers! Normally, I would print my pictures as a whole.
I pleated and stitched the Studio Calico Fabrip on the right.
• • • • • • • • • • • • • • • • • • • • • • • • • • • • • • • • • • • • • • • • • • • • •
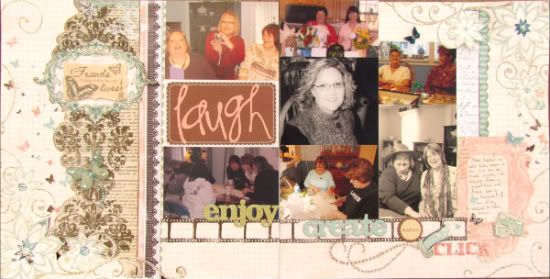
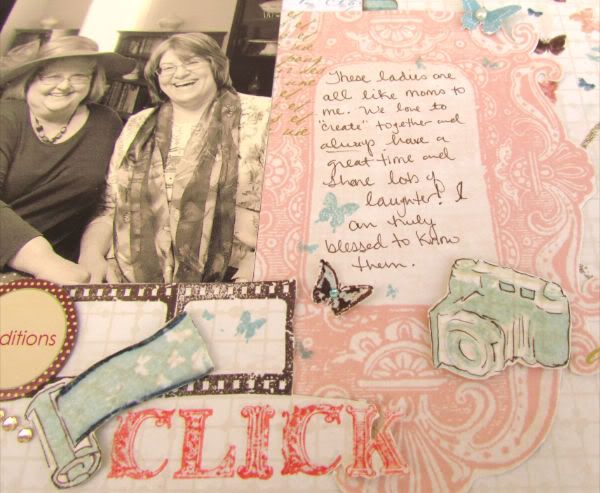
"Friends..." by Amy Roller
Supplies - Pattern paper: Graphic 45, BoBunny, Websters Pages, and Pink Paislee; Glitter accent: Stickles; Pearls: Close To My Heart; Rhinestones: Kaisercraft; Chipboard embellishment: Making Memories; Stickers: BoBunny, Paper Studio, and unknown; Stamps: Close To My Heart; Butterfly die: Stampin Up!; Border punch: Fiskars
• Notice on Amy's layout how she used smaller pictures than suggested on the sketch and left a space along the bottom of them. This gave her more room for adding more embellishments across that area.
First off, I know there is a lot of bling, etc on this layout. I have all boys and found this page as a way to use some of those more feminine supplies I have been stockpiling. You never know right? I started out following the sketch, and had a very dainty, clean layout, then I grabbed the stickles and it was all over after that!
I hand cut a part of the patterned paper for the shaped piece and then followed the other strips as the sketch shows using pattern paper and border punches. I used a sticker for my title up higher on the page instead of a larger one below.

I hand cut around the flower/swirl pattern on the background paper to give it depth and stamped a filmstrip border across the bottom.
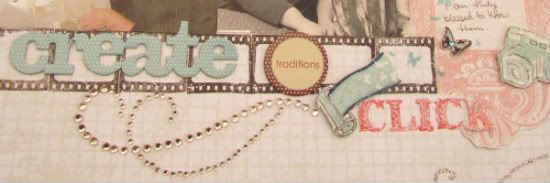
I also started out tracing the swirl lines with stickles and then the flowers looked to plain so I did them too! I added several pearls and rhinestones throughout.

I stamped butterflies and several embellishments that I then heat embossed. Last I added several chipboard words and phrases across the layout.
For the journal box I cut out a scroll area from a patterned paper and embellished with stamped and die cut butterflies.
4 comments:
These are both fabulous! I love how different they are!
Fabulous LOs ladies! :)
great LO's.
Great Job but sis, you really should let me know when you are going to put us on paper for viewing.
Love Mom
Post a Comment