
•••••••••••••••
Card Sketch #12

You can download and print this sketch by clicking on the card sketches link found under the "printable sketches" tab on the right sidebar.
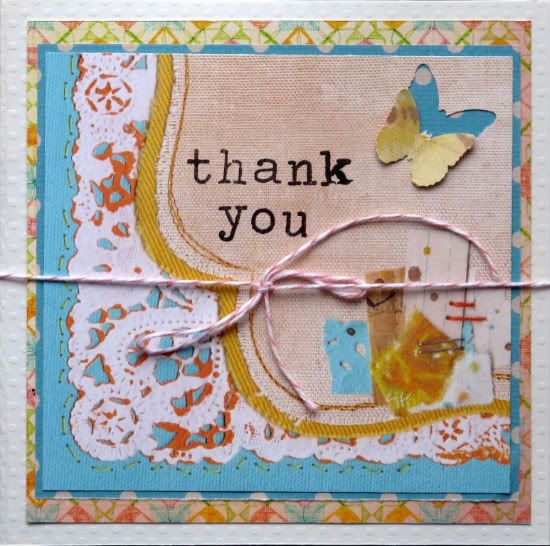
"Thank you" card by Christy Arthur
Products - Bazzill: Cardstock; Sassafras: Mix and Mend Tailored Sweetly, Sweetly Smitten Dainty Sketch; Hero Arts: Typewriter Stamps; Martha Stewart: Classic Butterfly Punch; Jenni Bowlin: Turquoise Dot Paper; Other: Twine
• I used butterflies in place of the stars in the sketch.
• I used twine on the outside of the card instead of the horizontal strip in the sketch.
• • • • • • • • • • • • • • • • • • • • • • • • • • • • • •
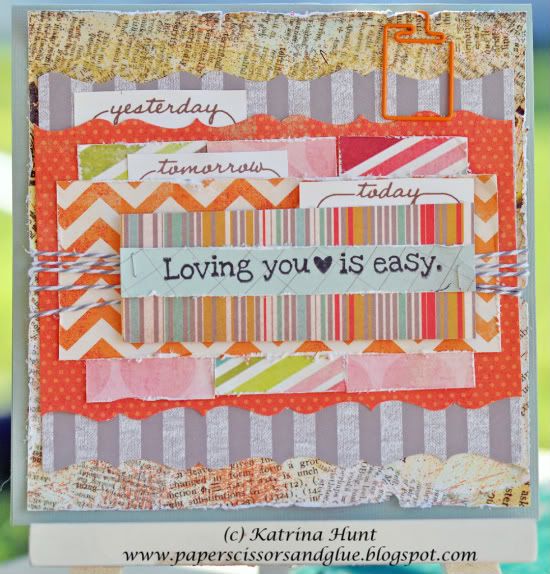
"Loving You is Easy" card by Katrina Hunt
Supplies - Cardstock: Bazzill; Patterned Paper: My Mind’s Eye (Fly a Kite “Spring” and Lime Twist “Be You”); American Crafts/Amy Tangerine (Oh Happy Grey); Basic Grey (Out of Print “Storyteller”); Studio Calico (Destination); Paper Clip: American Crafts/Amy Tangerine; Twine: The Twinery Baker’s Twine; Stamp: Unity Stamp Co. (Sept. 2011 Kit of the Month); Tags: Studio Calico; Punch: EK Success Border Punch; Stapler: Tim Holtz Tiny Attacher; Adhesive: Scotch ATG and Scrapbook Adhesives
I like lots of layers, so I just added a bunch! Plus, I had gotten a new border punch (addict….) and wanted to play with it!
I don’t even know where to start with the variations, so I am not listing them this time. The things that are similar:
• I did squares, but did six one inch squares and centered them on one of my layers.
• The message is in the same place.
• I substituted twine for the “strip” of paper.
• • • • • • • • • • • • • • • • • • • • • • • • • • • • • •
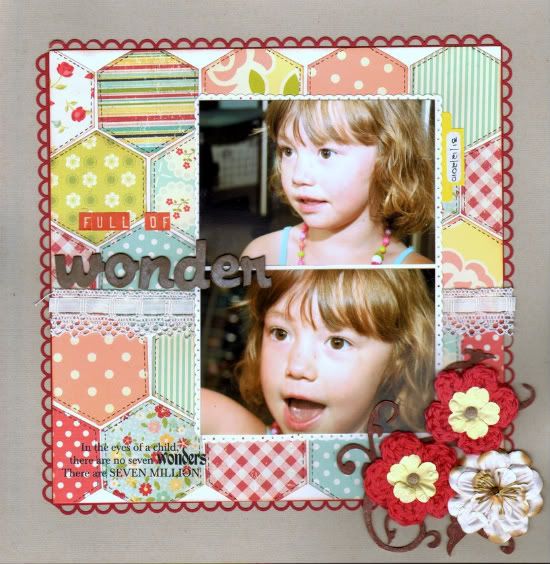
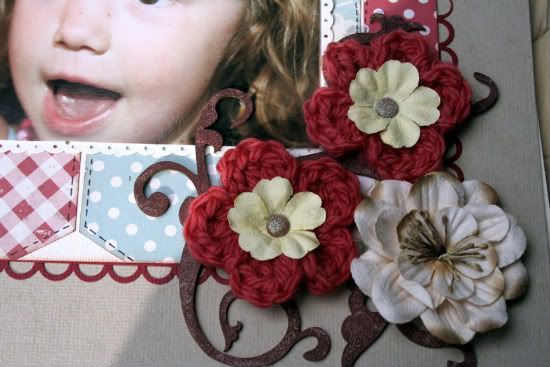
"Full of Wonder" by Lynette Jacobs
Supplies used - Cardstock: Bazzill; Printed Papers: Cosmo Cricket, October Afternoon, Simple Stories; Ribbon: Local Haberdashery; Alpha: Simple Stories and American Crafts; Flowers: Prima and My Creative Scrapbook August kit; Chipboard Flourish: Enmarc; Quote rubon: Kaisercraft.*
• I cut a square piece of Bazzill and 9.5 x 9.5 inches.
• I cut hexagons from the printed paper and made a quilt.
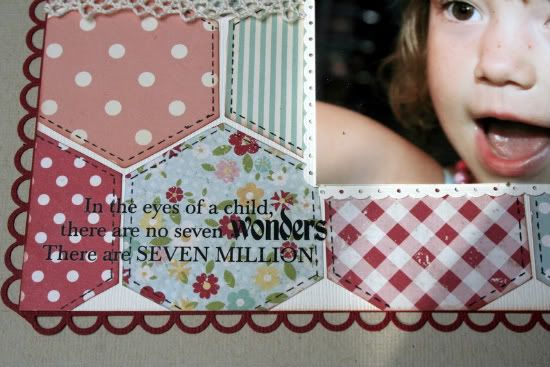
• I added faux stitching to each hexagon.
• I framed the piece of Bazzill with a punched border.
• I replaced the striped paper with lace ribbon.
• I used two photos and punched the photo mat with a punch.
• I added the flowers and flourish to the right hand corner of the photos.
• • • • • • • • • • • • • • • • • • • • • • • • • • • • • •

"Woohoo!" by Janette Kincaid
Supplies - Patterned Paper: We R Memory Keepers (Geo-Hectic - Full Speed Ahead, Short Circuit and City Blocks); Cardstock: Bazzill; Adhesive: Helmar Scrapdots and 450 Quick Dry, Glue Arts; Journal Pen/Marker: Zig Black; Floss: DMC; Circle Punch: Marvy; Ink: Black Stazon; Misc: blue buttons, foam arrow stamp, transparency
Variation 1: The most obvious change of course is that I created a one-page layout from the card sketch.
Variation 2: I replaced the star with my featured photo.
Variation 3: I replaced the four background squares with pattern paper strips simply because these where sitting on my desk as leftovers from a previous project and I didn’t have enough to make complete squares from the bits.
Variation 4: I left out the white background square.
Variation 5: I trimmed one of the strips from a multi-strip pattern paper for a quick and easy title. I tucked it under the photo rather than the top square as shown in the sketch.
I added my journaling in strips as well as a few more embellishments. The three pinwheels at the bottom of the page were made with a circle punch.

Two circles were cut in half and reassembled with foam squares to give some depth and a button finishes them off.
The arrow was stamped with black Stazon onto a transparency.

The transparency was trimmed in half and placed on either side of the horizontal title strip. This made the arrow bigger and filled the empty space.
• • • • • • • • • • • • • • • • • • • • • • • • • • • • • •
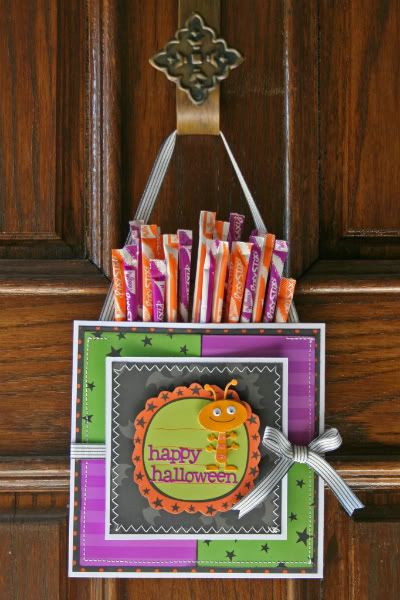
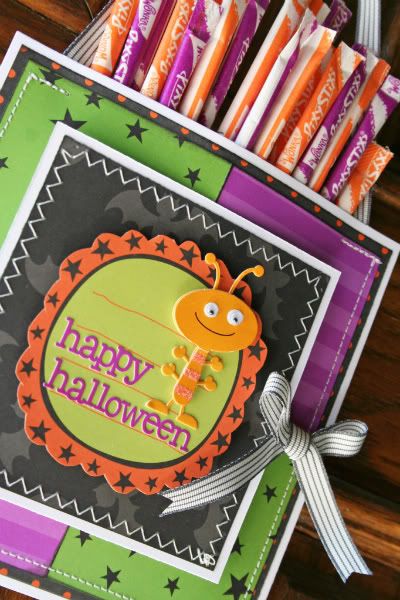
"Happy Halloween" by Shari Thurman
Supply List - Pattern Paper: My Little Shoebox; Doodle-pops Cardstock Sticker: Doodlebug Design; Ribbon: unknown; Cardstock: unknown; Candy: Pixy Stix; Adhesive: Thermoweb, ATG by Scotch; Other: machine stitching
This is a perfect example of a project gone wrong. I started out making a cute little Halloween card. I then got a little crazy with the sewing machine and stitched one side completely shut before I realized my mistake. Rather than trashing my project and starting anew, I adjusted my original plan.
This is my modern day version of a Halloween tussie mussie. I left the top open to hold several Pixy Stix and stitched a ribbon at the top so it can hang. I thought this would be a cute alternative to give someone on Halloween instead of a traditional card. The Pixy Stix
I often say, "There are no mistakes in scrapbooking, just opportunities to embellish." I definitely embellished on this project. I tried to use a mess up as a creative challenge. I had fun nonetheless.
•••••••••••••••
1 comment:
Shari, I like your motto on making mistakes, way to keep going with it. I like how it turned into a bag.
All the projects today look great, love all the ideas the DT comes up with.
Post a Comment