
•••••••••••••••
Are you ready for a little challenge? Sketch Support and Simple Stories have come together to present a product challenge for our creative team and for you too.Simple Stories has provided a kit of the same materials for each of our creative team members. The products we are using in our challenge can be found here.
Together with the October sketches we are going to show you how using the same products and even the same sketches can produce so many different results. Each week on Friday we will post our product challenge projects based on the sketch for that week.
Card Sketch #12

You can download and print this sketch by clicking on the card sketches link found under the "printable sketches" tab on the right sidebar.
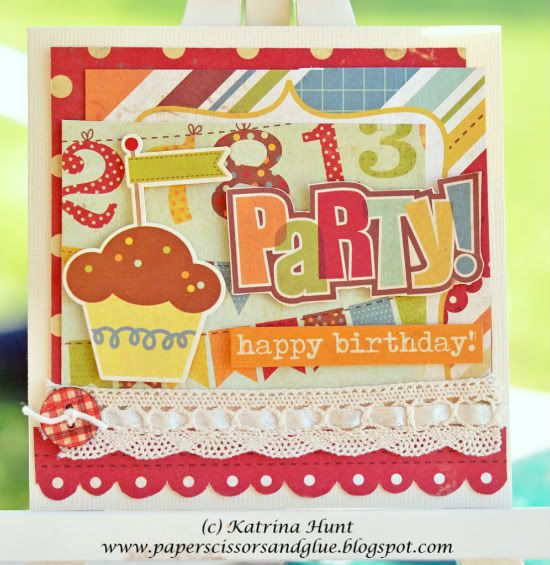
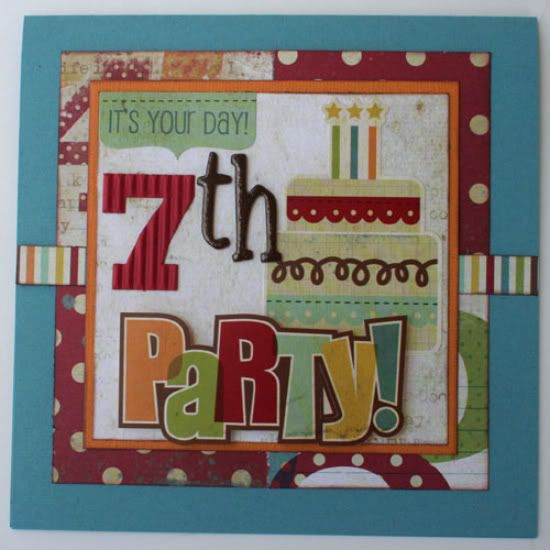
"Party! Happy Birthday!" card by Katrina Hunt
Supplies - Cardstock: American Crafts; Patterned Paper: Simple Stories (Happy Day); Ribbon and Button: My Mind’s Eye; Adhesive: Scotch ATG and Scrapbook Adhesives
After I did the one page layout, I made my card from the scraps I had left! Basic variation is I offset the layers and flipped the cupcake to the left instead of the right.
• • • • • • • • • • • • • • • • • • • • • • • • • • • • • •

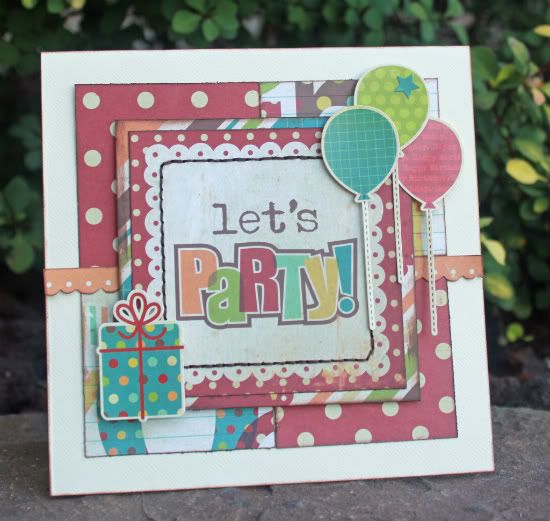
"Let's Party!" card by Jill Sarginson
Supplies Used - Cardstock: Bazzill Basics, DCWV; Patterned Paper: Simple Stories; Ink: Vibrance; Stickers: Simple Stories; Adhesive: Pop dots
I stuck pretty closely to the sketch here although I just noticed that I forgot the strip of horizontal patterned paper! Because the patterned paper is so fun and colourful, I opted to make my four squares different colours of cardstock. I pop-dotted and adhered some of the awesome stickers to finish off the card!
• • • • • • • • • • • • • • • • • • • • • • • • • • • • • •
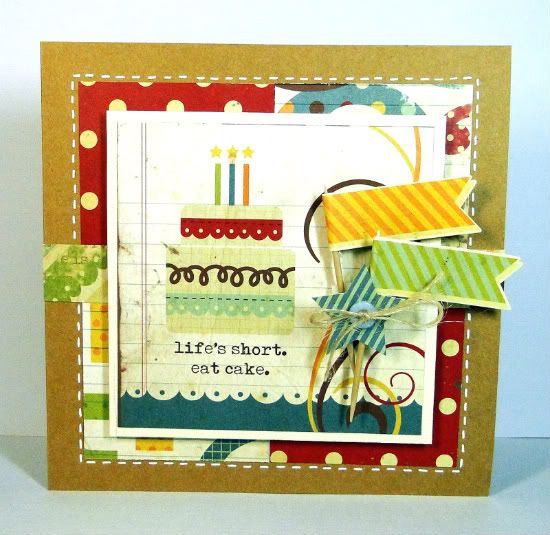
"Life's Short. Eat Cake." card by Melissa Elsner
Supplies - Paper, Stickers, Journal Post: Simple Stories; Cardstock: Core'dinations; Other: button, jute, toothpicks
Variation #1: When I saw the flourishes on the journal spot, I knew it would be perfect for this card sketch.
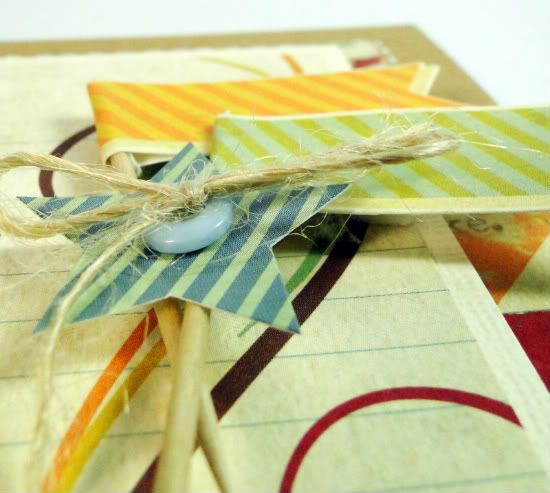
Variation #2: To add some dimension and texture to the card, I attached the flag stickers to a couple of toothpicks. Stuck them together and adhered the star sticker and button to make it look tied together.
Variation #3: I love how stitching seems to bring things together and ground elements so I added some faux stitching around the outer edge to do just that.
• • • • • • • • • • • • • • • • • • • • • • • • • • • • • •
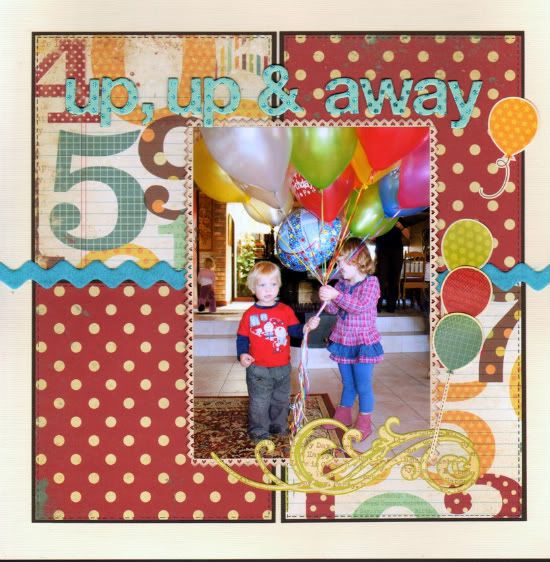
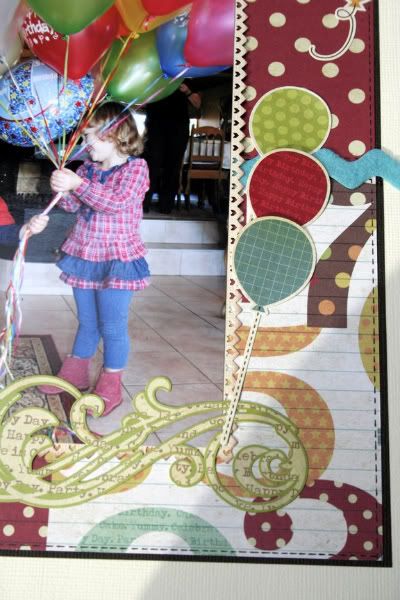
"Up, Up and Away" by Lynette Jacobs
Supplies used - Cardstock: Bazzill; Printed papers and stickers: Simple Stories; Felt ribbon: My Mind's Eye (Fine and Dandy); Alpha: American Craft
• I cut four 5x5 inch squares and matted them on brown cardstock.
• I added faux stitching to each square.
• I replaced the striped paper with a felt ribbon.
• I matted my photo on a punched photo mat.
• I added the balloons and the flourish to the right hand corner of the photo.
• • • • • • • • • • • • • • • • • • • • • • • • • • • • • •
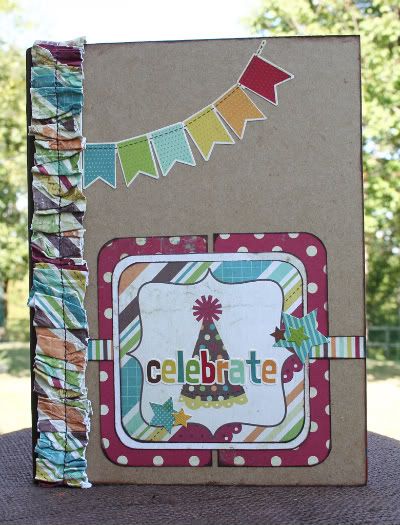
"Celebrate" birthday journal by Shari Thurman
Supply List - Patterned Paper: Simple Stories; Cardstock Stickers: Simple Stories; Ink: Colorbox Chalk Ink (Dark Brown); Adhesive: ATG by Scotch; Cardstock: unknown; Elastic: Joann's; Composition Notebook: Carolina pad and paper; Other: machine stitching
This birthday journal was a fun project to make. I am always forgetting birthdays and I'm hoping that recording them in this journal will help me remember them better.
I started by covering my journal with Kraft paper and inking the edges. Using Allison's card sketch and Simple Stories paper and cardstock stickers, I embellished the front.
I then created an elastic paper bookmarker. I saw something similiar on www.skiptomylou.org via Pinterest that was made with ribbon. I immediately started thinking of how I could use scrapbook paper to create something similiar. I love paper! It's kind of like a headband for a book.
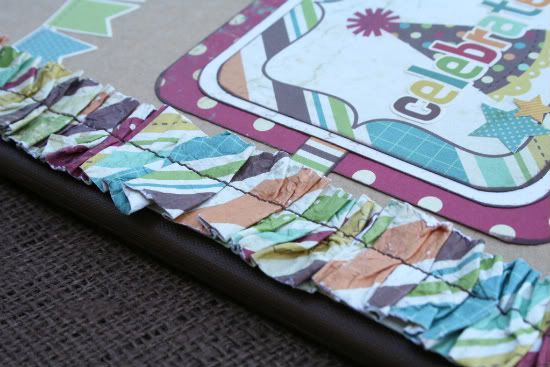
To create the bookmarker, I wrapped elastic around the inside of the cover and cut. Be sure not to pull it tight. I marked the length of the book on the middle of the strip of elastic. I cut 3 strips of paper measuring 1-1/4" x 12", moistened and crinkled them up. Let set 5 minutes and then open. Fold and stitch to the center of the elastic that you previously marked. My paper was only slightly damp when stitched it. I only used about 2 1/2 of the strips once it was all folded and stitched into ruffles. Finally, overlap the ends of the elastic about 1/2- 3/4" using a zig zag stitch. Place on your book.
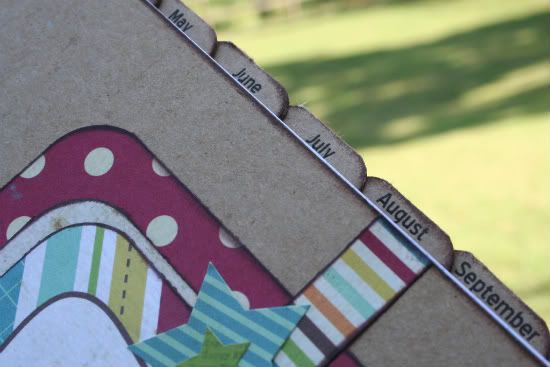
I then added months of the year tabs. I printed them on kraft paper, folded them in half, rounded the corners and attached to the edges of the paper. I divided the number of pages in the notebook by 12 months. In my notebook, I placed a new tab every 8-9 pages. My finished tabs measured 1/2 x 1".
• • • • • • • • • • • • • • • • • • • • • • • • • • • • • •

"Happy Birthday to You Too" by Allison Davis
Supplies - Cardstock: Bazzill; Patterned paper: Simple Stories; Cardstock stickers: Simple Stories
Since I'm not much of a card maker one thing I love doing with the card sketches is finding a way to adjust them for a two-page layout. To use a card sketch for a layout, two easy ways are to enlarge the size of the card for the design to stretch across the whole layout or you can keep the card sketch the same size as more of a decorative element on the page. The second way is what I did with this card sketch.
Variation #1 - To make this card sketch work for a two-page layout I kept the card design the same size as the sketch suggests. For the rest of my layout I added pictures that are the same height as the card design to stretch across the layout.
Variation #2 - I stretched the striped strip all the way across the layout. Technically this isn't really a variation since the striped strip stretches all the way across the card but if you are going off of the measurements of the card sketch, the measurement of the stripe is the only one I changed.
Variation #3 - I added a title to the top and my journaling to the bottom and an little embellishment cluster next to the journaling.
Variation #4 - Instead of stitching around the top square I hand stitched a border around the card design and the pictures.
• • • • • • • • • • • • • • • • • • • • • • • • • • • • • •
"Party!" card by Christine Chain
Supplies - patterned paper and stickers: Simple Stories; letter stickers: American Crafts; corrugated number: Jillibean Soup
This was such a fun card to put together using this card sketch.
1) I used both sides of a sheet of patterned paper to create my background layer. I just cut four 2 1/2" squares and then placed two face up and two face down, in opposite corners. Then I inked just the outside edges to give it a bit more definition.
2) I wanted a nice, simple stripe to cross over them, so I trimmed approximately 1/2" of striped paper from one of the sheets of paper. It came off of a journaling block that I wasn't using. Again, I inked the edges.
3) Next I layered a piece of orange cardstock (inked) and a plain piece of patterned paper. This is the inside of the same journaling block that I got the striped piece from. I wanted something simple to layer my stickers on top of.
4) Now that I had a nice base, I picked out a few stickers, popped up the word party, and added "7th" with some letters and numbers from my stash. (My son has a bunch of friends turning seven soon so I know this will get used).
• • • • • • • • • • • • • • • • • • • • • • • • • • • • • •
•••••••••••
•••••••••••
"Let's Party" card by Christina Hoffman
Supplies - Cardstock: Bazzill; Patterned paper, Balloons and Present: Simple Stories; Embroidery Thread: DMC
Variation #1: In place of the 3/4 inch striped strip I used a 1/4 inch scallop.
Variation #2: I used a patterned paper with a title already on it for my message which I centered on the card and stitched around.
Variation #3: I added balloons to the top right corner and a present to the bottom left corner of the card to balance it all out.
• • • • • • • • • • • • • • • • • • • • • • • • • • • • • •
Now it's your turn!
• Create a layout based on Card Sketch #12.
After you have created your layout, upload it to our Sketch Support Gallery (make sure you put in the description that it is for the Sketch Support challenge) and then post the link to your layout in the comments.
This week we are giving away a copy of Sketches for Scrapbooking, volume choice is all yours, to the winner of the challenge. You have until Friday, October 14 and we will post the winner on Sunday, October 16.
We look forward to seeing your creations!
••••••••••••••••••••
3 comments:
Thank You so much for saving me last minute.... And u have some gr8 sketches to save me time again.... Thank U so so much.... Here is a link to what I did with it.... :D
http://hastkala-oceanichope.blogspot.com/2011/10/stamping-with-clear-block-in-jiffy.html
Ash.... :)
My brain is on overload from looking at so many great projects today!! WOW you ladies really ROCK at this!!
What a cool idea for a birthday journal, everyone I'm sure needs one of those. Every card was fun and I love all the colors and cool stuff on them.
Allison you have outdone yourself with this sketch, it's a new favorite. Way to go on your layout also.
Hope I'm not too late for this week's card sketch challenge! :o)
http://www.flickr.com/photos/suzyq28024/6245223770/in/pool-1533686@N25/
Post a Comment