
•••••••••••••••••
Card Sketch #13

You can download and print this sketch by clicking on the card sketches link found under the "printable sketches" tab on the right sidebar.
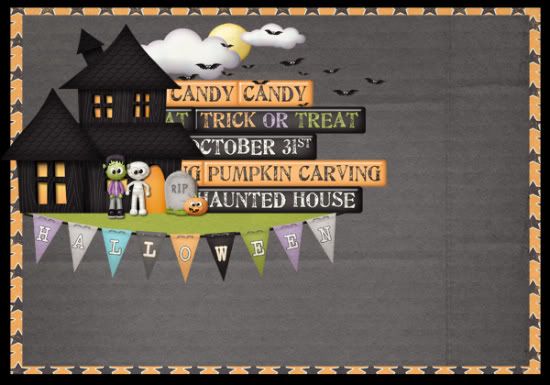
"Halloween" card by Jill Sarginson
Supplies Used - Digital Kit: Kristin Aagard's Jeepers Creepers kit; Font: DJB How Cute Am I?
Variations:
• Instead of horizontal strips of pattern paper, I used word elements.
• Instead of a die-cut or block, I put a house and a few elements.
• I moved the cluster up near the top and made it into a couple of clouds, a moon, and some bats.
• I added a banner title to the bottom of the sketch.
• • • • • • • • • • • • • • • • • • • • • • • • • • • • • •
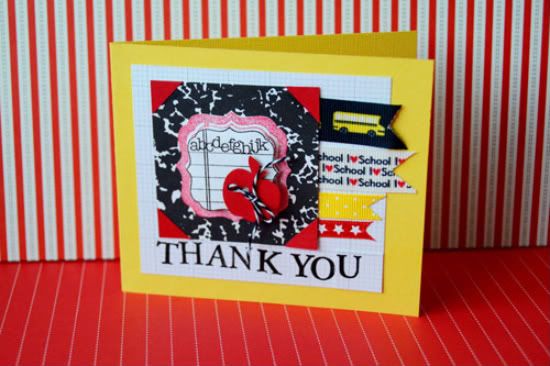
"Thank You" by Suzanna Lee
Supplies used - cardstock: Bazzill Basics; patterned paper: Die Cuts With A View, Frances Meyer; ribbon: American Crafts, The Paper Studio; stamps: Unity, All Night Media; ink: Versafine; twine: The Twinery; punch: Martha Stewart
Variation 1: I used a square instead of a rectangle as my "message" base and opted not to stitch around it. I also put another layer within it with the stamped image masked and pop dotted. This is were I put my embellishment.

Variation 2: I put my message below the square instead of within it.
Variation 3: I have another background layer before my card base.
• • • • • • • • • • • • • • • • • • • • • • • • • • • • • •

"Celebrate" card by Carolyn Wolff
Supply List - Cardstock: Bazzill and American Crafts; Patterned Paper and Stickers: Simple Stories; Brads: Basic Grey; Floss: DMC and We R Memory Keepers; Ink: Ranger Distress Ink; Foam Dots: American Crafts
Variation #1 – I made my card larger to accommodate some of the elements. The finished measurement is 5 ½ x 7 ½ inches. I made the width of my strips ¾ inch instead of ½ inch.
Variation #2 – I moved the stitching from around the message block to the letters in my message.
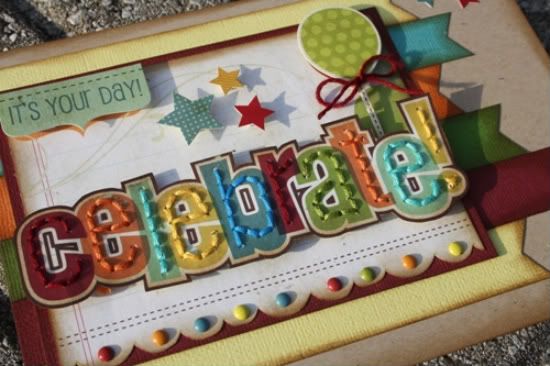
Variation #3 – I used sticker embellishment above my message rather than in the right corner as indicated.
Variation #4 – I added some star stickers to the card base along the right side.
• • • • • • • • • • • • • • • • • • • • • • • • • • • • • •
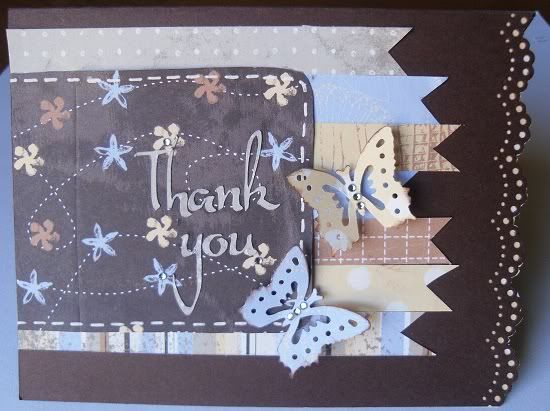
"Thank you" card by Amy Roller
Supplies - Patterned Paper: Stampin up!; Cardstock: Stampin up!; Punches: (Lace Border) Martha Stewart, (Butterfly) EK Success; Rhinestones: Close To My Heart; Title Letters: cut by Cricut; White Pen: Signo
I followed the sketch pretty close on this card.
Variation #1: I added in a few butterflies with rhinestones in place of the flowers on the bottom right corner.
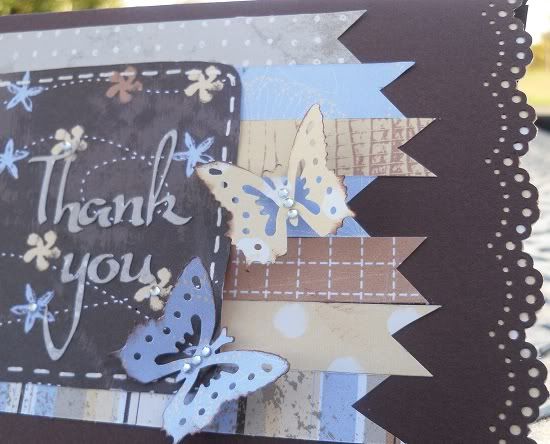
Variation#2: I made my rectangle just a teeny bit taller than the sketch so I added 1 extra 1/2" strip up the right side to help balance it out.
Variation#3: I added a border punch up the right side of the card for a little extra detail.
••••••••••••
4 comments:
WOW WOW WOW WOW ladies, you have ROCKED this sketch today!! I love love all the special touches you each gave to your cards. It always makes them extra special and more homemade looking. WAY TO GO DREAM TEAM!!
Love the digital Jill!
Carolyn,
Love how you changed it up a little and added ALL that detail!! Awesome job everyone!
WOW!!! Awesome cards todays!! LOVE the celebrate card!!
These are beautiful!
Carolyn-amazing detail in the letters. The texture & depth looks wonderful even in the photo.
Great job ladies!
Post a Comment