••••••••••••••••••••
We apologize for the delay in posting. We had some technical difficulties with the site.
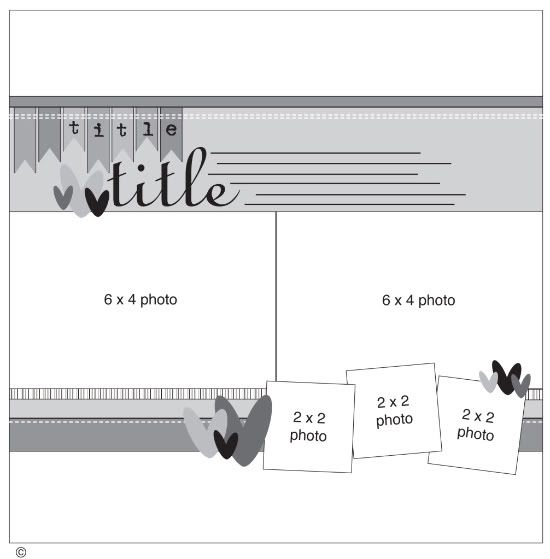
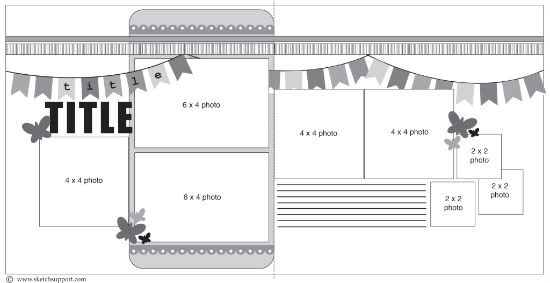
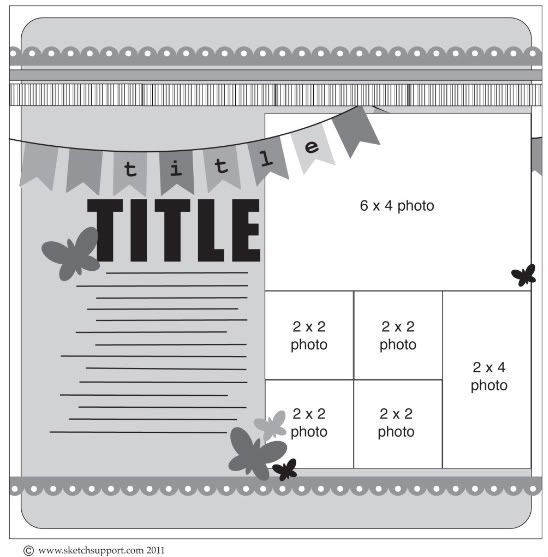
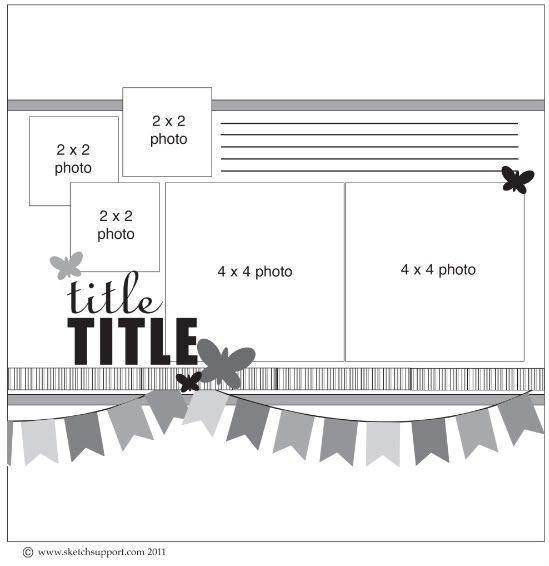
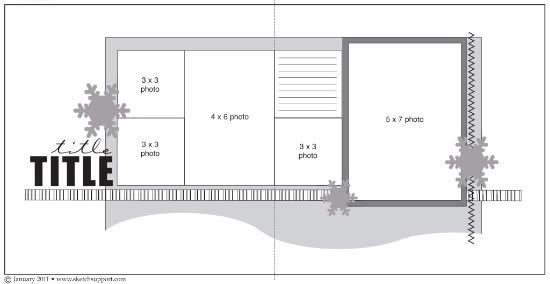
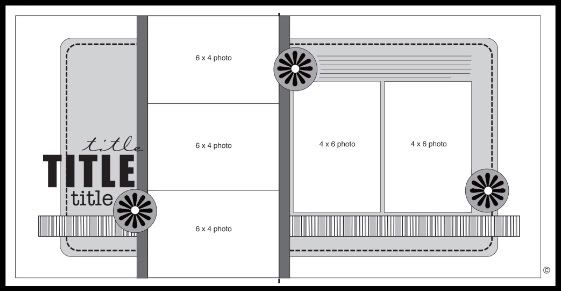
Two-page Sketch #13
You can download and print this sketch by clicking on the two-page sketches link found under the "printable sketches" tab on the right sidebar.
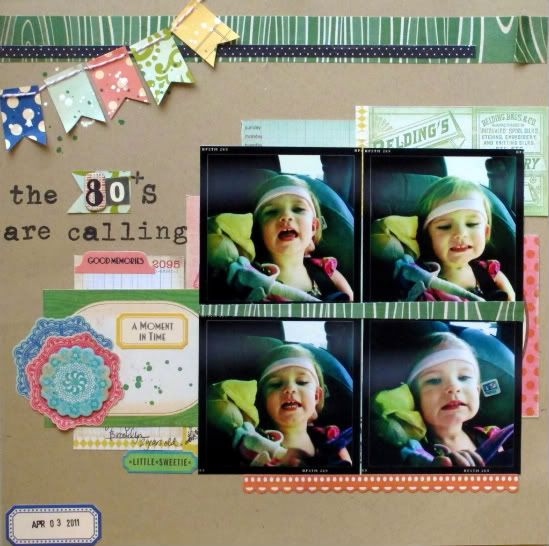
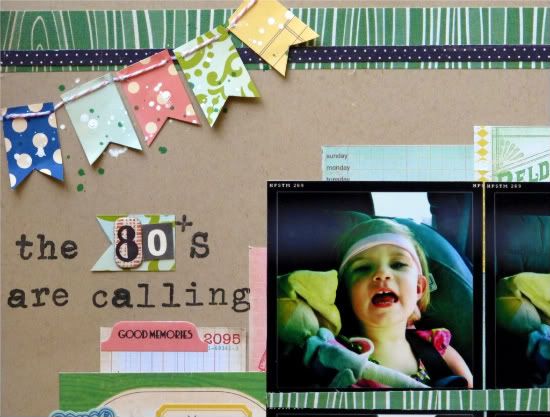
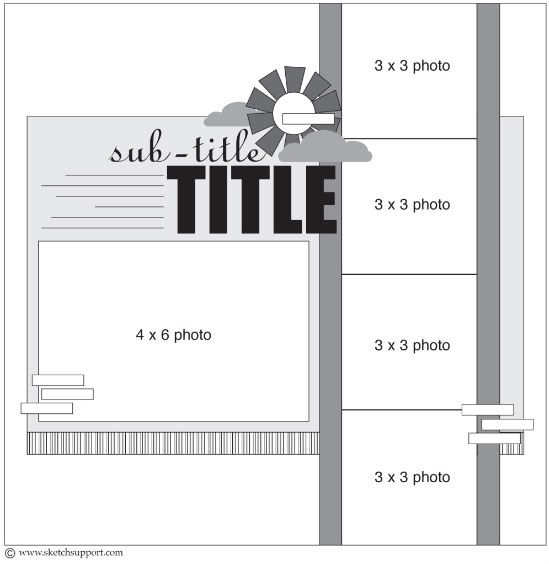
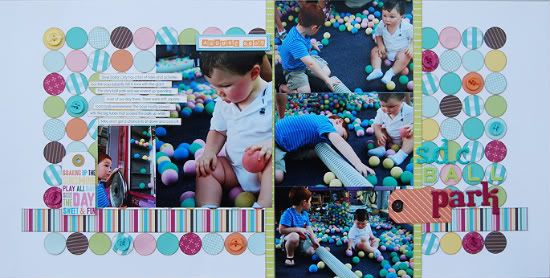
"The 80's are Calling" by Christy Arthur
Products -
Hero Arts: Typewriter Stamp;
October Afternoon: 5&dime Root Beer Barrels, Bubble Gum, Jawbreakers, Butterscotch, Lemondrops, Word and Shape Stickers, Miscellany;
Crate Paper: Emma's Shoppe Borders, Phrase Stickers, Accent Cuts and Chipboard; Portrait Accent Cuts;
Jenni Bowlin: Bingo Alpha Tile;
Sassafras: Numerical Chipboard;
Ranger: Adirondack Pitch Black ink;
Studio Calico: Mister Huey Calico White and Pickle, Green Woodgrain fabrip;
Other: Twine
• I used the left side of the two page sketch and turned it into a one page layout.
• I used four smaller 3x3 photos instead of the two larger 6x4 photos in the sketch.
• I layered different journaling cards behind the photos instead of the one, larger rectangle of paper in the sketch. I made that "rectangle" of journaling cards slightly smaller than the rectangle in the sketch (mine does not stretch behind the top horizontal strip).
• I made the banner smaller so it was in the corner more than stretching across the page like the sketch.
• I used a journaling card instead of the 4x4 photo and hid my journaling behind the accent card.
• I added a date accent to the bottom left corner, that is not in the sketch.
• • • • • • • • • • • • • • • • • • • • • • • • • • • • • •
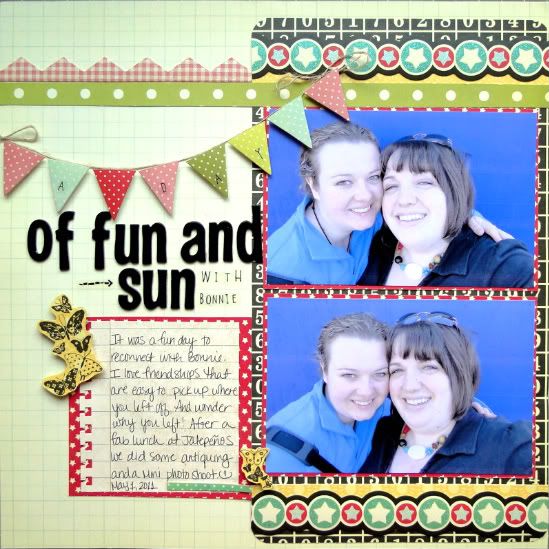
"A Day of Fun and Sun" by Melissa Elsner
Supplies -
Paper, Border and Banner stickers: Pink Paislee;
Alphabet Stickers: American Crafts, Cosmo Cricket;
Stamp: Inkadinkado;
Stamp Ink: Versafine;
Border Punch, Corner Punch: EK Success
Design Notes: I was very excited to see some banners on this sketch but didn't have enough photos to fill up a two pager. I shrunk it to the one page and used one of the spots for a photo as a journaling block. To create the banner, I snipped off the triangles from the border sticker by Pink Paislee and then adhered them with pop dots. To create the areas where an embellishment was suppose to go, I simply stamped on the patterned paper and cut out the images.
• • • • • • • • • • • • • • • • • • • • • • • • • • • • • •
Bonus Sketches
You can download and print these sketches by clicking on the one-page sketches link found under the "printable sketches" tab on the right sidebar.
One-Page Sketch #7 - based on the left page of two-page sketch #13
One-Page Sketch #8 - based on the right page of two-page sketch #13
•••••••••••••••••••••••••••••

.jpg)