Showing posts with label Simple Stories Product Challenge. Show all posts

Friday, October 28, 2011

One-page Week, Part 5 - Simple Stories Product Challenge

It's time for the Simple Stories product challenge! We're sharing another round of projects from the challenge today.

If you missed the product challenge for Card Week, Two-page Week, or Add-on Week, Simple Stories has provided a kit of the same materials for each member of the Sketch Support Creative Team. Together with the October sketches we have been showing you how using the same products and even the same sketches can produce so many different results.

Since it is One-page Week all of the projects (and we've got a lot of them!) we are posting today are based on One-page Sketch #14.
One-page Sketch #14


You can download and print this sketch by clicking on the one-page sketches link found under the "printable sketches" tab on the right sidebar.
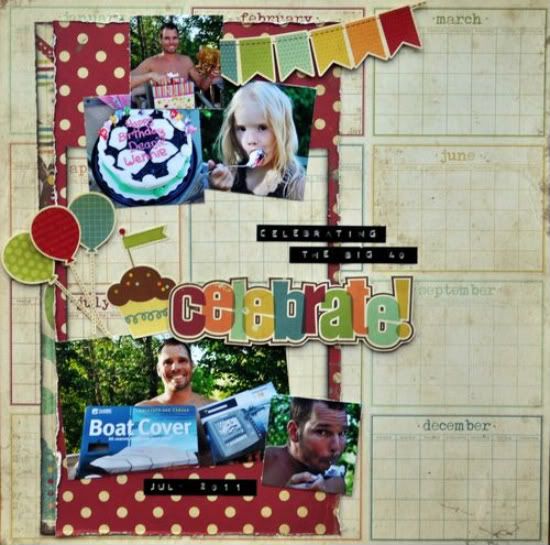

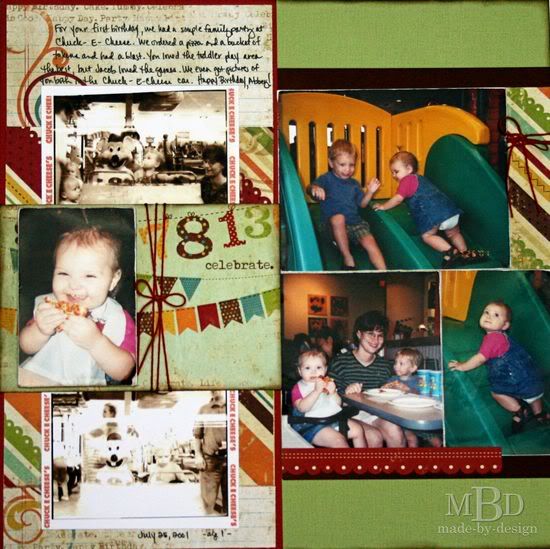
"Celebrate" by Jill Sarginson
Supplies Used - Patterned Paper: Simple Stories; Ink: Vibrance; Stickers: Simple Stories; Adhesive: Pop dots; Miscellaneous: Dymo Gun

As per usual, I stuck closely to the sketch here, I think I even kept my photos the same size! This page was very easy to create because Simple Stories kits are jammed packed with stickers and all sorts of fun designs you can cut out and adhere to your page!

• • • • • • • • • • • • • • • • • • • • • • • • • • • • • •
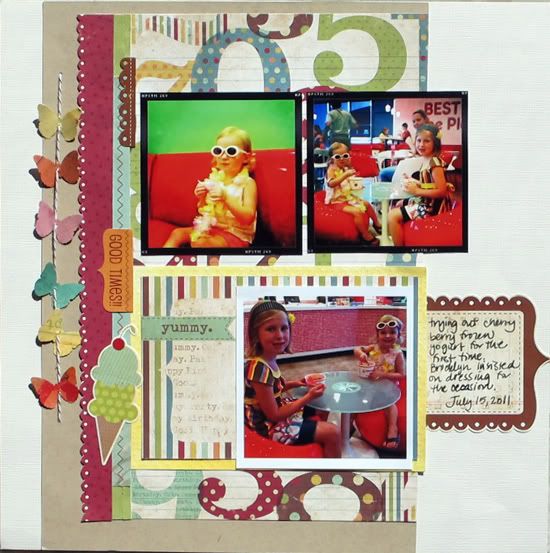

"Yummy" by Christy Arthur
Products - Cardstock: Bazzill; Patterned Paper: Simple Stories (Happy Day Make A Wish, It's Your Day; 100 Days of Summer Flash Cards); Mist: Studio Calico (Mister Huey Lemonade, Piglet, Orchard and Bluegrass); Stickers: Simple Stories (Happy Day Fundamental Cardstock); Punch: Martha Stewart (Classic Butterfly); Floss: Brown Twine

Variation #1: Instead of the flag banner at the top, I moved the banner to the left side and used butterflies.


Variation #2: I used less photos than are shown in the sketch. I simplified and used two smaller photos at the top, similar to the sketch, and one larger photo below.

Variation #3: I moved the larger photo up on my layout, even with the title.

Variation #4: I moved the journaling to the right side, instead of below the title.


Variation #5: I did not add stitching along the borders of my layout.

• • • • • • • • • • • • • • • • • • • • • • • • • • • • • •
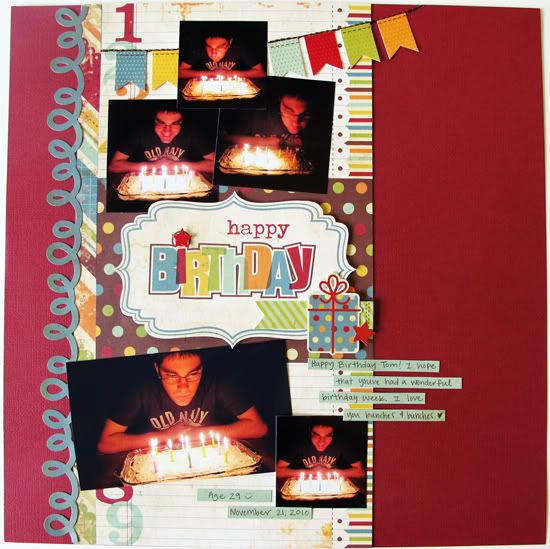

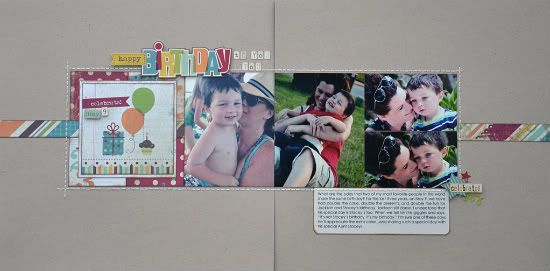
"Happy Birthday" by Melissa Bell
Supplies - Cardstock: American Crafts; Patterned paper: Simple Stories; Stickers: Simple Stories; Pop Dots: EK Success; Floss: DMC

Variation #1 - I used a cardstock border sticker instead of patterned paper for the far left vertical strip.

Variation #2 - I hand stitched across the top of the banner.

Variation #3 - I didn't stitch around the center 6x4 rectangle and embellished it differently.

• • • • • • • • • • • • • • • • • • • • • • • • • • • • • •
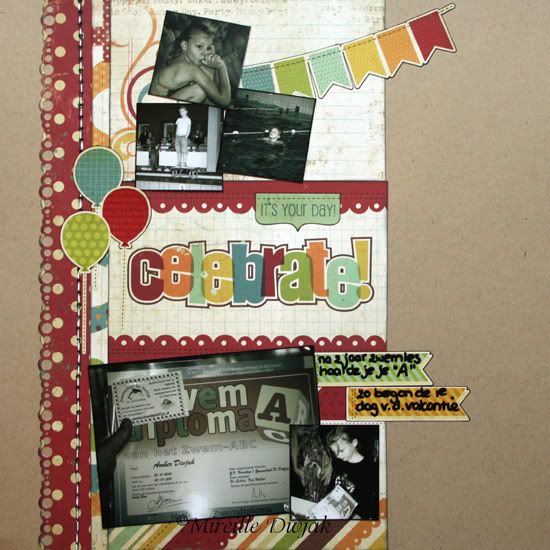

"Celebrate" by Mireille Divjak
Supply list - Cardstock: Canvas Corps (kraft); Patterned Paper: Simple Stories (Happy Day collection); Ink: Colorbox cat eyes (Black); Adhesives: Aleene's (tacky glue); Borderpunch: EK Success; Stickers: Simple Stories; Pens: American Crafts and Sakura

Variation #1: I used balloons instead of candle.

• • • • • • • • • • • • • • • • • • • • • • • • • • • • • •
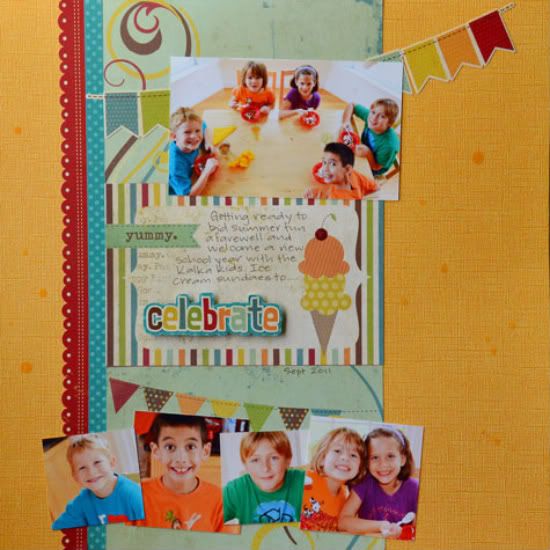

"Celebrate" by Suzanna Lee
Supplies used - cardstock: Coredinations, Bo Bunny Press; patterned paper: Simple Stories; mist: Maya Road; stickers: Simple Stories

Variation 1: I flipped the picture placement with my larger picture up top and a row of smaller pictures at the bottom.

Variation 2: Title is still in the box per the sketch but my journaling is there as well. I omitted the journaling strips as a result.

• • • • • • • • • • • • • • • • • • • • • • • • • • • • • •
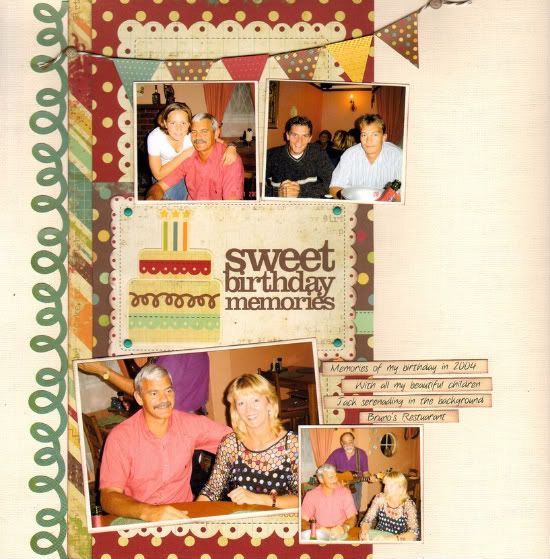

"Sweet Birthday Memories" by Lynette Jacobs
Supply List - cardstock: bazzill; patterned paper: Simple Stories; banner stickers: Simple stories; ink: Versa Magic; brads: Upikit, doodlebug.

Variation 1: I replaced the photos with different size photos.

Variation 2: I replaced the solid strip of paper with the doodle border.

Variation 3: I added the brads to the title block.

• • • • • • • • • • • • • • • • • • • • • • • • • • • • • •
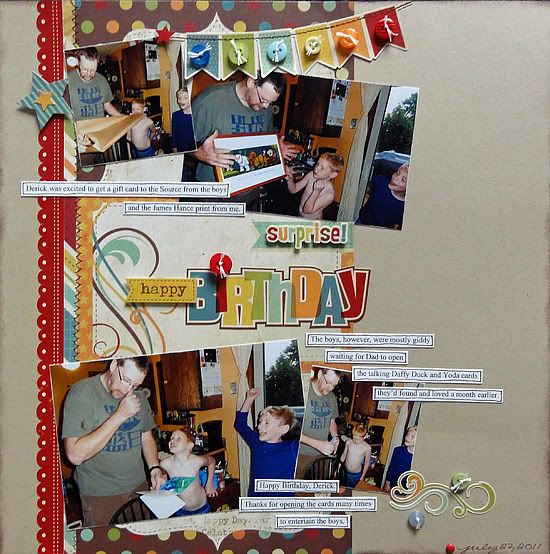

"Happy Birthday" by Jennifer Larson
Supplies - cardstock: Stampin' Up!; patterned paper, stickers: Simple Stories; ink: Stampin' Up!; floss: DMC; other: buttons

1. I used the basic layout of the design, but the photos I had were mostly vertical in orientation. To avoid cutting anyone out of the photos, I didn't use any 2x2 photos and created another vertical print instead.

2. I deleted the actual stitching and chose a stiched sticker instead.

3. I added some embellishments - buttons and flourishes.

• • • • • • • • • • • • • • • • • • • • • • • • • • • • • •


"Making Grandma Laugh" by Noey Hunt
Products used - Patterned papers and stickers: Simple Stories; Letters: Authentique, Creative Memories, Making Memories; Cardstock: Bazzill

Variation #1: I left off the bottom right photo and replaced it with one of the calendar blocks from Simple Stories.

Variation #2: I wanted to anchor the left side of the banner so I added balloons and then repeated the balloons over the journaling block.

• • • • • • • • • • • • • • • • • • • • • • • • • • • • • •
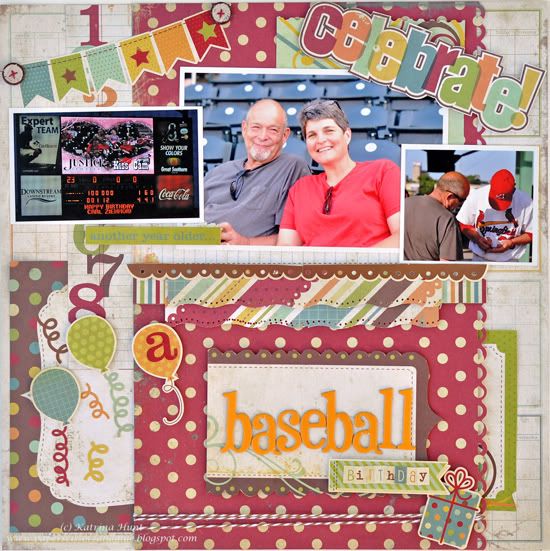

"A Baseball Birthday" by Katrina Hunt
Supplies - Patterned Paper: Simple Stories (Happy Day Collection); Adhesives: Scotch ATG, Fabri Tac and Scrapbook Adhesives; Buttons: Nikki Sivils, Scrapbooker; Twine: The Twinery Baker’s Twine; Punches: Ek Success, Fiskars; Stickers: Simple Stories (Happy Day Collection); Chipboard Letters: American Crafts Thickers

Variation 1 - Centered everything, instead of placing over to the left more.

Variation 2 - No picture at bottom and centered the three pictures on top.

Variation 3 - Added lots of layers where there were none before (under my centered pictures and at the sides).

Variation 4 - Title moved down.

• • • • • • • • • • • • • • • • • • • • • • • • • • • • • •


"Happy Birthday to You" by Allison Davis
Supplies - Cardstock: Bazzill; Patterned paper: Simple Stories; Stickers: Simple Stories; Mickey punch: EK Success

Variation #1 - I had so many pictures I wanted to include on this layout that I had no choice but to turn it into a two-page layout. I started by moving the design on the one-page sketch all the way to the right edge of the left page. For the rest of the layout I used my own design.

Variation #2 - I added a 4 x 6 photo to the left of the one-page sketch design.

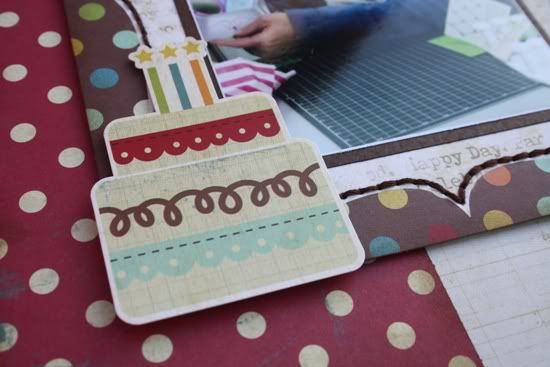
Variation #3 - Instead of using the candles, as suggested on the sketch, I used a birthday cake and some Mickey ears to go with the theme of Jackson's birthday party.
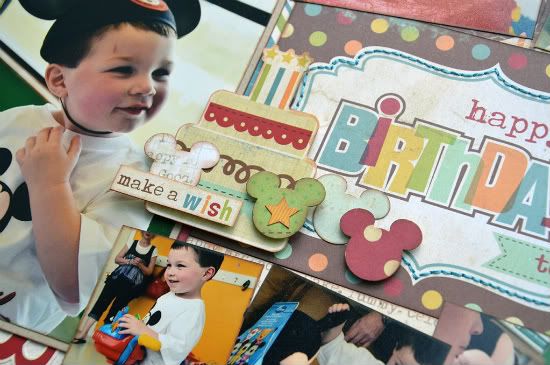

Variation #4 - Because of my photo options and the design I wanted with the two-pages, I changed up the picture sizes a little. On the top I used a wallet size print, a 2 x 2, and a 2-1/2 x 2-1/2. On the bottom I used one 2 x 2 and then two 2-1/2 x 2-1/2.

• • • • • • • • • • • • • • • • • • • • • • • • • • • • • •
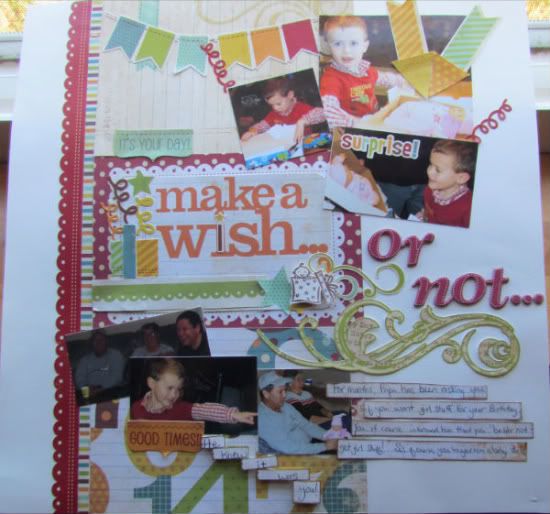

"Make a Wish...or Not..." by Amy Roller
Supplies - All products are Simple Stories unless listed below; Baby Stamp: Stampin UP!; Cardstock: Close to my Heart; Letters: American Crafts, Thickers

For this page, I used two of the 4 x 6 blocks from the Simple Stories line and put them down on my cardstock first. Then I cut a 4 x 6 block from pattern paper to make the bottom piece. I also cut out another block for the title "Make a Wish" which I layered over the middle tag.
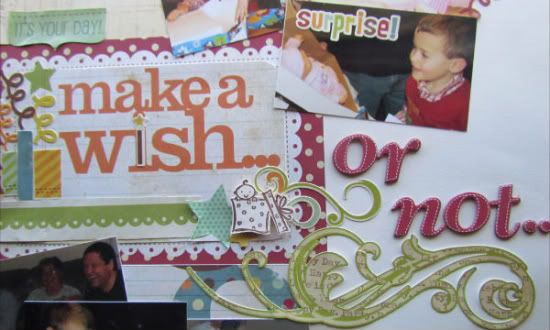

I added some handcut birthday candles from the sticker sheet and added confetti streamers for my flames. I then added the green swirl and the rest of the title, "or not" along with a small stamped image.

Next I used the scalloped sticker strip and stripe that I had pieced together from another Tag sheet up the side of row of tags.

For the top tag, I added a banner sticker strip and moved my photos over to the right to be able to fit it all in. I had a larger photo I couldn't crop that small.
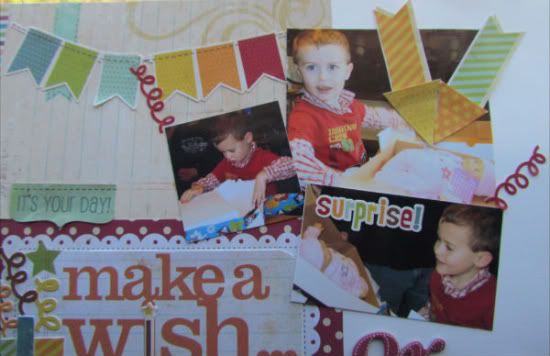

I also added some confetti around the photos and the word "surprise!" I made arrows to point to the focal point of the pictures, which was the baby doll. I did this by cutting a strip from a sticker and adding a triangle banner piece to the end of each strip.

Because I didn't have a large enough photo for the bottom tag, I used 3 smaller photos that played out the events of the day. The whole story behind the layout is added in the journaling strips beside and below the pictures.
•••••••••••••••••••

Friday, October 14, 2011

Two-page Week, Part 5 - Simple Stories product challenge

•••••••••••••••

It's time for the Simple Stories product challenge! We're sharing another round of projects from the challenge today. We also have another challenge for you and a bonus sketch!

If you missed the product challenge for Card Week, Simple Stories has provided a kit of the same materials for each member of the Sketch Support Creative Team. Together with the October sketches we are going to show you how using the same products and even the same sketches can produce so many different results.

Since it is Two-page Week all of the projects we are posting today are based on Two-page Sketch #20.

Two-page Sketch #20


You can download and print this sketch by clicking on the two-page sketches link found under the "printable sketches" tab on the right sidebar.


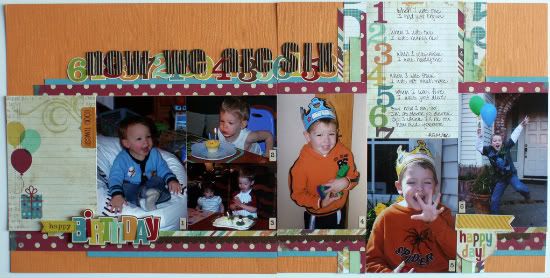
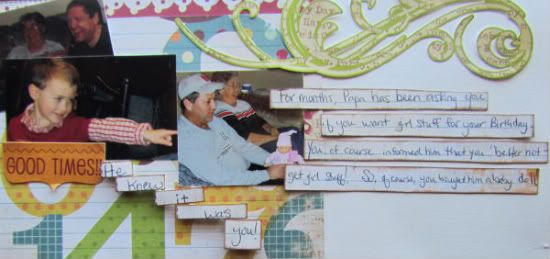
"Now We Are Six" by Christine Chain
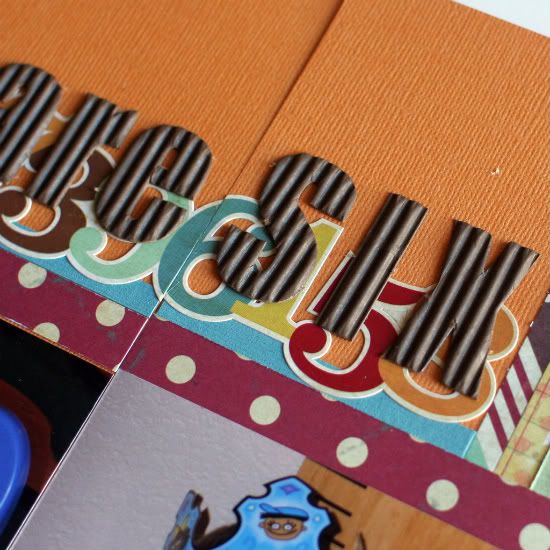
Supplies - patterned paper and stickers: Simple Stories; cardstock: Bazzill Basics; corrugated letters: Jillibean Soup; number stickers: October Afternoon; other: pop dots

1) I eliminated the photo block of six photos on the right page and just used a single 4" x 6". I've been waiting to come across the right design for my "Now We are Six" idea and this fit the bill, as long as I made that change.

2) I added the strip of number stickers across the top because I wanted to bring some more color behind the title.


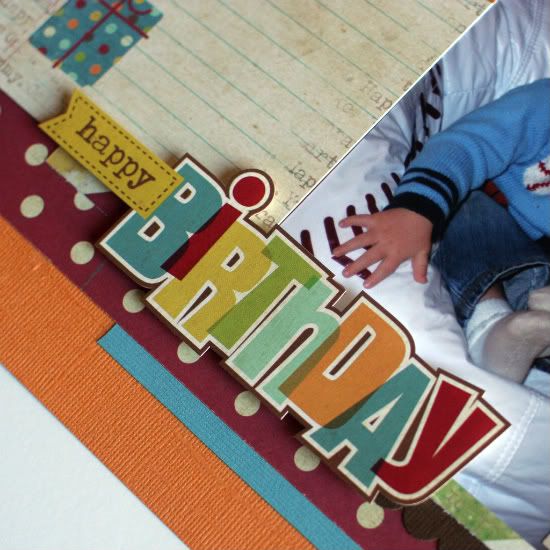
3) I didn't do any extra embellishments on the rectangle on the left. The Simple Stories papers were already decorated, so I worked with what was there. I did add the "good times" sticker (on top of a label printed on the paper). I used the "happy birthday" sticker along the bottom to tie the block to the photos and I popped it up as well.


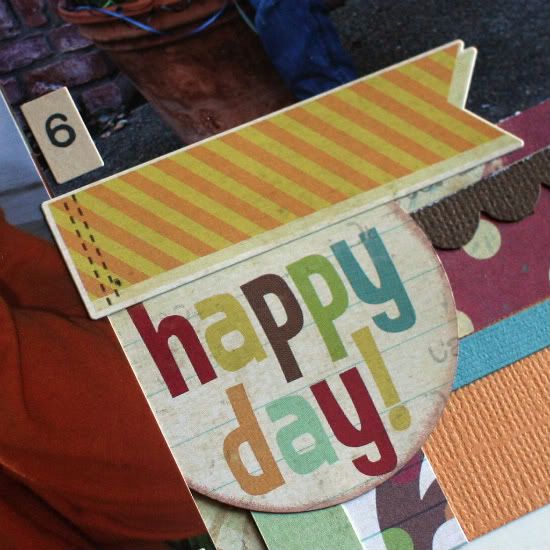
4) I punched the "happy day!" label out of a sticker that was a different shape.


• • • • • • • • • • • • • • • • • • • • • • • • • • • • • •   


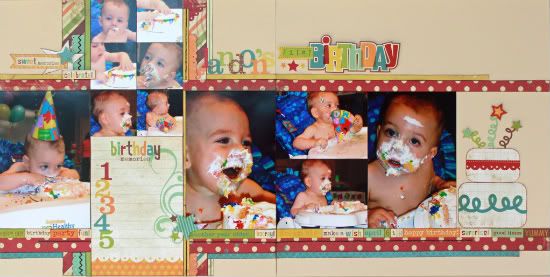
"Landon's First Birthday" by Christina Hoffman
Supplies - Cardstock: Bazzill; Patterend paper, alphabets, stickers: Simple Stories; Embroidery thread: DMC; Adhesive: Scrapbook Adhesives by 3L

Variation #1: I flipped my sketch.

Variation #2: I used word stickers instead of a strip of paper below my pictures.

• • • • • • • • • • • • • • • • • • • • • • • • • • • • • •   


"Happy Birthday" by Carolyn Wolff
Supply List - Background Paper: Lily Bee; Cardstock: Bazzill; All Other Products: Simple Stories; Stamps: My Favourite Things; Floss: DMC.

This was really fun!


Variation #1 – I only used 1 4x6 photo. I changed the rest of them to smaller photos (around 3x4).

Variation #2 – I eliminated the six 2x2 photos and replace it with one of the Bingo cards on one of the pattern papers.


Variation #3 – I made the 4x6 photo a real focus and used one of the paper elements to create a frame. I added a border on the left side of the left page and embellished with the banner stickers and the cake.


Variation #4 – I didn’t add all the strips that are shown on the sketch on the right page. I used the striped pattern paper and it did the job for me.

Thanks for the inspiration Allison and thanks to Simple Stories for letting me play with their awesome collection!

• • • • • • • • • • • • • • • • • • • • • • • • • • • • • •   


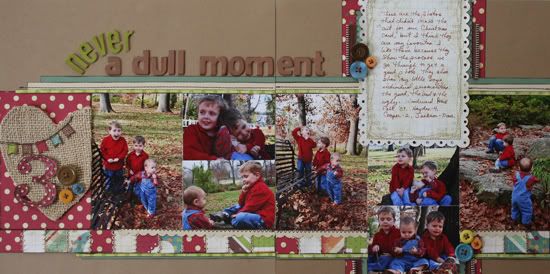
"Never a Dull Moment" by Shari Thurman
Supplies - Cardstock: Bazzill; Patterned paper: Simple Stories; Alphabets: American Crafts; Zipper Trim: Maya Road; Ink: Colorbox Chalk Ink (Dark Brown); Border Punch: Fiskars; Thread: Coats & Clark; Buttons: Unknown; Burlap: Unknown

Variation #1 - I kept the horizontal strips in the same place for the most part, but I replaced the 1" strip at the bottom with patch work strips that I made by cutting squares from different papers and stitching them together for a different look.

Variation #2 - I substituted two of the vertical strips of paper with zipper trim.

Variation #3 - Instead of using 2 x 2" photos as shown on the sketch, I replace them with two 3 x 4" photos instead.

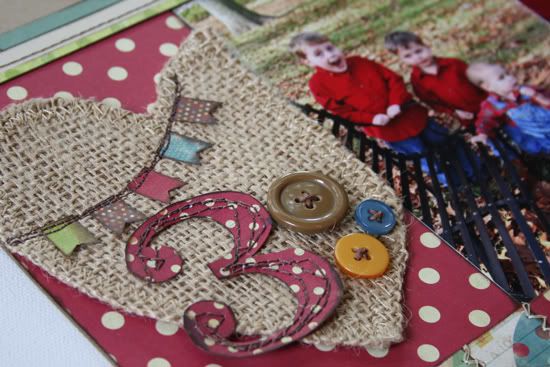
Variation #4 - I covered a heart with burlap for added texture and stitched a banner across the top.


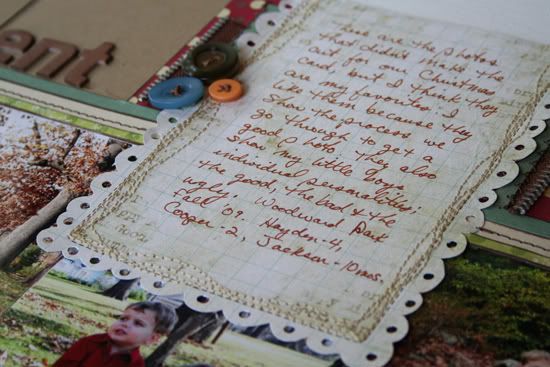
Variation #5 - I embellished the burlap heart with a stitched "3" that I cut out of one of the papers and added some buttons, rather that using hearts and journal strips. I also added buttons in two other places on the layout to create a visual triangle.


Variation #6 - My title is in the same location, but I curved the word "Never" for added interest.

• • • • • • • • • • • • • • • • • • • • • • • • • • • • • •   


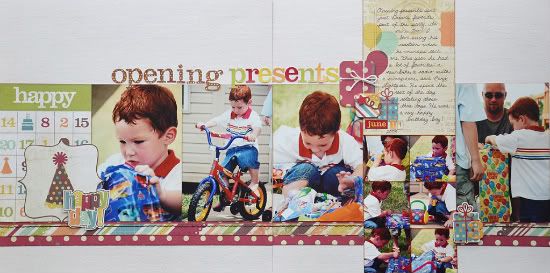
"Opening Presents" by Allison Davis
Supplies - Cardstock: Bazzill; Patterned paper: Simple Stories; Cardstock stickers: Simple Stories; Alphabet Stickers: Simple Stories

For my layout I went with a simplified version of the sketch.

Variation #1 - I used only two strips along the bottom of the pictures. I kept the 1" strip and then used a 1/2" striped strip instead of the 1/4" and extended it across the whole layout.

Variation #2 - I completely removed the vertical strips of patterned paper and the strips along the top of the pictures.

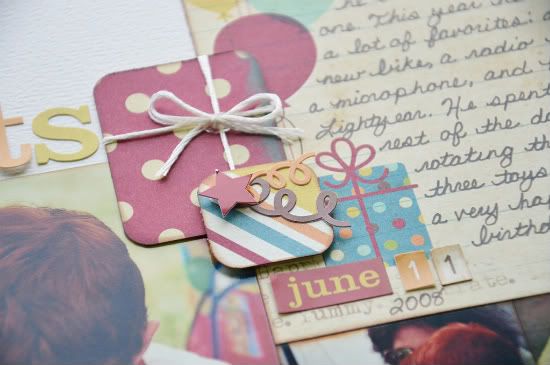
Variation #3 - To fit the birthday theme I created a little cluster of presents in between the title and journaling.


• • • • • • • • • • • • • • • • • • • • • • • • • • • • • •   


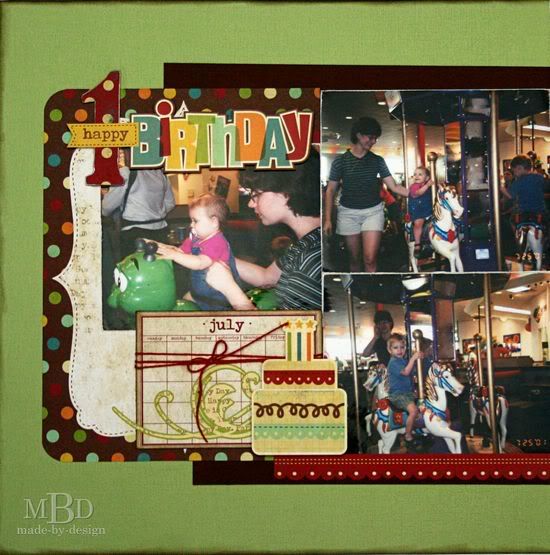
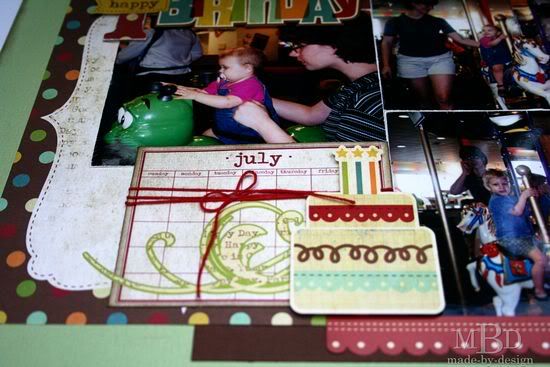
"Happy First Birthday" by Megan Bickers
Supplies Used - Cardstock: Bazzill (green, red, brown); Patterned Paper: Simple Stories (Happy Day); Ink: Ranger (Walnut Ink Distress); Adhesives: Ranger (Inkssentials Matte Accents), Scrapbook Adhesives (Foam Squares); Tools: Basic Grey (Paper Files), WeR Memory Keepers (Corner Chomper); Other: EK Success (chipboard number), Crochet Thread (Red), American Crafts (Precision
Pen-Black).


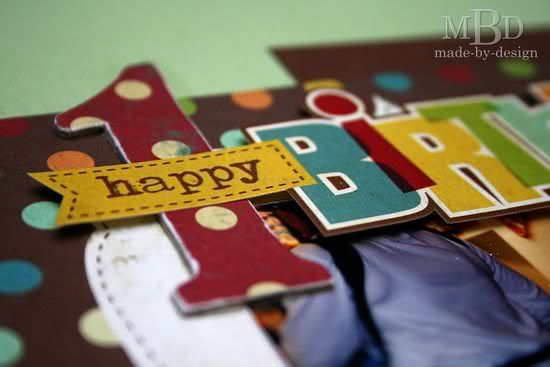
Variation #1: For my title, I layered a premade sticker from the Happy Days kit onto a chipboard number covered with coordinating pattern paper. The sticker was adhered with foam squares.


I love how the little flag that says "happy" on it worked so well to layer over the chipboard.

Variation #2: Instead of using the large heart accents on the first page, I used a 6x8 Photo Mat Element from the Happy Day collection.


I grouped a calendar also cut from the Journaling card elements paper along with one of the swirl and cake stickers for my main accents. I wrapped red string around three areas on my layout for interest.

Variation #3: I varied the photo placement on my layout. Instead of using small 2x2 photos, I created a photo mat and used two larger photos above and below the mat.


Variation #4: Instead of using lots of vertical layers under the smaller photos, I cut a journaling card into two sections and used it at the top and bottom of my smaller photo strip for my journaling. I also cut some thinner pattern paper strips to fill in the gaps on the side of these photos.


• • • • • • • • • • • • • • • • • • • • • • • • • • • • • •   


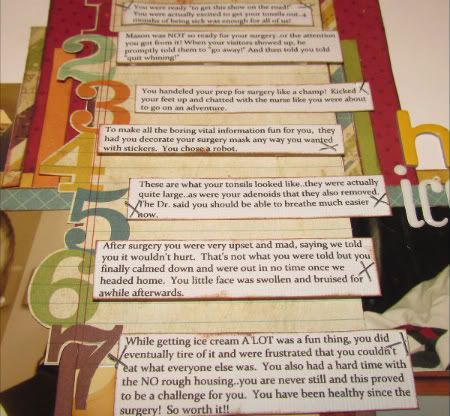
"Goodbye Sickness" by Amy Roller
Supplies - Cardstock: Close To My Heart; Patterned Paper and stickers: Simple Stories; Mini Staples/Stapler: Tim Holtz; Ink: Colorbox; Border punch: Martha Stewart

Variation #1: I changed several of the picture sizes and added an extra one next to the title and one in place of the large embellishment on the left side.

Variation #2: I ran my title all the way past the journaling area across the second page.

Variation #3: I left off the vertical stitching.

Variation #4: I added numbers to the picture groups that correspond with them journaling strips.


Variation #5: I used a border punch along an extra strip I added across the bottom of the page.

Variation #6: Because I added the numbers to the pictures, I left off the cluster of embellishments on the bottom right side.


• • • • • • • • • • • • • • • • • • • • • • • • • • • • • •   

Now it's your turn!

This week the challenge for you is similar to the challenge we took on. It combines both Simple Stories and Sketch Support sketches. You can use the sketch we've been using this week, Two-page Sketch #20 or you can use the new bonus sketch...

Two-page Sketch #21 (based on Simple Stories 4 x 6 journaling card elements)

You can download and print this sketch by clicking on the two-page sketches link found under the "printable sketches" tab on the right sidebar.

The challenge is...

• Create a layout using Simple Stories products and either Two-page Sketch #20 or Two-page Sketch #21.

After you have created your layout, upload it to our Sketch Support Gallery (make sure you put in the description that it is for the Sketch Support challenge) and then post the link to your layout in the SS gallery in the comments.

This week we are giving away a copy of collection pack of Happy Day from Simple Stories to the winner of the challenge. You have until Friday, October 21 and we will post the winner on Sunday, October 23.

We look forward to seeing your creations!
••••••••••••••••••••••••••••
Friday, October 7, 2011

Card Week, Part 5 - Simple Stories Product Challenge

•••••••••••••••
Are you ready for a little challenge? Sketch Support and Simple Stories have come together to present a product challenge for our creative team and for you too.

Simple Stories has provided a kit of the same materials for each of our creative team members. The products we are using in our challenge can be found here.

Together with the October sketches we are going to show you how using the same products and even the same sketches can produce so many different results. Each week on Friday we will post our product challenge projects based on the sketch for that week.

Card Sketch #12


You can download and print this sketch by clicking on the card sketches link found under the "printable sketches" tab on the right sidebar.


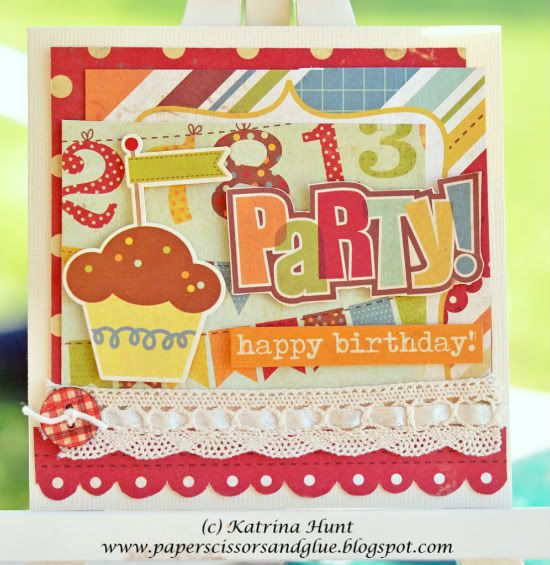
"Party! Happy Birthday!" card by Katrina Hunt
Supplies - Cardstock: American Crafts; Patterned Paper: Simple Stories (Happy Day); Ribbon and Button: My Mind’s Eye; Adhesive: Scotch ATG and Scrapbook Adhesives

After I did the one page layout, I made my card from the scraps I had left! Basic variation is I offset the layers and flipped the cupcake to the left instead of the right.

• • • • • • • • • • • • • • • • • • • • • • • • • • • • • •   


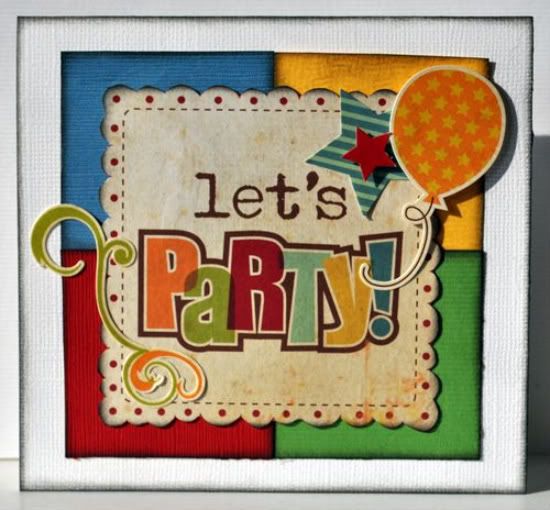
"Let's Party!" card by Jill Sarginson
Supplies Used - Cardstock: Bazzill Basics, DCWV; Patterned Paper: Simple Stories; Ink: Vibrance; Stickers: Simple Stories; Adhesive: Pop dots

I stuck pretty closely to the sketch here although I just noticed that I forgot the strip of horizontal patterned paper! Because the patterned paper is so fun and colourful, I opted to make my four squares different colours of cardstock. I pop-dotted and adhered some of the awesome stickers to finish off the card!

• • • • • • • • • • • • • • • • • • • • • • • • • • • • • •   


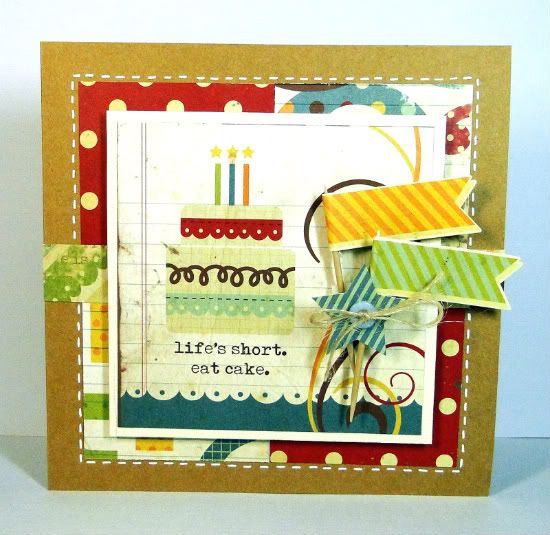
"Life's Short. Eat Cake." card by Melissa Elsner
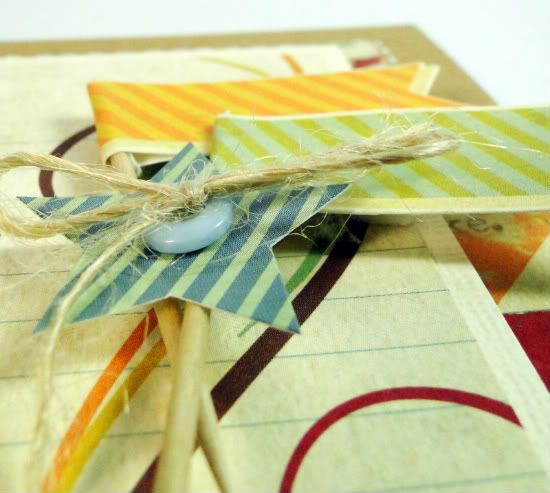
Supplies - Paper, Stickers, Journal Post: Simple Stories; Cardstock: Core'dinations; Other: button, jute, toothpicks


Variation #1: When I saw the flourishes on the journal spot, I knew it would be perfect for this card sketch.

Variation #2: To add some dimension and texture to the card, I attached the flag stickers to a couple of toothpicks. Stuck them together and adhered the star sticker and button to make it look tied together.


Variation #3: I love how stitching seems to bring things together and ground elements so I added some faux stitching around the outer edge to do just that.

• • • • • • • • • • • • • • • • • • • • • • • • • • • • • •   


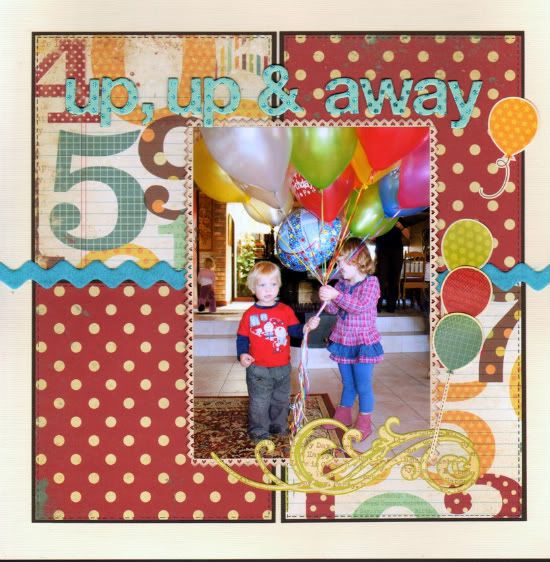
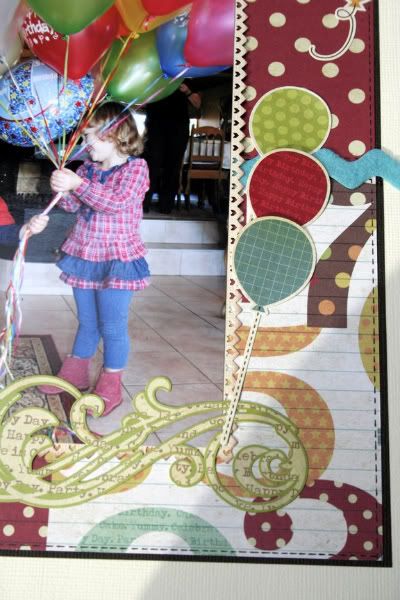
"Up, Up and Away" by Lynette Jacobs
Supplies used - Cardstock: Bazzill; Printed papers and stickers: Simple Stories; Felt ribbon: My Mind's Eye (Fine and Dandy); Alpha: American Craft

•  I cut four 5x5 inch squares and matted them on brown cardstock.

• I added faux stitching to each square.

• I replaced the striped paper with a felt ribbon.

• I matted my photo on a punched photo mat.

• I added the balloons and the flourish to the right hand corner of the photo.


• • • • • • • • • • • • • • • • • • • • • • • • • • • • • •   


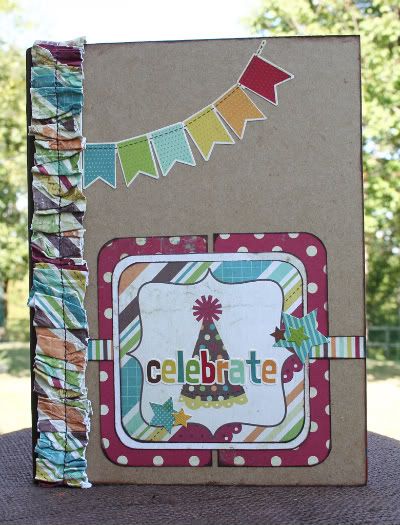
"Celebrate" birthday journal by Shari Thurman
Supply List - Patterned Paper: Simple Stories; Cardstock Stickers: Simple Stories; Ink: Colorbox Chalk Ink (Dark Brown); Adhesive: ATG by Scotch; Cardstock: unknown; Elastic: Joann's; Composition Notebook: Carolina pad and paper; Other: machine stitching

This birthday journal was a fun project to make. I am always forgetting birthdays and I'm hoping that recording them in this journal will help me remember them better.

I started by covering my journal with Kraft paper and inking the edges. Using Allison's card sketch and Simple Stories paper and cardstock stickers, I embellished the front.

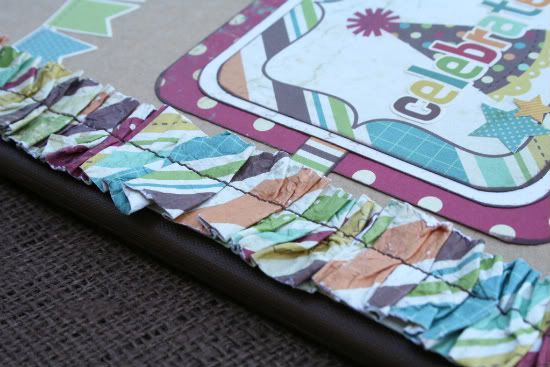
I then created an elastic paper bookmarker. I saw something similiar on www.skiptomylou.org via Pinterest that was made with ribbon. I immediately started thinking of how I could use scrapbook paper to create something similiar. I love paper! It's kind of like a headband for a book.


To create the bookmarker, I wrapped elastic around the inside of the cover and cut. Be sure not to pull it tight. I marked the length of the book on the middle of the strip of elastic. I cut 3 strips of paper measuring 1-1/4" x 12", moistened and crinkled them up. Let set 5 minutes and then open. Fold and stitch to the center of the elastic that you previously marked. My paper was only slightly damp when stitched it. I only used about 2 1/2 of the strips once it was all folded and stitched into ruffles. Finally, overlap the ends of the elastic about 1/2- 3/4" using a zig zag stitch. Place on your book.

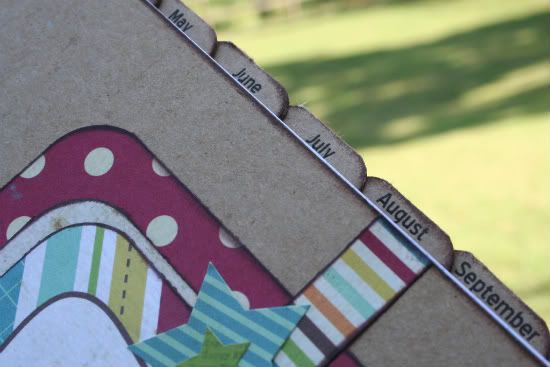
I then added months of the year tabs. I printed them on kraft paper, folded them in half, rounded the corners and attached to the edges of the paper. I divided the number of pages in the notebook by 12 months. In my notebook, I placed a new tab every 8-9 pages. My finished tabs measured 1/2 x 1".


• • • • • • • • • • • • • • • • • • • • • • • • • • • • • •   


"Happy Birthday to You Too" by Allison Davis
Supplies - Cardstock: Bazzill; Patterned paper: Simple Stories; Cardstock stickers: Simple Stories

Since I'm not much of a card maker one thing I love doing with the card sketches is finding a way to adjust them for a two-page layout. To use a card sketch for a layout, two easy ways are to enlarge the size of the card for the design to stretch across the whole layout or you can keep the card sketch the same size as more of a decorative element on the page. The second way is what I did with this card sketch.

Variation #1 - To make this card sketch work for a two-page layout I kept the card design the same size as the sketch suggests. For the rest of my layout I added pictures that are the same height as the card design to stretch across the layout.

Variation #2 - I stretched the striped strip all the way across the layout. Technically this isn't really a variation since the striped strip stretches all the way across the card but if you are going off of the measurements of the card sketch, the measurement of the stripe is the only one I changed.

Variation #3 - I added a title to the top and my journaling to the bottom and an little embellishment cluster next to the journaling.

Variation #4 - Instead of stitching around the top square I hand stitched a border around the card design and the pictures.

• • • • • • • • • • • • • • • • • • • • • • • • • • • • • •   


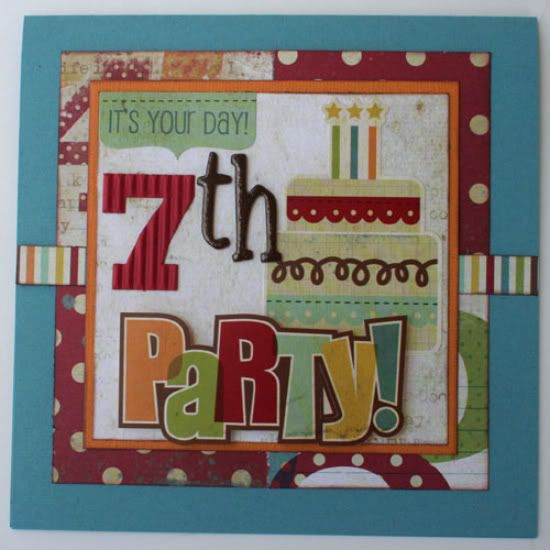
"Party!" card by Christine Chain
Supplies - patterned paper and stickers: Simple Stories; letter stickers: American Crafts; corrugated number: Jillibean Soup; ink: Tsukineko; cardstock: Bazzill Basics

This was such a fun card to put together using this card sketch.

1) I used both sides of a sheet of patterned paper to create my background layer. I just cut four 2 1/2" squares and then placed two face up and two face down, in opposite corners. Then I inked just the outside edges to give it a bit more definition.

2) I wanted a nice, simple stripe to cross over them, so I trimmed approximately 1/2" of striped paper from one of the sheets of paper. It came off of a journaling block that I wasn't using. Again, I inked the edges.

3) Next I layered a piece of orange cardstock (inked) and a plain piece of patterned paper. This is the inside of the same journaling block that I got the striped piece from. I wanted something simple to layer my stickers on top of.

4) Now that I had a nice base, I picked out a few stickers, popped up the word party, and added "7th" with some letters and numbers from my stash. (My son has a bunch of friends turning seven soon so I know this will get used).


• • • • • • • • • • • • • • • • • • • • • • • • • • • • • • 
•••••••••••
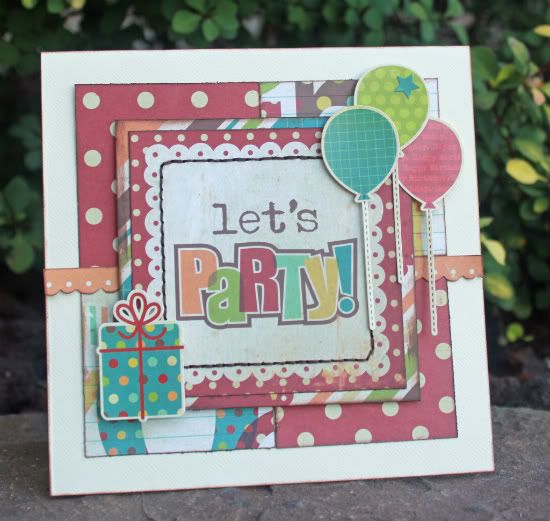
"Let's Party" card by Christina Hoffman
Supplies - Cardstock: Bazzill; Patterned paper, Balloons and Present: Simple Stories; Embroidery Thread: DMC

Variation #1: In place of the 3/4 inch striped strip I used a 1/4 inch scallop.

Variation #2: I used a patterned paper with a title already on it for my message which I centered on the card and stitched around.

Variation #3: I added balloons to the top right corner and a present to the bottom left corner of the card to balance it all out.

• • • • • • • • • • • • • • • • • • • • • • • • • • • • • •  
 Now it's your turn!

Crafty challenges are always fun so during this month we will have four different challenges for you to participate in too. Each week will be a different challenge with a different sketch. So grab your supplies, print the sketch, and have some fun! Your first challenge is:

• Create a layout based on Card Sketch #12.

After you have created your layout, upload it to our Sketch Support Gallery (make sure you put in the description that it is for the Sketch Support challenge) and then post the link to your layout in the comments.

This week we are giving away a copy of Sketches for Scrapbooking, volume choice is all yours, to the winner of the challenge. You have until Friday, October 14 and we will post the winner on Sunday, October 16.

We look forward to seeing your creations!
••••••••••••••••••••