
•••••••••••••••••••••••••••••••••••••
Have you ever started with a sketch and then ended with a project that looked nothing like the sketch? It's amazing how one idea, like a sketch, can spark another idea and you end up going in a different direction. Maybe you can still see the sketch in your end result but it's with your own original spin on it. Today we've got three projects that do just that with the add-on sketch. A cool journaling/title idea, an eye-catching frame, and a pattern that all came from the same idea and ended with creative twist. Add-on Sketch #2
You can download and print this sketch by clicking on the add-on sketches link found under the "printable sketches" tab on the right sidebar.
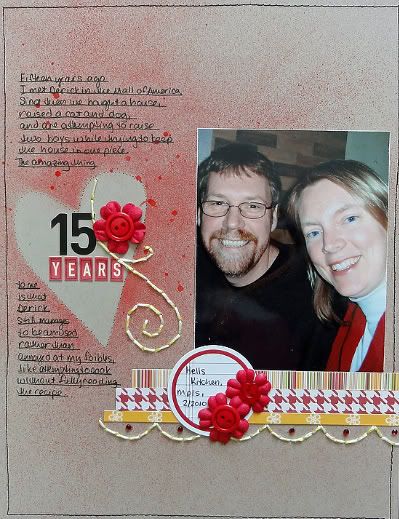
"15 Years" by Jennifer Larson
Supplies - Cardstock, buttons: Stampin' Up!; Letter stickers: American Crafts and October Afternoon; Pen: Zig; Flowers: Prima; Twine, patterned paper, journaling spot: Jillibean Soup; Stitching Templates: Bazzill; Mist: Studio Calico.
1. I initially dreamed of doing a title sandwiched between journaling in a digital format. However, my digital interest exceeds my experience, so I had to file that idea away for future use.
2. Instead, I used stickers from my ample supply, then hand-journaled on top and bottom.
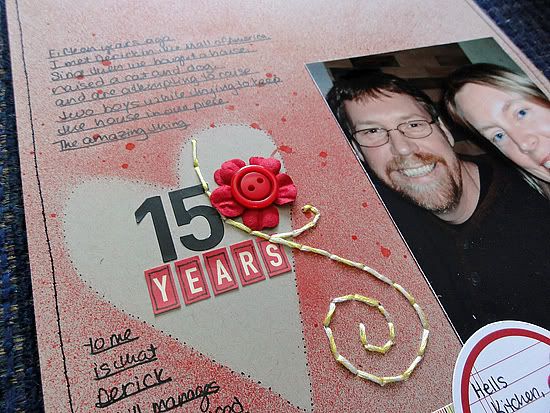
3. I hand cut a heart from computer paper, laid it down over the title, and misted before laying down my page elements. I angled the mist for a lighter spray all over, then directed it straight down to intensify the color around the title.
4. To space the journaling, I just used a ruler to draw lines every 1/4 inch, then journaled and drew loosely over them with a pen for a more random look.
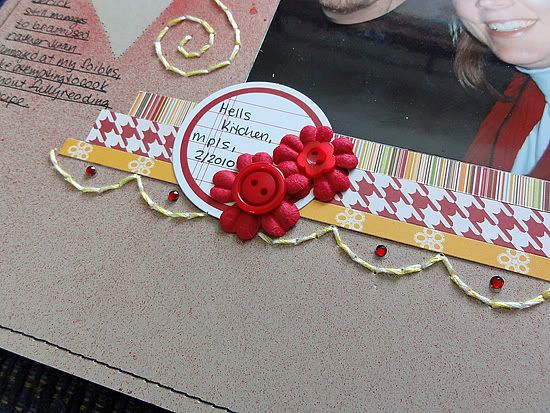
5. I used a stitching template to add the title swirl and the scallops.
• • • • • • • • • • • • • • • • • • • • • • • • • • • • • • • • • • • • • • • • • • • • •
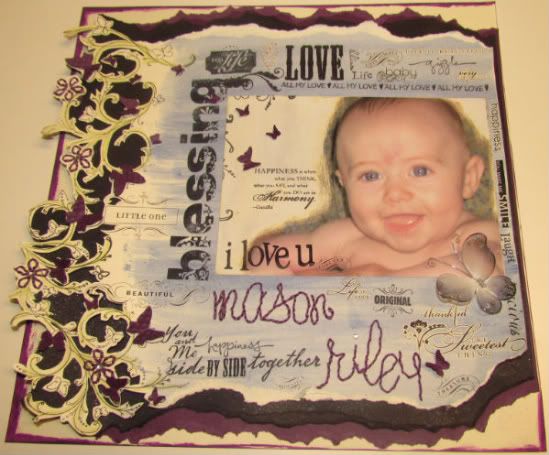
"Mason Riley" by Amy Roller
Supplies - Cardstock: Bazzill; Stamps: Close To My Heart, Stampin Up, and unknown; Rub-ons: Close To my Heart, Basic Grey, and Stampin Up!; Watercolor crayons: Stampin Up!; Ink: StazOn; Paint: Making Memories; Other: Stampin Up! die, Glimmer Mist,
For the February add-on sketch, I decided to build my whole page around it. It started out as a frame for my picture and grew from there!
I started by first taking my 5" x 7" picture and some water and rubbed/sanded away part of the photograph to leave a distressed white space around Mason. This is a great way to use photos that have something distracting in them that may otherwise cause you to not use them or even toss them!
I then stamped a sentiment and stamped off the edge of the picture to add a few vines creeping onto the blank area.
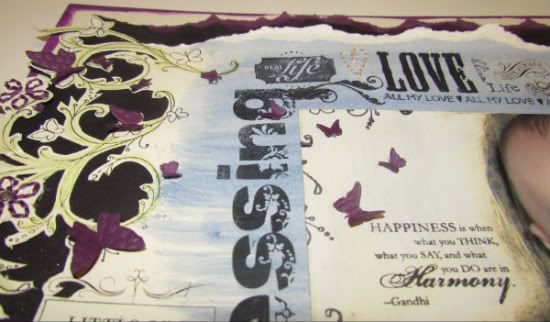
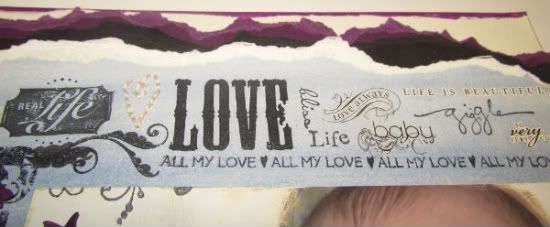
I didn't stick the photo down until the layout was almost completely finished, I just tacked it down in the general area so I would know where to place the words as I went. I also stamped the vine and butterflies up the edge of the page to create a border. Next, I stamped phrases in random areas and built on that with rub-on words and more stamps.
I made sure to use StazOn ink so that none of it would bleed or run on the next step.
I punched holes for his name, a few flowers and a heart so that I could stitch them after the background was finished.
Because everything was done in the same colors I knew I wanted to do a "whitewash" effect over the word background to add a little more color. I mixed some paint to match his eyes and then watered it down and then brushed it across the layout. I had to let this dry overnight.
Next I used watercolors and traced the vines with green and blended it with my fingers.
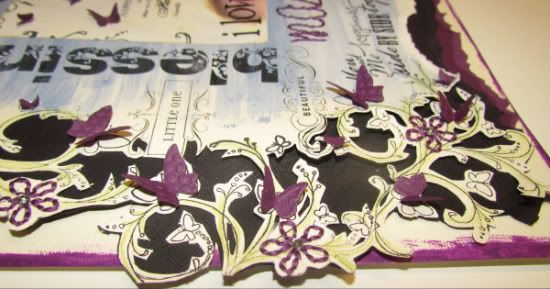
After this was done I stitched all the previously punched areas in purple for another pop of color. Then, I began cutting out around the vines up the outer edge. I tore all the edges of the paper and then added it to another purple background and tore those edges as well.
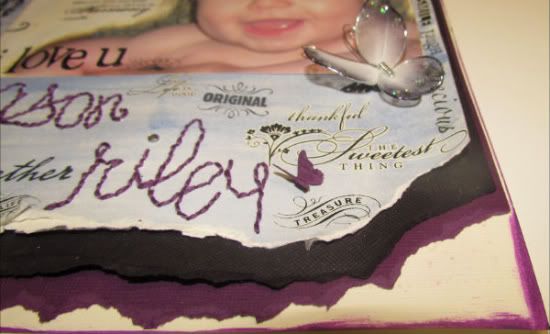
I did this one more time with a black cardstock that I also spritzed with silver Glimmer Mist to add a light sparkle. Finally I placed all the previous layers together on the original colored cardstock and painted the edges with purple paint.
Last but not least, I used a die to punch out lots of little butterflies and added them throughout the page on top of many of the stamped butterflies along with rhinestones in the center of each stitched flower. I also added one larger mesh butterfly just under the picture.
• • • • • • • • • • • • • • • • • • • • • • • • • • • • • • • • • • • • • • • • • • • • •
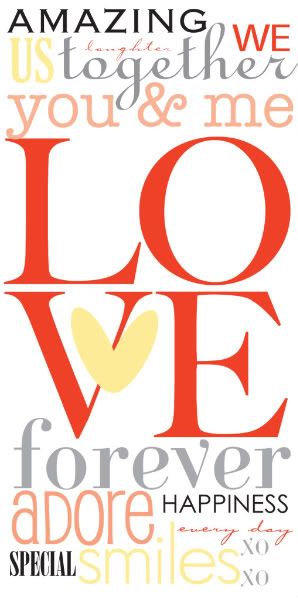
Bonus Download
You can find this color version of the sketch by clicking on the add-on sketches link found under the "printable sketches" tab on the right sidebar. (It's right below Add-on Sketch #2)
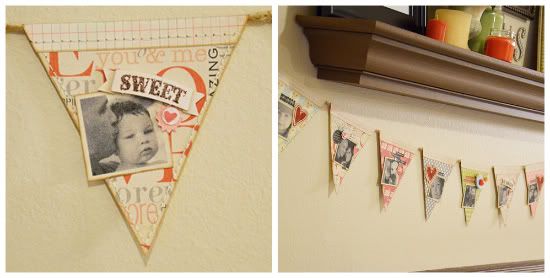
"Family" banner by Allison Davis
I think this banner was one of the most fun times I've had creating. I used a product that is out of my comfort zone and ended up finding a new love, Claudine Hellmuth's Sticky Back Canvas. I ended up using it for three different elements on the banner (and can see myself using it on many projects in the future!)
Today, I used the color printout as a pattern for a few of the pennants on my banner. The picture of the single pennant above shows the add-on printout.
Making the pattern was so easy! To make it I duplicated the add-on several times to completely cover an 11 x 8 1/2 printout. I even flipped it sideways in a few places.
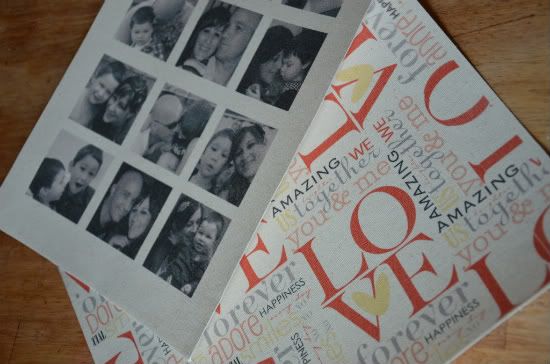
When I had everything arranged and I was happy with the pattern, I printed it on the Sticky Back Canvas instead of paper. I loved the look of it so I decided to print my pictures for the banner on the canvas too. I thought the texture the canvas added to the photos was pretty cool.
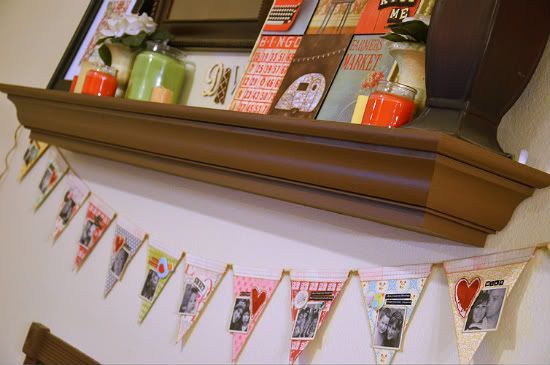
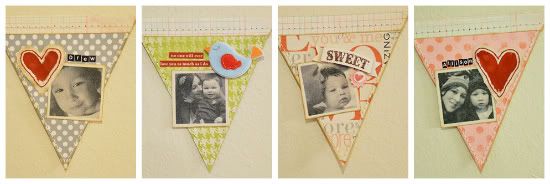
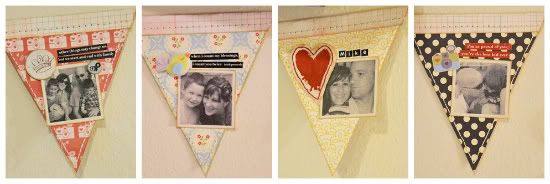
I used the patterned canvas for two of the pennants and for the rest I used a variety of patterned papers. Here's a closer look at each pennant on the banner.
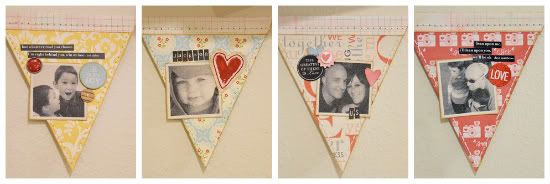
Because I was using paper for the pennants (and this is something I want to last for a long time) I didn't think punching holes in the top for the twine would be good enough. I figured it would eventually tear the papers and have a greater risk of falling apart. To avoid that I cut a 1 1/2" strip of patterned paper, folded it in half, and with the twine inside the fold, stitched it to the pennant. Not only does it make the banner more durable but I also really like the look it added.
Each pennant has a picture, embellishments, and a quote. My favorites are the four with each of our names. To add a personal touch Mike, Drew, Jackson, and I each made a finger print heart on canvas.
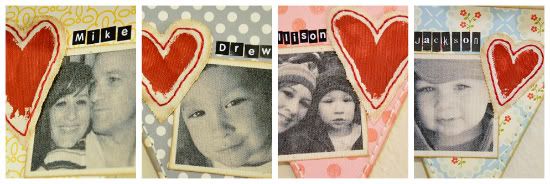
I wish I could remember where I saw this and who it was that did it because I would love to give the proper credit for it. It's one of my favorite personal touches to add to a project and I have used it many, many times.
To make the hearts we each covered a finger in red paint and then stamped it twice to make the heart shape. The boys loved it! (I think Mike thought I was crazy.) After the hearts were dry I added stitching around them, cut them out, and frayed the edges a little. It makes me happy that we each have a piece of ourselves on the banner!
•••••••••••••••••••••••••••••••••••••••••••••
8 comments:
Stunning I love all the takes but I am SO doing that fingerprint heart! I LOVE LOVE LOVE that one! Great job this week ladies!
These are all amazing again. On the first one love the misting and stitching is fun, love it. The second is just breathtaking, it came out just right. Allison you are so crafty!! Love the banner and all the pictures of your family, so sweet. Another great day ladies.
These are fantastic! I absolutely LOVE your banner Allison. Amy's layout is so gorgeous, one question, how long did it take? It seems pretty involved!
Great projects and I LOVE that banner!! Great job!
I just L-O-V-E that banner, Allison! I'm going to have to hunt up some of that canvas, it really looks great.
Happy Friday!
Allison, love that you made your own pattern paper from the add-on. Do we see a new "scrapbook paper designer" in our future. Allison Davis Designs...it does have a ring to it. You could have papers with stitching guides printed on them and the embellishments you come up with could be charmingly detailed with hand stitching. Your collection could include stitching templates, accessories and a full collection of embroidery floss. So what do you say?
All the hand stitching is amazing. It adds SO MUCH to a LO. Nice job to all!
Erica, my layout took about 5 hours total..not counting drying time. The rub-ons were quick and I used a large clear acrylic block to do most of the stamps at once. The pic distressing,tearing and whitewash are super easy and quick as well. I think the longest task was all the cutting of the vines and die cutting the butterflies. I love how it turned out!
Post a Comment