
•••••••••••••••••••••••
One-page Sketch #12

You can download and print this sketch by clicking on the one-page sketches link found under the "printable sketches" tab on the right sidebar.
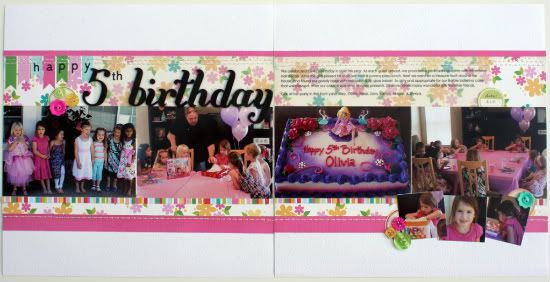
"Happy 5th Birthday" by Christine Chain
Supplies - patterned paper: Echo Park; letter stickers: Basic Grey and American Crafts; buttons: unknown; label stickers: October Afternoon; other: embroidery floss and vellum
1) The first, most obvious change I made was turning this one page layout into a two-page spread. It was such an easy change up! All I really did was add two more 4x6 photos. Doing this gave me extra space for my title and journaling. All other dimensions were kept the same.
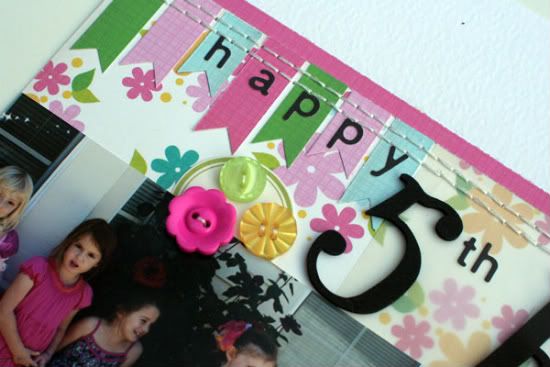
2) I swapped out the hearts in the sketch and used buttons instead. I usually just glue my buttons down, but there was so much stitching on here already that I thought it just fit.
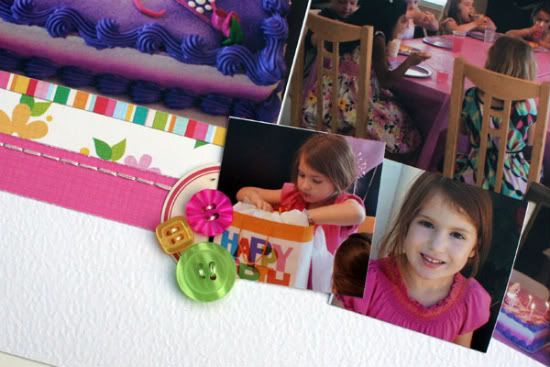
I also slid a label sticker behind each cluster of buttons to ground them a bit more.
3) To get my journaling to pop on my printed paper, I printed it on vellum and then put it on top of the patterned paper.
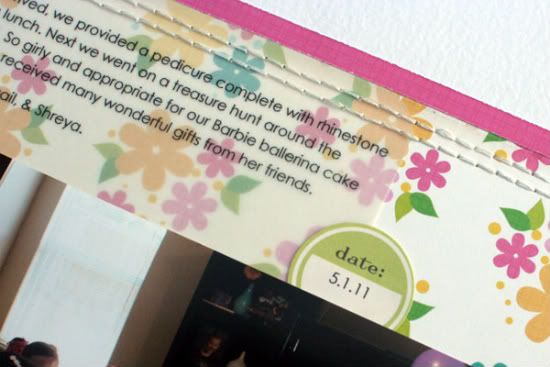
I added an extra label sticker with the date to camouflage where the vellum ends on the paper since I came up with idea after I started stitching Smile.
• • • • • • • • • • • • • • • • • • • • • • • • • • • • • •
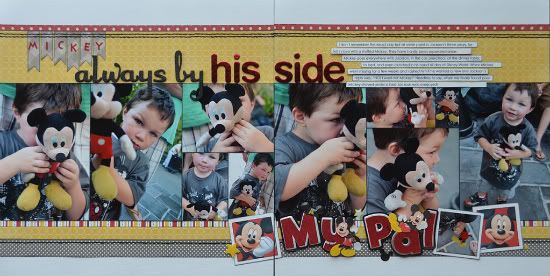
Supplies - Cardstock: Bazzill; Patterned paper: October Afternoon, My Mind's Eye, American Crafts, and Pinecone Press; Alphabets: EK Success (Mickey), American Crafts; "My Pal" embellishment: EK Success
Variation #1 - I thought the one-page sketch would work very well stretched into a two-page layout and it would be a great match for the photos I wanted to use. Sometimes stretching a one-page sketch into a two-page layout can be a challenge but, that wasn't the case with this one.
Variation #2 - Most of the photos that I wanted to use were vertical so my photo block height was extended to six inches instead of four on the sketch. In two different areas on my layout I used a group of smaller photos to make up the 4 x 6 size.
Variation #3 - Even though I changed the photo height I didn't change the measurement of the papers. There was plenty of white space to allow for the taller photos and keeping the paper measurements the same.
The one thing I did change was the suggested 12 x 7" background, the yellow paper on my layout. I didn't want to waste so much paper behind the photos since it wouldn't be seen and instead used two 1/2" strips on the bottom and two 2-1/4" on the top. It still looks like one big background but really it's several different strips.
Variation #4 - After we got back from our Disney vacation I loaded up on cute Mickey and Disney embellishments. I thought the "My Pal" embellishment would be a perfect fit to the theme and used it in the middle of the three smaller photos on the bottom.

I only had one more photo to use on the layout so I substituted two Mickey squares cut from a patterned paper for the other two photos.
• • • • • • • • • • • • • • • • • • • • • • • • • • • • • •
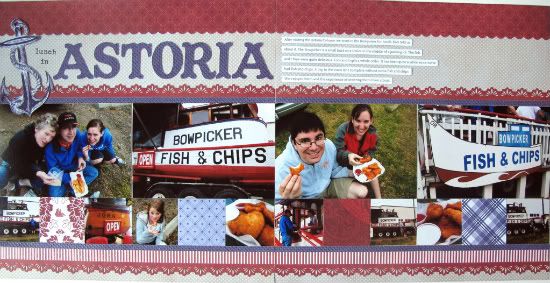
"Lunch in Astoria" by Melissa Bell
Supply List - Patterned Paper: DCWV; Cardstock: Wausau Paper; Ink: StazOn; Letter Stamps: Studio G; Border Punches: Fiskars
I believe that this is my first time taking one of Allison's one-page sketches and turning it into a two-page layout. Love it and it wasn't that hard to do!
Variation #1 - Turned the sketch into a two-page layout. Just stretched out the sketch to cover two pages.
Variation #2 - Instead of layering the 2x2 photos over the other photos in the sketch I just placed them under the 6x4 photos. I also added some 2x2 patterned paper squares in between the photos.
Variation #3 - I used border punches on some of the strips of paper going across the layout. Love the feel that they give to the layout.
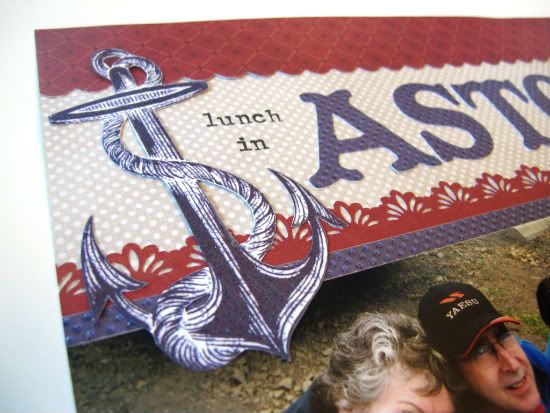
Variation #4 - I added a huge strip across the top of the layout. I was inspired by the cover of the paper stack.
Variation #5 - I omitted the heart embellishments and the flags for the title.
• • • • • • • • • • • • • • • • • • • • • • • • • • • • • •
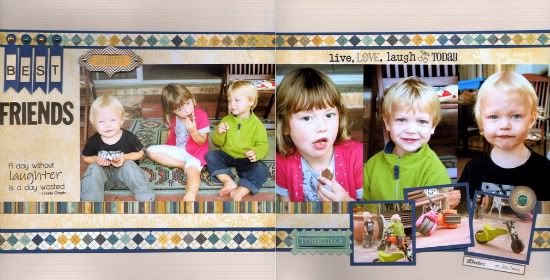
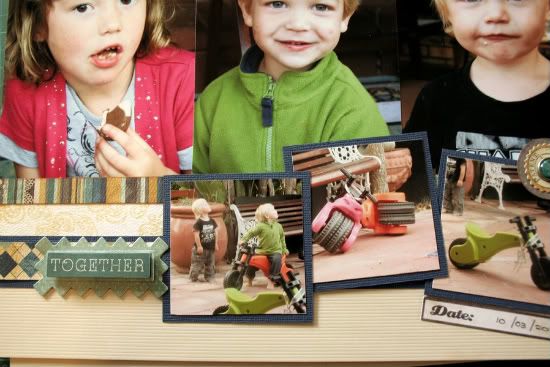
"Best Friends" by Lynette Jacobs
Supply List - Cardstock: Bazzill; Printed Papers: My Mind's Eye (Stella and Rose Hattie); Brads and stickers: My Mind's Eye (Stella and Rose Hattie); Letters: Basic Grey; Quotes: SRM Stickers and Kaiser Craft
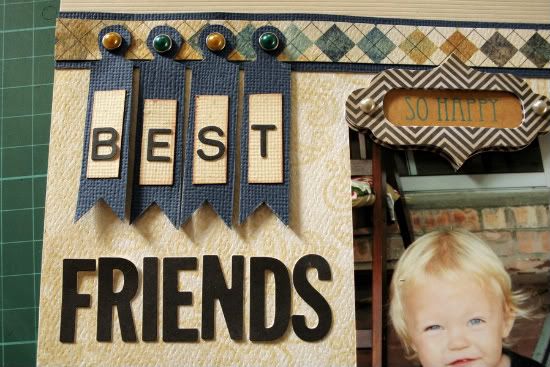
• My top strips are 12 x 1/2 and I attached it to coordinating cardstock measuring 12 x 3/4.
• The large background pieces measures 12 x 7-3/4.
• Striped strips are 12 x 1/2.
• Bottom strips are 12 x 1/2 and attached to coordinating cardstock measuring 12 x 1.
• I used an A5 and three 4x6 photos and the three little photos measure 2.5 x 2.5.
• • • • • • • • • • • • • • • • • • • • • • • • • • • • • •
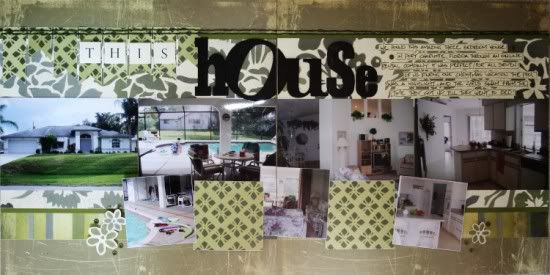
"This House" by Janette Kincaid
Supplies - Patterned Paper: Kimberly Poloson for Fiskars (Cabana Blooms, Stripes); Background Paper: Cosmo Cricket (Wonderland Holly and Berries); Cardstock: Bazzill; Square Alpha: Crate Paper; Adhesive: Helmar Scrapdots and 450 Quick Dry; Journal Pen/Marker: Zig Black; Floss: DMC; Acrylic Paint: Anita’s All Purpose in black; Other: chipboard letters and eyelettes
Variation 1: I mirrored/stretched the sketch across two pages to create a double page layout.
Variation 2: I added two additional squares along the bottom for a total of five.
Variation 3: I trimmed my square photos a little larger than the sketch to 3x3 and used foam squares to give the layout some dimension.
Variation 4: I stretched the title over the two pages to help tie the two together and keep a cohesive look.

7 comments:
In love with the 2 page version of this sketch - truly delightful work and inspirational sketches! Thanks for keeping them coming!
Allison...your sketches are so versatile!
I LOVE these LO's...can't wait to turn this 1 into a 2 pager myself! Great inspiration guys!
Love the 2 pages versions....So great seeing all these.
always love the 2 page versions of your one-page sketches. Beautiful!
LOVE, LOVE the two page interpretations!!
Thanks so much for so many great examples on how to stretch that sketch.... from a hard-core 2 pager.
These are all fabulous! I LOVE LOVE LOVE the mickey one and all of the fantastic pictures on it!
Post a Comment