
•••••••••••
One-page Sketch #14

You can download and print this sketch by clicking on the one-page sketches link found under the "printable sketches" tab on the right sidebar.
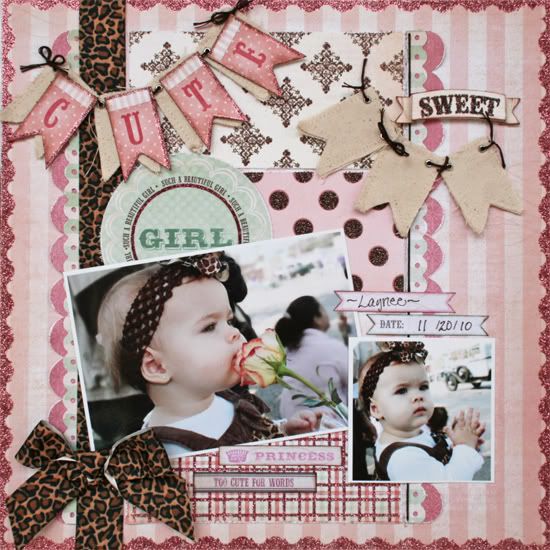
“Cute Girl” by Robbie Herring
Supplies - Patterned paper: My Mind's Eye; Layered Stickers and Stickers: My Mind's Eye; Title Card: My Mind's Eye; Canvas Banner: Maya Road; Ribbon: May Arts; Border Punches: EK Success and Fiskars; Embroidery Floss: DMC
Variation #1 – I changed the size of the bottom two pictures to 4x6” and 3x3”.
Variation #2 - I omitted the top three pictures.
Variation #3 – The background rectangles were changed to 3x6”. I left a space between the bottom two rectangles and placed one of the journal stickers there.
Variation #4 – I added borders to the right side and used a circular title card in place of a rectangular one.
Variation #5 – I used two separate banner groupings instead of using one. I also changed the placement as shown.

Variation #6 – I moved the stitching to the right side and substituted a large ribbon with a bow on the left.
• • • • • • • • • • • • • • • • • • • • • • • • • • • • • •
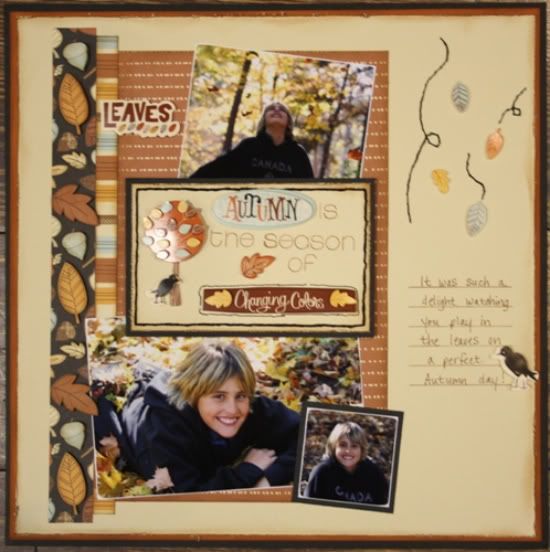
"Autumn" by Carolyn Wolff
Supply List - Cardstock: American Crafts; Patterned Paper and Stickers: American Crafts (Nightfall); Distress Tool: Making Memories; Stamps: My Favourite Things and Papertrey Ink; Ink: Ranger Distress Ink; Sanding Files: Basic Grey; Floss: We R Memory Keepers.
Variation #1 – I used three photos instead of the five that are shown on the sketch. I matted the small photos and sanded the edges of the larger ones.
Variation #2 – I placed the title block in front of the photos and not tucked behind like it was shown on the sketch.

Variation #3 – I used a stamp to create my journal area instead of the strips of paper.
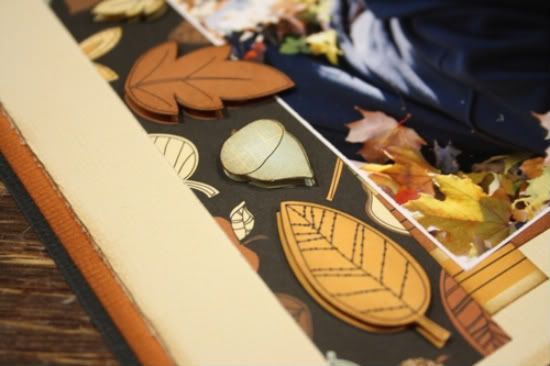
Variation #4 – I eliminated the banner and added the falling leaves on the right side of the layout.
• • • • • • • • • • • • • • • • • • • • • • • • • • • • • •
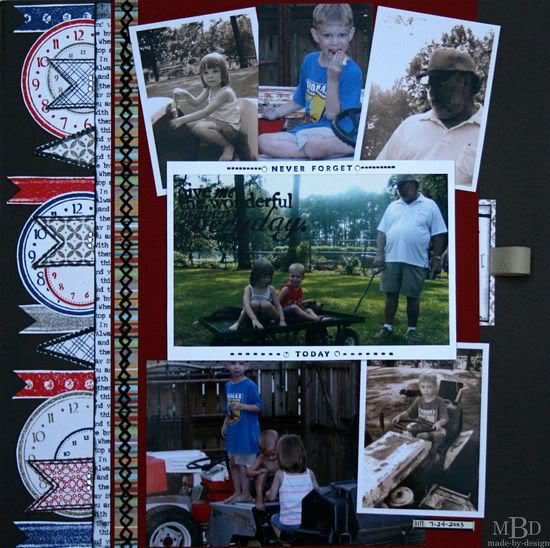
"Wonderful, Ordinary, Everyday" by Megan Bickers
Supplies Used - Cardstock: Bazzill (Red), The Paper Studio (Grey), Close To My Heart (White); Patterned Paper: Little Yellow Bicycle (Love Letters), Fancy Pants (Fabulous); Inks: Tsukineko (Black StazOn), Ranger Distress (Pumice Stone, Barn Door, Chipped Sapphire), Marvy Uchida (Black Marvy Matchables); Stamps: Technique Tuesday (Ordinary Days), Hampton Art (Memories Mix & Match, This Day Sentiments Mix & Match), Maya Road (Clocks), Martha Stewart (Patterns Background), Close To My Heart (Ritzy Ribbons), Glitz Designs (Love Games); Stickers: 7 Gypsies (Date Mini Label); Embellishments: The Paper Studio (Clear Gemstones), Martha Stewart (Twill Tape-Putty), Making Memories (Scrapbook Stitches-Black Thread); Tools: Tim Holtz (Tiny Attacher), WeR Memory Keepers (Sew Easy-Orange Head), Ranger (Foam Blending Tool), Exacto Knife; Pens: Close To My Heart (Outdoor Denim Marker), EK Success (Zig Black Writer).
Variation #1: Instead of using small square photos as shown on the sketch, I used 2.5 x 3.5 wallet photos. I also varied their placement on the page and lined them up more so they were all visible. Because my photos are larger, I have less white space on the right side of my layout.
Variation #2: For my title, I stamped the words with StazOn ink in the corner of my largest 4x6 photo. I used the photo in place of the title block because it was the main focal point of my layout.
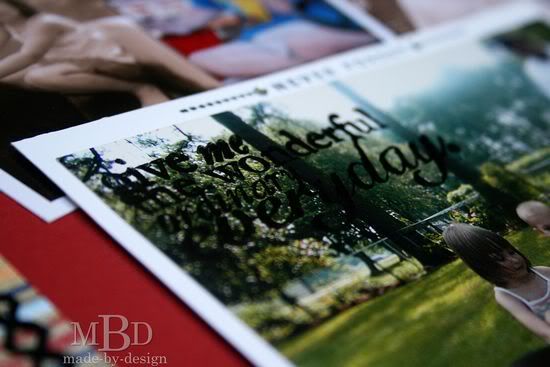
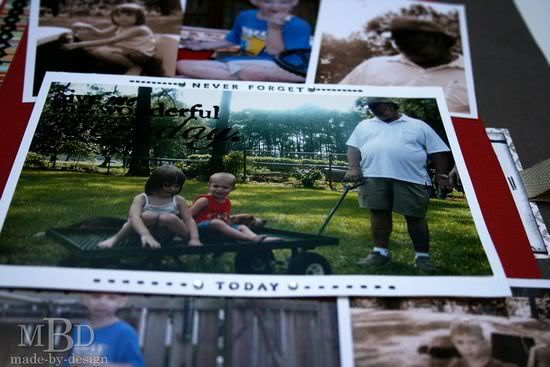
I also stamped the words "never forget" and "today" above and below the photo and accented them with gemstones. I completely omitted the candles and stars as shown in the sketch.
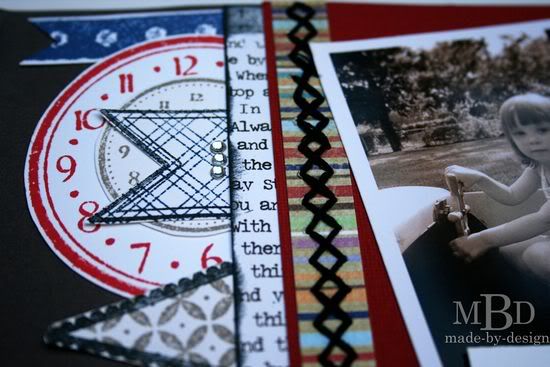
Variation #3: Because my photos were larger than the sketch photos, the banner would not fit across the top of my page. So I created a custom banner with a variety of clocks, ribbon images and banners that were all created with white cardstock, stamps and inks. I added clear gemstones to three of the banners to add some detail.
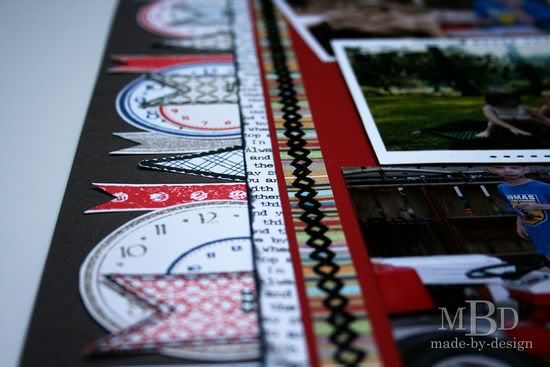
Variation #4: Instead of adding my journaling in strips under my title, I created a custom stamped journaling tag and added a stamped word border along the top.
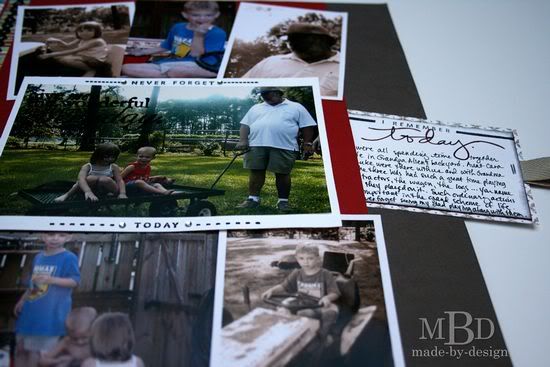
To hide this journaling section on my page, I used an exacto knife and created a slit in the layout and made a pocket. I added some ribbon to the journaling piece so it was easy to pull out to read.
•••••••••••••••••••••
2 comments:
Wow! I am speechless, these are amazing!
Robbie that bow, the color combo, the pictures, sublime!
Caroline I love the popped leaves and the little touches like the leaves on the tree.
Megan the combo of color and B&W pics is fantastic. The hidden journaling and banners on the side are such thoughtful little touches!
Wow! Another day of awesome layouts.
Robbie - Your page is stunning. I love how your ribbon matches the headband in the photo. Those layered banners are pretty awesome too.
Megan - Love all the details on your page. The pull out journaling is so cool. I love the clocks too.
Post a Comment