It's time for the Simple Stories product challenge! We're sharing another round of projects from the challenge today.
If you missed the product challenge for Card Week, Two-page Week, or Add-on Week, Simple Stories has provided a kit of the same materials for each member of the Sketch Support Creative Team. Together with the October sketches we have been showing you how using the same products and even the same sketches can produce so many different results.
Since it is One-page Week all of the projects (and we've got a lot of them!) we are posting today are based on One-page Sketch #14.
One-page Sketch #14
You can download and print this sketch by clicking on the one-page sketches link found under the "printable sketches" tab on the right sidebar.
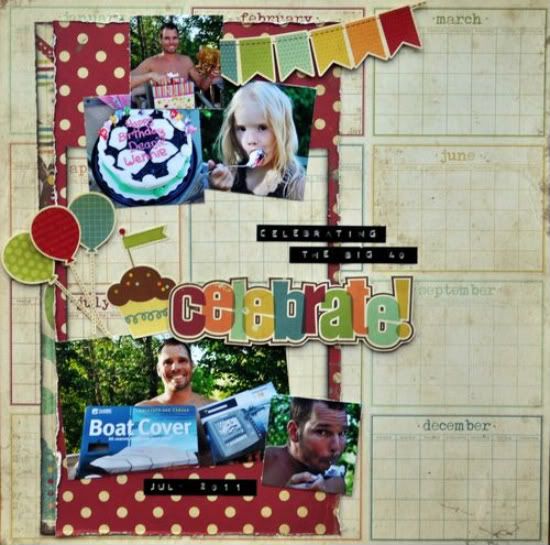
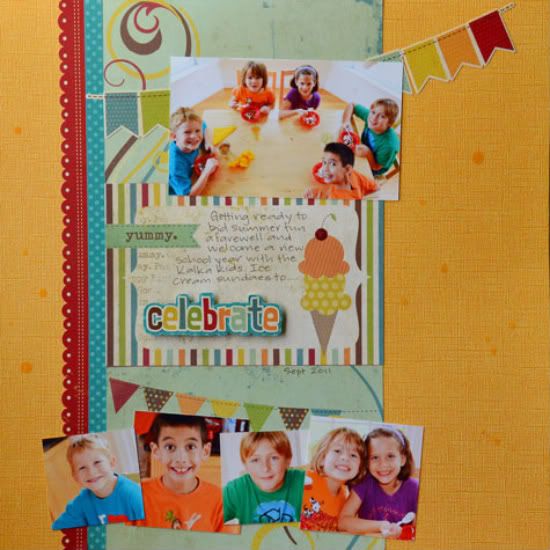
"Celebrate" by Jill Sarginson
Supplies Used - Patterned Paper: Simple Stories; Ink: Vibrance; Stickers: Simple Stories; Adhesive: Pop dots; Miscellaneous: Dymo Gun
As per usual, I stuck closely to the sketch here, I think I even kept my photos the same size! This page was very easy to create because Simple Stories kits are jammed packed with stickers and all sorts of fun designs you can cut out and adhere to your page!
• • • • • • • • • • • • • • • • • • • • • • • • • • • • • •
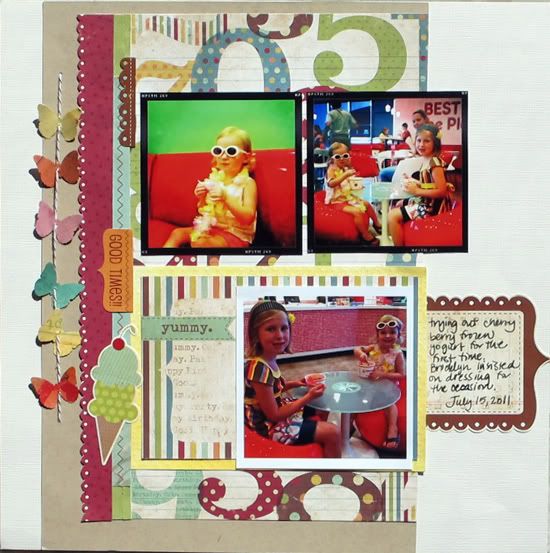
"Yummy" by Christy Arthur
Products - Cardstock: Bazzill; Patterned Paper: Simple Stories (Happy Day Make A Wish, It's Your Day; 100 Days of Summer Flash Cards); Mist: Studio Calico (Mister Huey Lemonade, Piglet, Orchard and Bluegrass); Stickers: Simple Stories (Happy Day Fundamental Cardstock); Punch: Martha Stewart (Classic Butterfly); Floss: Brown Twine
Variation #1: Instead of the flag banner at the top, I moved the banner to the left side and used butterflies.
Variation #2: I used less photos than are shown in the sketch. I simplified and used two smaller photos at the top, similar to the sketch, and one larger photo below.
Variation #3: I moved the larger photo up on my layout, even with the title.
Variation #4: I moved the journaling to the right side, instead of below the title.
Variation #5: I did not add stitching along the borders of my layout.
• • • • • • • • • • • • • • • • • • • • • • • • • • • • • •
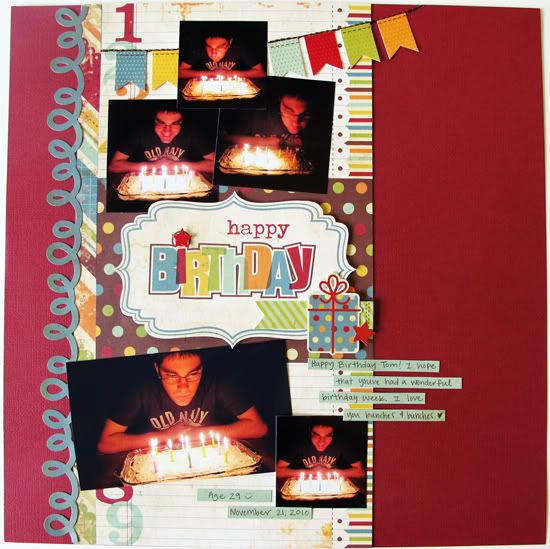
"Happy Birthday" by Melissa Bell
Supplies - Cardstock: American Crafts; Patterned paper: Simple Stories; Stickers: Simple Stories; Pop Dots: EK Success; Floss: DMC
Variation #1 - I used a cardstock border sticker instead of patterned paper for the far left vertical strip.
Variation #2 - I hand stitched across the top of the banner.
Variation #3 - I didn't stitch around the center 6x4 rectangle and embellished it differently.
• • • • • • • • • • • • • • • • • • • • • • • • • • • • • •
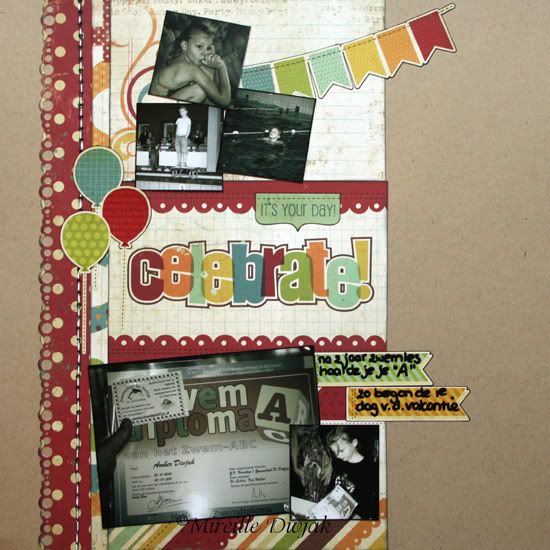
"Celebrate" by Mireille Divjak
Supply list - Cardstock: Canvas Corps (kraft); Patterned Paper: Simple Stories (Happy Day collection); Ink: Colorbox cat eyes (Black); Adhesives: Aleene's (tacky glue); Borderpunch: EK Success; Stickers: Simple Stories; Pens: American Crafts and Sakura
Variation #1: I used balloons instead of candle.
• • • • • • • • • • • • • • • • • • • • • • • • • • • • • •
"Celebrate" by Suzanna Lee
Supplies used - cardstock: Coredinations, Bo Bunny Press; patterned paper: Simple Stories; mist: Maya Road; stickers: Simple Stories
Variation 1: I flipped the picture placement with my larger picture up top and a row of smaller pictures at the bottom.
Variation 2: Title is still in the box per the sketch but my journaling is there as well. I omitted the journaling strips as a result.
• • • • • • • • • • • • • • • • • • • • • • • • • • • • • •
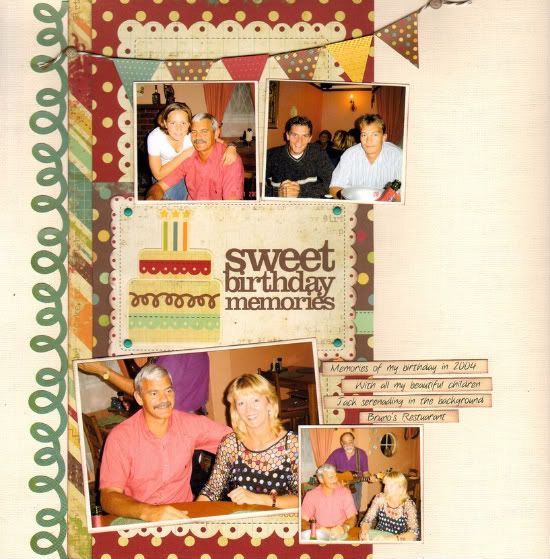
"Sweet Birthday Memories" by Lynette Jacobs
Supply List - cardstock: bazzill; patterned paper: Simple Stories; banner stickers: Simple stories; ink: Versa Magic; brads: Upikit, doodlebug.
Variation 1: I replaced the photos with different size photos.
Variation 2: I replaced the solid strip of paper with the doodle border.
Variation 3: I added the brads to the title block.
• • • • • • • • • • • • • • • • • • • • • • • • • • • • • •
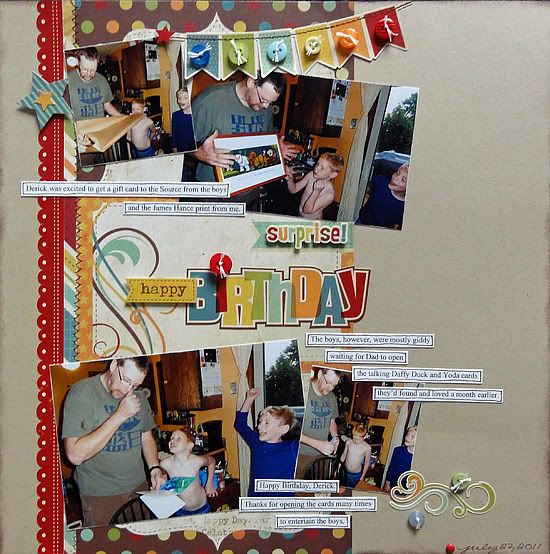
"Happy Birthday" by Jennifer Larson
Supplies - cardstock: Stampin' Up!; patterned paper, stickers: Simple Stories; ink: Stampin' Up!; floss: DMC; other: buttons
1. I used the basic layout of the design, but the photos I had were mostly vertical in orientation. To avoid cutting anyone out of the photos, I didn't use any 2x2 photos and created another vertical print instead.
2. I deleted the actual stitching and chose a stiched sticker instead.
3. I added some embellishments - buttons and flourishes.
• • • • • • • • • • • • • • • • • • • • • • • • • • • • • •
"Making Grandma Laugh" by Noey Hunt
Products used - Patterned papers and stickers: Simple Stories; Letters: Authentique, Creative Memories, Making Memories; Cardstock: Bazzill
Variation #1: I left off the bottom right photo and replaced it with one of the calendar blocks from Simple Stories.
Variation #2: I wanted to anchor the left side of the banner so I added balloons and then repeated the balloons over the journaling block.
• • • • • • • • • • • • • • • • • • • • • • • • • • • • • •
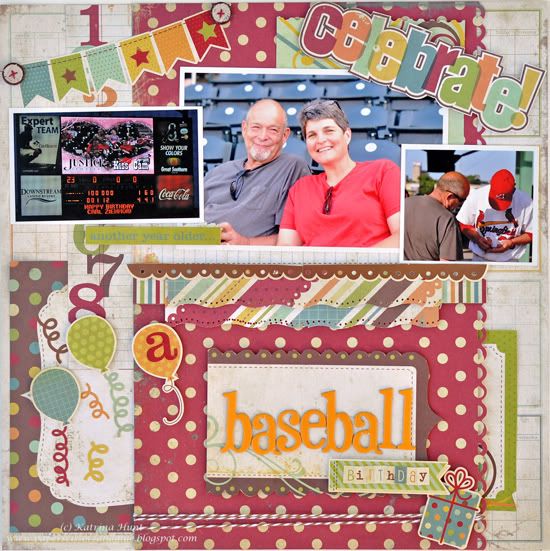
"A Baseball Birthday" by Katrina Hunt
Supplies - Patterned Paper: Simple Stories (Happy Day Collection); Adhesives: Scotch ATG, Fabri Tac and Scrapbook Adhesives; Buttons: Nikki Sivils, Scrapbooker; Twine: The Twinery Baker’s Twine; Punches: Ek Success, Fiskars; Stickers: Simple Stories (Happy Day Collection); Chipboard Letters: American Crafts Thickers
Variation 1 - Centered everything, instead of placing over to the left more.
Variation 2 - No picture at bottom and centered the three pictures on top.
Variation 3 - Added lots of layers where there were none before (under my centered pictures and at the sides).
Variation 4 - Title moved down.
• • • • • • • • • • • • • • • • • • • • • • • • • • • • • •
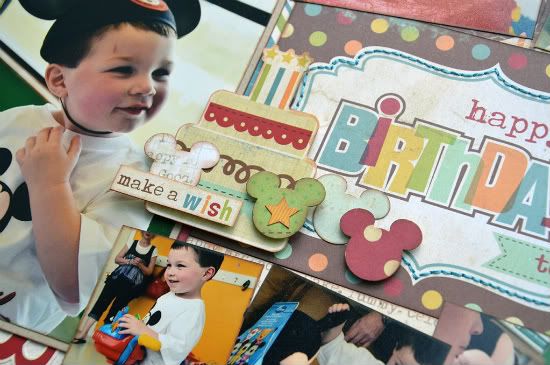
"Happy Birthday to You" by Allison Davis
Supplies - Cardstock: Bazzill; Patterned paper: Simple Stories; Stickers: Simple Stories; Mickey punch: EK Success
Variation #1 - I had so many pictures I wanted to include on this layout that I had no choice but to turn it into a two-page layout. I started by moving the design on the one-page sketch all the way to the right edge of the left page. For the rest of the layout I used my own design.
Variation #2 - I added a 4 x 6 photo to the left of the one-page sketch design.
Variation #3 - Instead of using the candles, as suggested on the sketch, I used a birthday cake and some Mickey ears to go with the theme of Jackson's birthday party.
Variation #4 - Because of my photo options and the design I wanted with the two-pages, I changed up the picture sizes a little. On the top I used a wallet size print, a 2 x 2, and a 2-1/2 x 2-1/2. On the bottom I used one 2 x 2 and then two 2-1/2 x 2-1/2.
• • • • • • • • • • • • • • • • • • • • • • • • • • • • • •
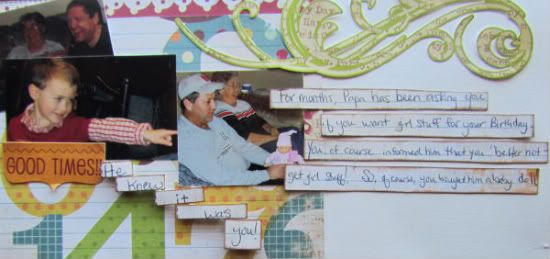
"Make a Wish...or Not..." by Amy Roller
Supplies - All products are Simple Stories unless listed below; Baby Stamp: Stampin UP!; Cardstock: Close to my Heart; Letters: American Crafts, Thickers
For this page, I used two of the 4 x 6 blocks from the Simple Stories line and put them down on my cardstock first. Then I cut a 4 x 6 block from pattern paper to make the bottom piece. I also cut out another block for the title "Make a Wish" which I layered over the middle tag.
I added some handcut birthday candles from the sticker sheet and added confetti streamers for my flames. I then added the green swirl and the rest of the title, "or not" along with a small stamped image.
Next I used the scalloped sticker strip and stripe that I had pieced together from another Tag sheet up the side of row of tags.
For the top tag, I added a banner sticker strip and moved my photos over to the right to be able to fit it all in. I had a larger photo I couldn't crop that small.
I also added some confetti around the photos and the word "surprise!" I made arrows to point to the focal point of the pictures, which was the baby doll. I did this by cutting a strip from a sticker and adding a triangle banner piece to the end of each strip.
Because I didn't have a large enough photo for the bottom tag, I used 3 smaller photos that played out the events of the day. The whole story behind the layout is added in the journaling strips beside and below the pictures.
•••••••••••••••••••








1 comment:
Soooo many to look at on Friday's, they all look great. I really want this new paper line by them.
Thanks for another great week Allison and Dream Team!!
Post a Comment