
I absolutely love Guest Designer, Michelle McClure's take on the add-on sketch. This is a fantastic gift idea that I'm sure anyone would love to receive.
Add-on Sketch #1
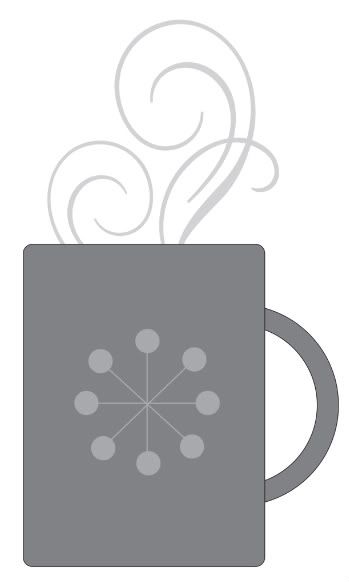
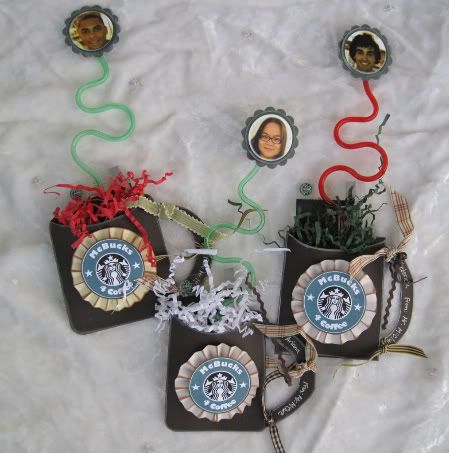
Starbucks Gift Card Holder by Michelle McClure
Supplies Used: Cardstock: Bazzill Java & French Vanilla (how apropos); Ribbon: Jillibean Soup; Punches: EK Success; Shredded Paper: Basket Accents; Crazy Straw: Unknown; Logo: QuarkXpress; Inks: ColorBox fluid chalk
Pre-Process:
I saw the cup sketch and knew I wanted to use it for the Starbucks gift cards my husband gives to his physics T.A.s. I knew I could create the cups out of cardstock, but was wondering about the dimensions and how to hold the gift cards. Initially I was thinking of finding a photo stand with the upright wire clip that could hold the card, and attaching the cup to the base. I went to several stores and could not find any, I guess they are out of vogue right now. I ended up in the 99 cents store and decided to just look around for a shape that simulates the rising steam. I saw a bag of crazy straws and decided to use those as the steam and forgo the wire photo stand.
The Process:
• I cut a piece of cardstock into a 4 x 12" strip. I placed the gift card on there and folded it so it was big enough to encompass the card. I can't tell you the exact dimensions because I made three of these and each are slightly different in size. I'm not meticulous and in fact subscribe to measure once and cut twice school of thought. Here is what it looked like:
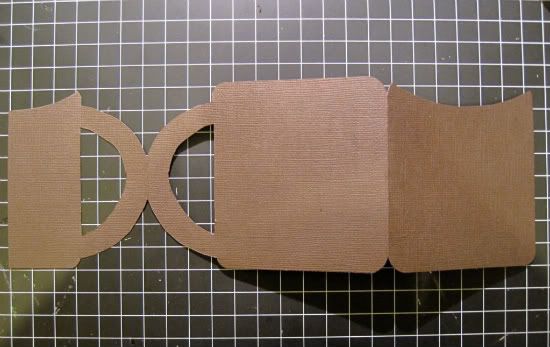
I glued everything together along the edges and the handle, leaving the space open to insert the card at the top.
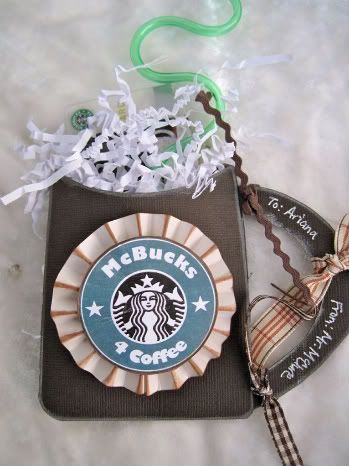
• For the central design, I decided to play with the Starbucks logo instead of a snowflake because that was the main gift, besides love and appreciation. I used QuarkXpress, which is a desktop publishing program (you can use your own draw program), to recreate the logo and changed it to McBucks since we are McClures.
• The dark green circle was lost on the dark brown background so I wanted to add a white border. I decided to try making a rosette since it seems popular at the moment. I've resisted using them on my pages because they seem too puffy and I don't like it when my albums don't close. Since this isn't in an album, it seemed like the perfect time to experiment.
• I cut a strip of paper 1.25 x 12" long, fan folded them at about .25" and stapled them together. It looked like this:
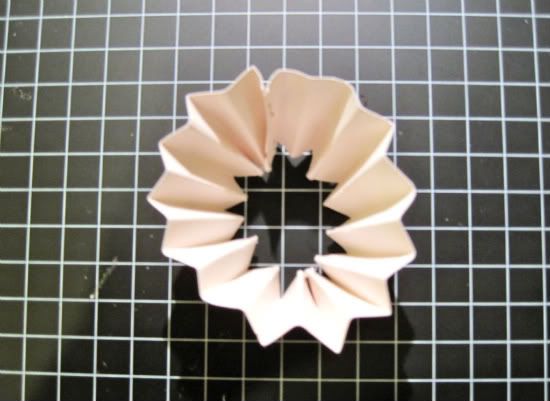
I glued the middle down on the cup and glued the logo over the top of the rosette.
• Tips I learned the hard way - use a thinner piece of paper, and score and measure the folds. I used cardstock and it was so unwieldy and wouldn't stay down, even with 4 heavy duty 3D glue dots. I finally used hot glue. It was a bit uneven because I just folded by site. But it worked out in the end.
Here is a close up of the cup:
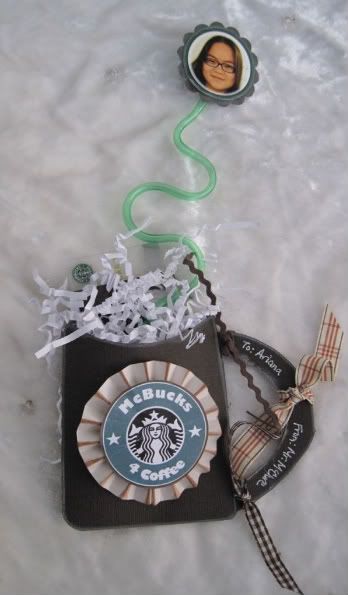
• Personally I feel that people tend to throw away cards and other little projects you spend so much time making unless you make it personal, then they have a harder time tossing out your work. So I asked my husband to send me a photo of his T.A.s. He took it with his iPhone and emailed it to me. I matted it with a circle punch and then a scallop punch (no more rosettes for me) and taped it to the top of the straw. It made it more personal, and achieved the ulterior motive of giving the cup a greater chance of survival.
Post Process:
I wrapped these in clear cellophane bags with more shredded paper on the bottom with some candies and cookies mixed in. I tied the top with curling ribbon. My husband gave it to the three students telling them he worked late into the night making them. Without batting an eye, they said, "Tell your wife thanks" and the two boys immediately proceeded to eat all the food items in class. I'll take that as a project success story.
•••••••••••••••••••••••••••••••••••••••
14 comments:
These are fabulous! What a cute idea and so fun! Thank you for the tutorial!
These turned out so cute and fun. Love that you gave it a personal touch with their photos. The ribbon tied on the handle is a nice extra touch too, great job and a great idea.
Allison thank you so much for adding this into sketch week, totally fun to see. Have a great weekend and stay warm in this frosty weather we are all having.
These are simply adorable! I love that you were so sweet to give us your tips you learned (albeit the hard way)! I can't wait to try the rosettes.
Is there any way to get this week's add-on as an SVG file so we can cut it out on our Cricut? Just a thought...
Thanks for a great week of inspiration!!
So so cute!!!! And I would definitely call it a success!!!!
What a great tutorial!
The crazy straws for the steam is a great creative touch.
off the hook clever! Cute that the kids knew you had made them, ha ha LOVE LOVE LOVE this!
now that is just mucho clever!!love it!!!!
Staci
How fun are these! So creative!
these are so cute!! I love the straw with the picture.
Darling! That "McBucks" logo is so cute!!
Lulo
These are absolutely darling!
Very nice! What a great idea.
This add-on sketch week has been a lot of fun. What a great idea! I love this little mug, and think it is very adaptable. Thanks for all of the ideas.
So unique! I love it!
Post a Comment