
Today we've got two great variations from Katrina and Amy that show how you can add a lot of color to this sketch. They also show that you don't have to go with an exact sun on your card. The strips are great for directing attention to the circle which can easily be changed to a different element.
Card Sketch #6
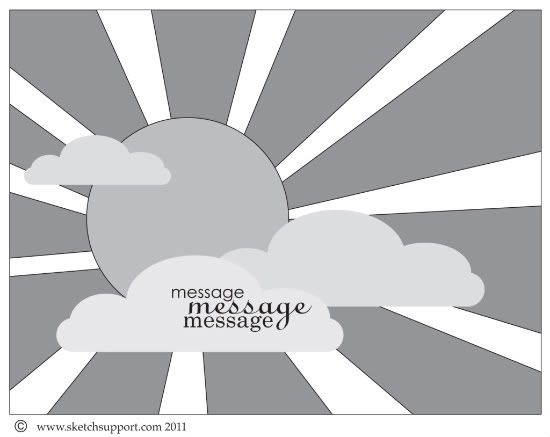
You can download and print this sketch by clicking on the card sketches link found under the "printable sketches" tab on the right sidebar.
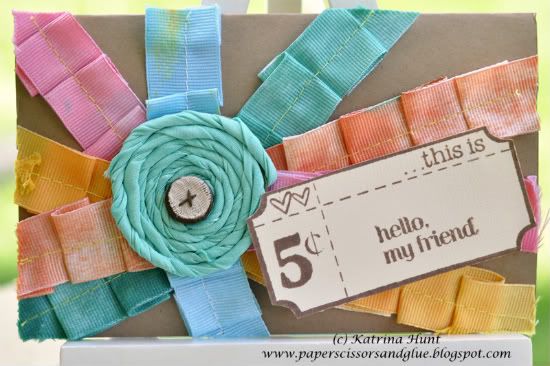
"This is...Hello Friend" card by Katrina Hunt
Supplies - Cardstock: Bazzill; Ribbon: Michael’s and May Arts; Button: Nikki Sivils, Scrapbooker; Mists: Studio Calico Mr. Huey’s; Stamps: Unity Stamp Co.; Adhesive: Scor-Tape, Fabri Tac, and Scrapbook Adhesives
I basically used the sketch as is. I was going to use paper, but then decided ribbon would be more fun. I am always looking for an excuse to use ribbon! I took white grosgrain ribbon and dyed it with Studio Calico Mists in different colors. To speed things up, I used my heat gun to dry the ribbon. I then pleated it as it went through the sewing machine. Then I pieced the card together.
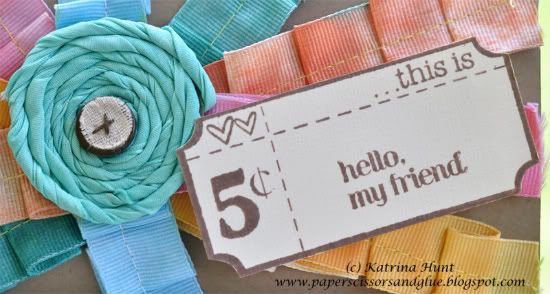
I then decided to make a flower for the center by twisting some other ribbon. You can find tutorials for these types of fabric flowers all over the internet by searching.
• • • • • • • • • • • • • • • • • • • • • • • • • • • • • •
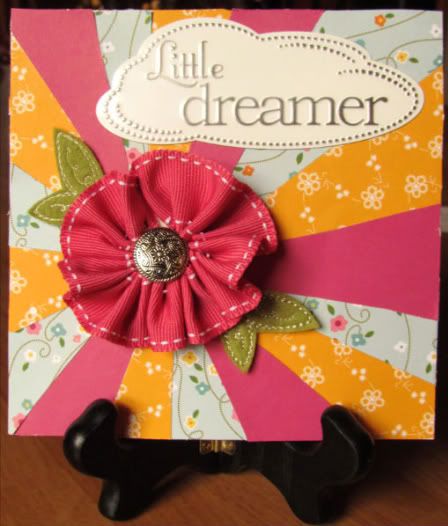
"Little Dreamer" card by Amy Roller
Supplies - Cardstock: Close To My Heart; Patterned paper: Echo Park, Jillibean Soup; Metal Embellishment: Amanda Blu products; Ribbon for flower: Stampin UP!; Button: Unknown; Felt Leaves: Stampin UP!; Frame: Making Memories; Markers: Stampin Up!
For this card sketch I wanted to make a girly card and avoid using a sun (I have made a lot of layouts featuring sun/clouds lately!) so I decided to use the same "sun ray" pattern but fill it with coordinating patterns to look a little like a quilt pattern.
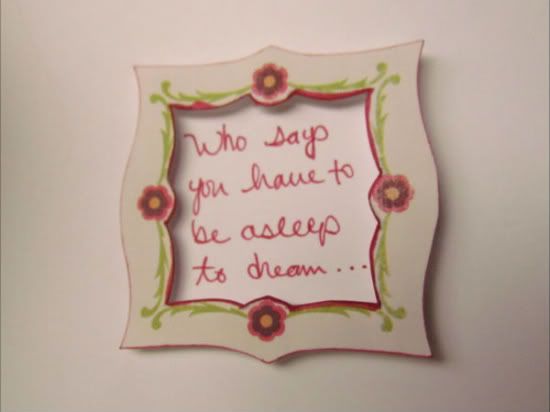
For the circle center I decided to use a flower. I made the flower by running a loose stitch up one side of the ribbon and then pulling it tight to create the ruffles in the ribbon. I pulled it around into a circle shape and then adhered it onto a 1 1/2" circle cardstock piece. This makes it easier to form and have something to stick onto your project. The ribbon itself can be hard to lay flat. I then added a silver detailed button to the center. To finish it off I added felt leaves to the flower and the "Little Dreamer" title in the cloud shape. On the inside I hand cut a frame and wrote the phrase "who says you have to be asleep to dream..." on the inside.
8 comments:
The cards are beautiful and so bright. Great job ladies. The little sign is pretty too.
Beautiful work! It's always nice to see how things can be changed up!
Great job. I want to make a rolled fabric flower too!
Great takes on the sketch - so out of the box!!!
Awesome ladies!
LOVE the use of ribbon on these!
Lovely! What a nice interpretation of the sketch. I may have to try that rolled ribbon flower!
Love these cards! What great use of ribbon and loving that pieced background :)
Post a Comment