
••••••••••••
One-page Sketch #13

You can download and print this sketch by clicking on the one-page sketches link found under the "printable sketches" tab on the right sidebar.

"All the Best Moments..." by Allison Davis
Supplies - Cardstock: Bazzill; Patterned paper: My Mind's Eye; Label stickers: My Mind's Eye; Chipboard: My Mind's Eye; Brads: My Mind's Eye; Buttons: My Mind's Eye
For this layout I did kind of a half flip on the sketch and added a few extra layers.
Variation #1 - I flipped the strips that run behind the pictures from horizontal on the sketch to vertical on my layout. I like the strips as they are on the sketch but with the other variations I did to the sketch I ended up liking them a little better going up and down instead of across.
Variation #2 - I added two background pieces to my layout. I really wanted to get more paper on the layout and this was an easy way to do it!
Variation #3 - I cropped all three of my pictures to 3 x 3 instead of just having two and then a larger photo. I love these photos but there was a lot of empty space in them and I liked the cropped version better.
Variation #4 - I decided to remove the journaling block and instead wrote my journaling directly on the page. Since the paper that was showing had lines it worked out perfectly!
Variation #5 - I moved my title to the right of the top photo.
• • • • • • • • • • • • • • • • • • • • • • • • • • • • • •
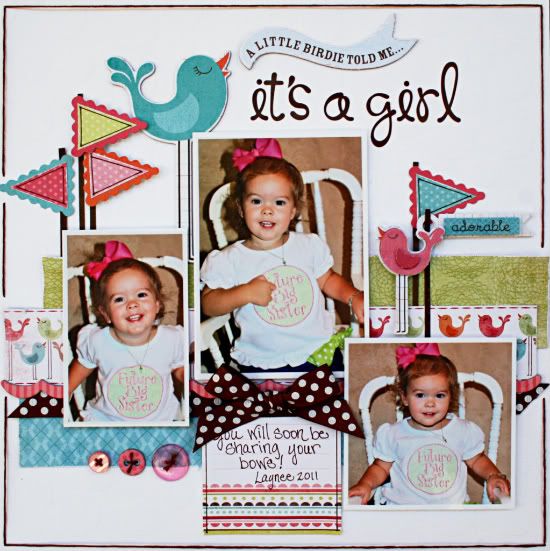
"It's a Girl" by Robbie Herring
Suppliy List - Bazzill: Polka Dot White Cardstock; My Mind's Eye Fine and Dandy Collection: Stickers, Patterned Paper, Chipboard, Buttons and Journal Card; Doodle Bug Designs: Alphabet Stickers; Bo Bunny: Double Dot Ribbons.
Variation 1: I changed the size and orientation of the photos. The center photo is 3 1/2 x 5. The left photo is 2 1/2 x 4 and the right photo is 3 1/2 x 3 1/2.
Variation 2: I switched the journal card and the right photo's position.
Variation 3: Instead of the clouds in the upper right, I used a large bird and a banner embellishment that moves across the center of the page and becomes part of the title.
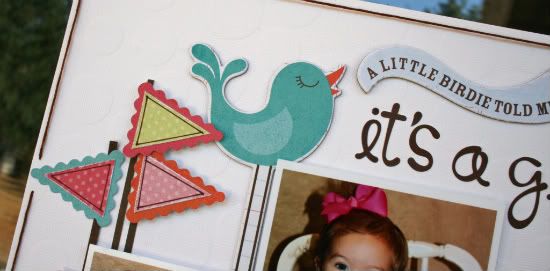
Variation 4: I Added more flags and poles to the right side of the page to balance my large title work.

Variation 5: Instead of the butterfly on the right lower side, I used buttons and a bow to add more weight to offset the heavy embellishing at the top of my page.
Hints: Because I used chipboard as part of the layering across the center of the page, I added foam dots to the back of the smaller photos. To help prevent bending of these photos over time in your book, cut a piece of transparency and tape to the back before adding your foam dots. The same thing can be done with stickers that are attached with foam dots.
To save time on stitching, just do a long stitch along each edge and use tape to secure it on the back of the page. I use all 6 strands of floss when I use this technique.
• • • • • • • • • • • • • • • • • • • • • • • • • • • • • •
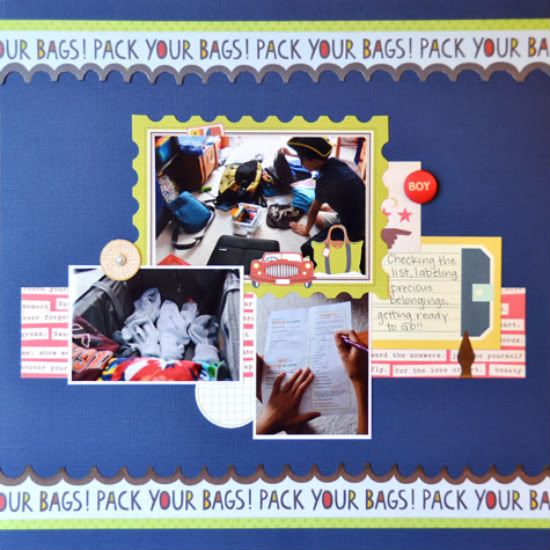
"Pack Your Bags" by Suzanna Lee
Supplies - Cardstock: Bazzill; Patterned Paper: Prima, Cosmo Cricket, BoBunny; Brads: My Mind's Eye, Crate Paper; Journal Spots: Prima, Jillibean Soup; Book Dart: Lee Valley
The most obvious is my inclusion of top and bottom borders. I doing so, I omitted the embellishment cluster at the top right corner. I still have the "main" strip moving across the page behind the pictures but chose to eliminate the smaller ones. I flipped the journal spot for some symmetry across the page.
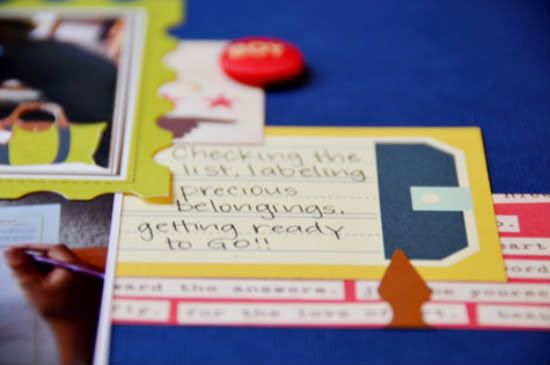
I also used a journal spot to frame my main picture while fussy cutting some elements. I omitted the flags as I felt the page was busy enough and didn't really need anything else.
• • • • • • • • • • • • • • • • • • • • • • • • • • • • • •

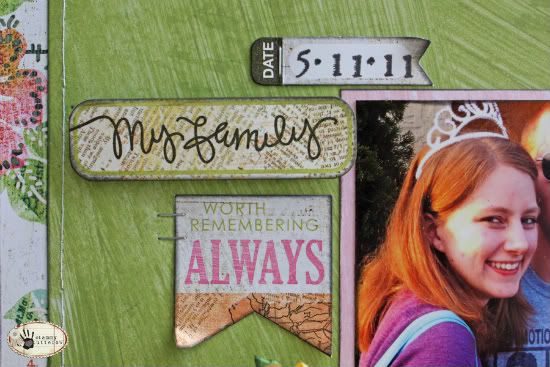
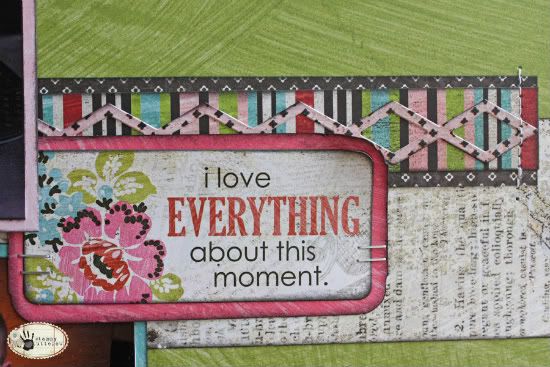
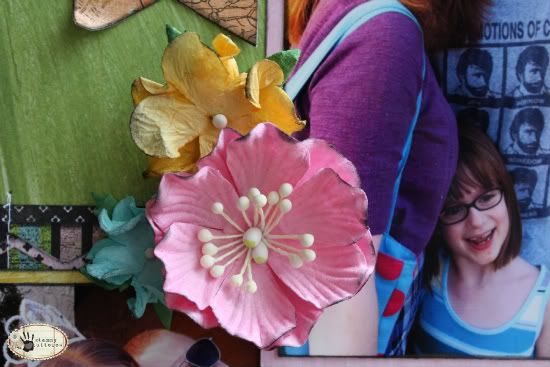
"I Love Everything About This Moment" by Tammy Tutterow
Supplies - paper: BasicGrey (Out of Print: Reprint, Giclee, Storyteller, Headline, Daily News, Mish Mash, Classifieds, Lithograph); stickers: BasicGrey (Out of Print Stickers); flowers: Bazzill Basics (Wild Rose: Precious Pink and 1" and 1.5" Twisted Flowers); ink: Tim Holtz Distress Ink (Black Soot); mist: Ranger Ink Perfect Pearls Mist (Biscotti, brushed on the flowers which doesn't really show in the photos); stamps: Hero Arts (Printer's Type Uppercase Alphabet, numbers); tools: Bazzill Basics (In-Stitchz Junior Mat), Tim Holtz (Idea-ology Tiny Attacher), Fiskars (Twist n Flip Corner Punch, Round n Round); adhesive: Therm O Web Adhesive Foam Squares, Sticky Strip Runner; Craft Zots
For my page, I really loved the sketch design so I wanted to stay pretty true to the original. The main change I made was to turn the top photo vertically, which worked better for the photos I wanted to use. I also omitted some of the embellishments and the titles. I found that after I had my photos and papers in place along with a couple of small tags that it just felt complete.
Here's a closer look at the details:
5 comments:
Love them all..Allison, yours is just perfect! I knew it had 2 b u before i ever saw Jackson's cute little face! Will be lifting this arrangement!TFS
Super cute Ladies!!
Ali...I LOVE that you added a BG paper to the sketch!
TFS
Sketches ROCK!
(that's all I have to say. LOL)
Such beautiful LO's today and yesterday (wouldn't let me comment yesterday). Such wonderful inspriation!
Allison - what can I say! Amazing, as always. Your photos are priceless. Great job!
Robbie - I just love your style. I am always attracted to your layouts. Great choice of products (especially those loopy letters).
Suzanna - great job! I love the frame and the border along the bottom.
Tammy - beautiful. Love the machine stitching. Looks like everyone was having fun!
Post a Comment